Importing Quixel Assets
In this tutorial, you’ll import high quality realistic 3D models and textures from Quixel Megascans for use with Cesium for Unreal. Quixel provides an expansive library of assets that can be used to enhance experiences built on Cesium World Terrain or other tilesets.
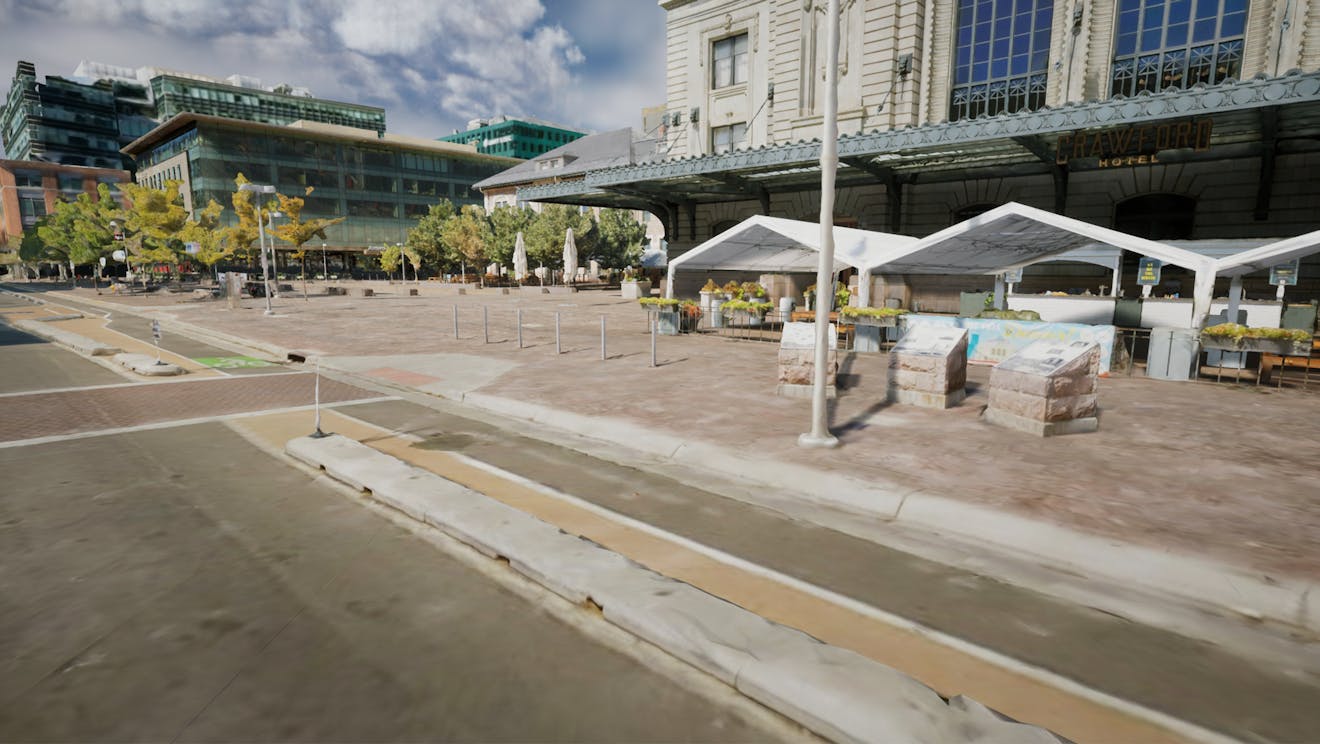
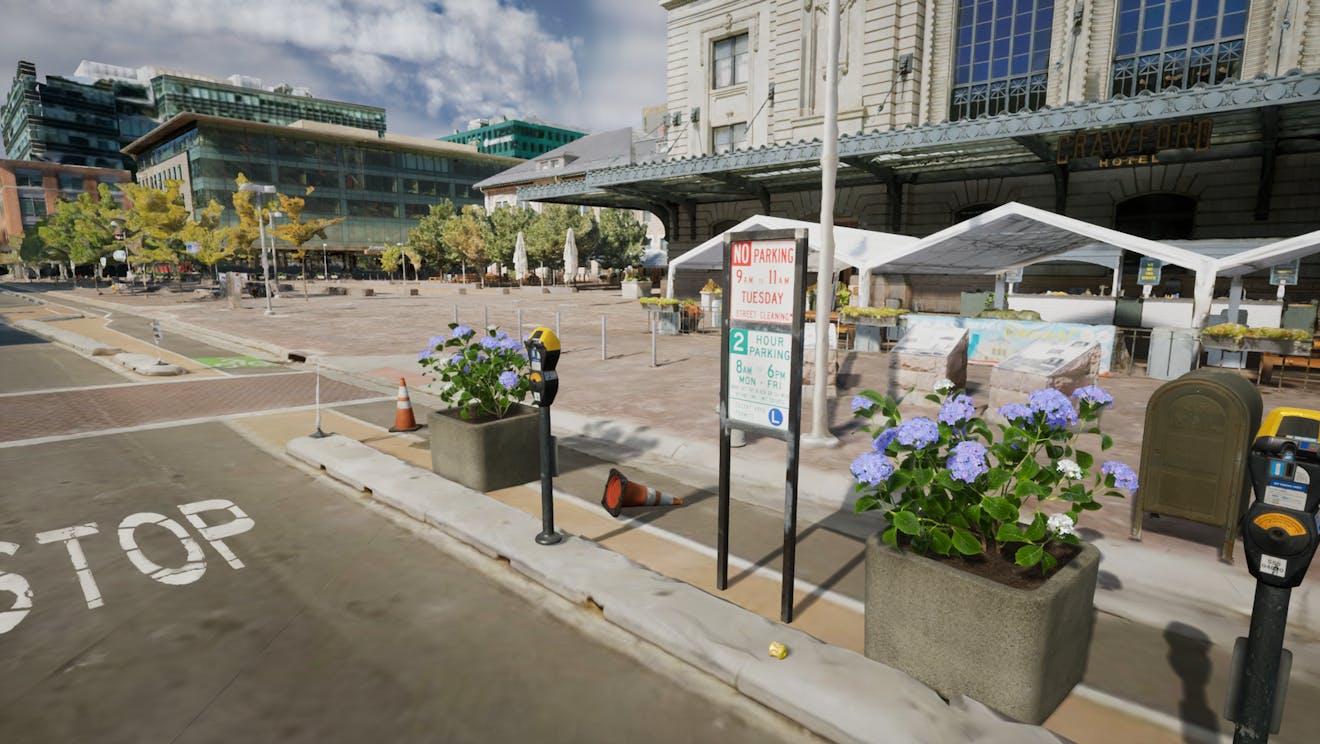
Before and after of a scene built on the Aerometrex Denver dataset with imported Quixel assets.
You’ll learn how to:
- Add Quixel assets through Quixel Bridge
- Add Quixel assets from the Unreal Marketplace
- Use different types of Quixel assets with Cesium for Unreal
- Know how to set up a basic Cesium for Unreal application. Check out the Cesium for Unreal Quickstart guide for instructions on starting with the Cesium for Unreal plugin.
- A scene with Cesium World Terrain and a lighting system
In this tutorial, you’ll learn two different methods of adding Quixel content to your project. You can use either method, or you can use both simultaneously. Read on to learn about using Quixel Bridge, or skip to section 1b to learn how to import assets via the Marketplace.
Megascans assets are free for use in Unreal Engine projects. As such, you are permitted to use them however you wish in any project built with Unreal Engine. For more information on the terms of this license, visit this FAQ.
Quixel Bridge is a desktop application where you can browse Megascans assets. Bridge connects automatically to Unreal Engine to allow you to easily transfer assets to your project.
Bridge makes it easy to download individual assets. If you wish to download packs of assets instead, consider using the Unreal Marketplace instead.
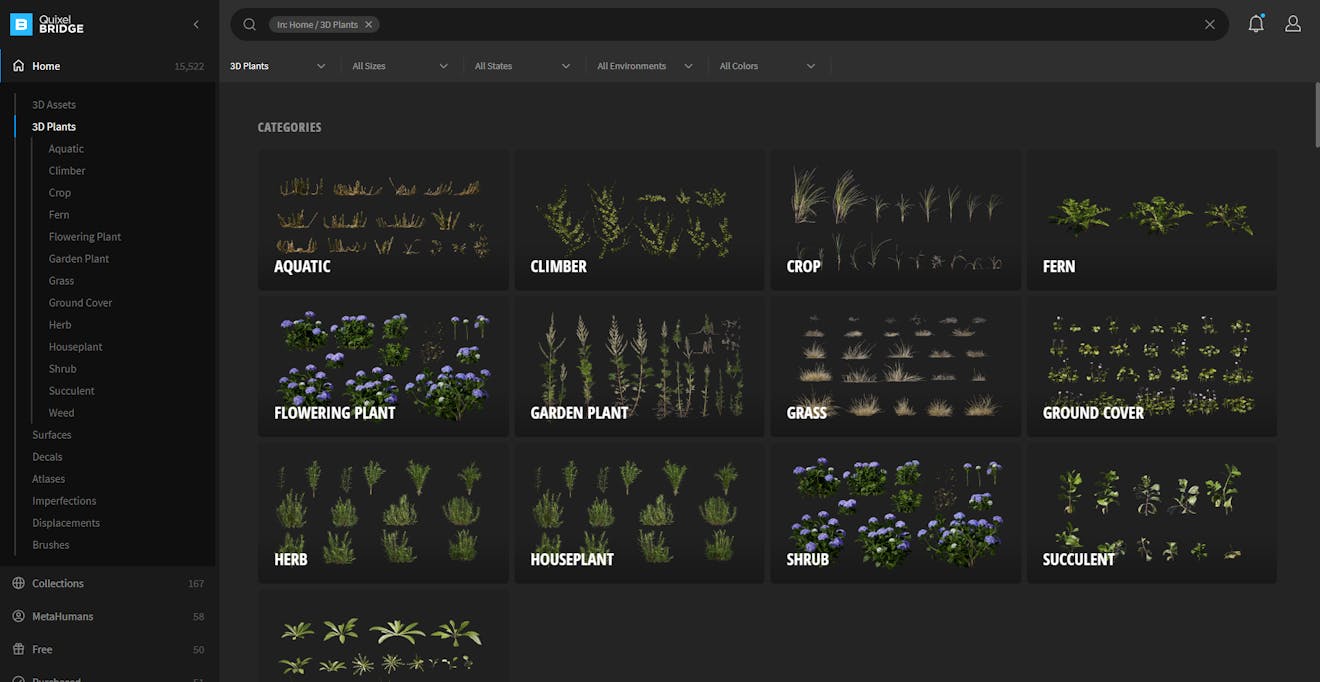
Some of the plant assets available through Quixel Bridge.
1Download and install Quixel Bridge. For instructions on installing the application, see this Quixel video tutorial.
Follow the instructions here to install the Megascans plugin for Unreal Engine 4.
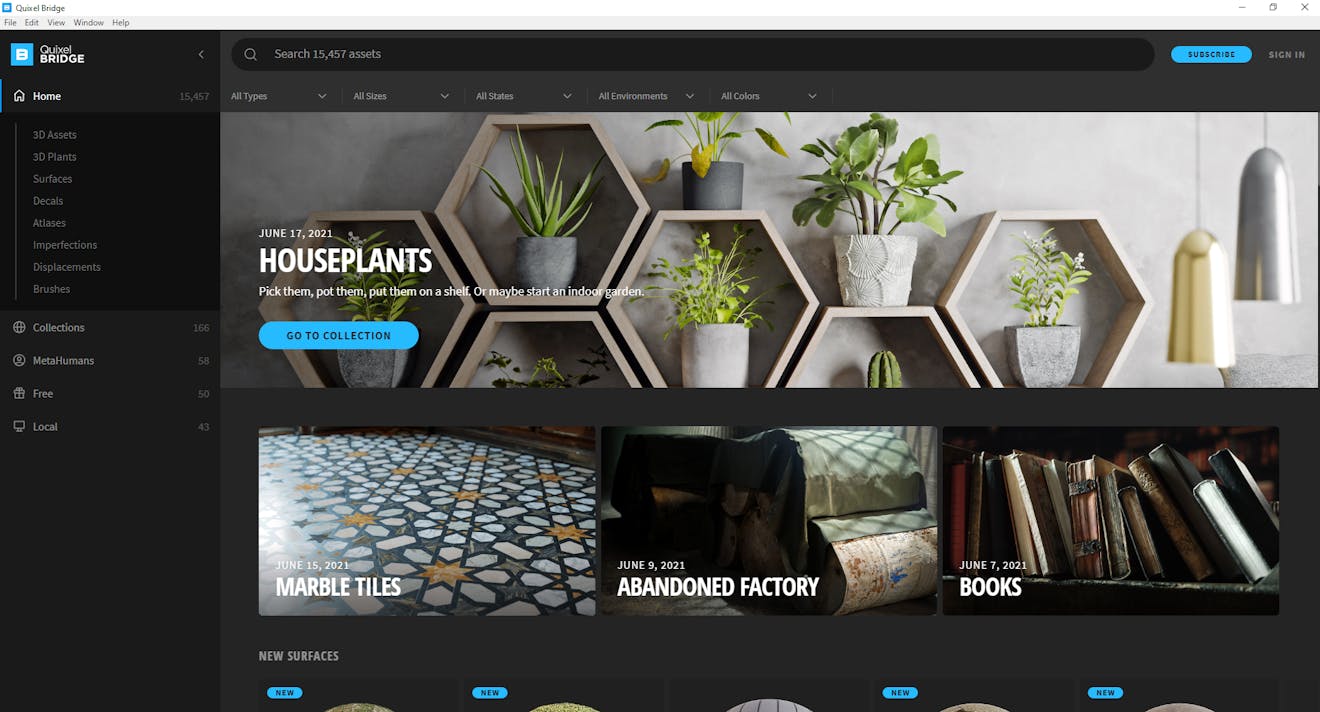
2After everything has been installed, open Quixel Bridge to the home screen.
3Use the button in the top right corner to sign in. Use the Epic account you use with Unreal Engine to access Megascans content for free.
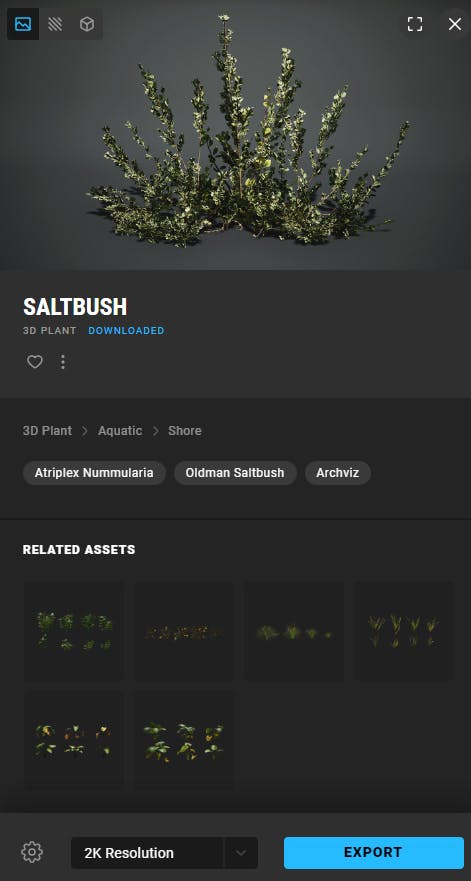
4Now that you’re logged in, you can explore the variety of assets that are available. For now, sort by 3D Plants.
5When you find a plant that you would like to add to your project, select it. A column will appear on the right with information about the asset.
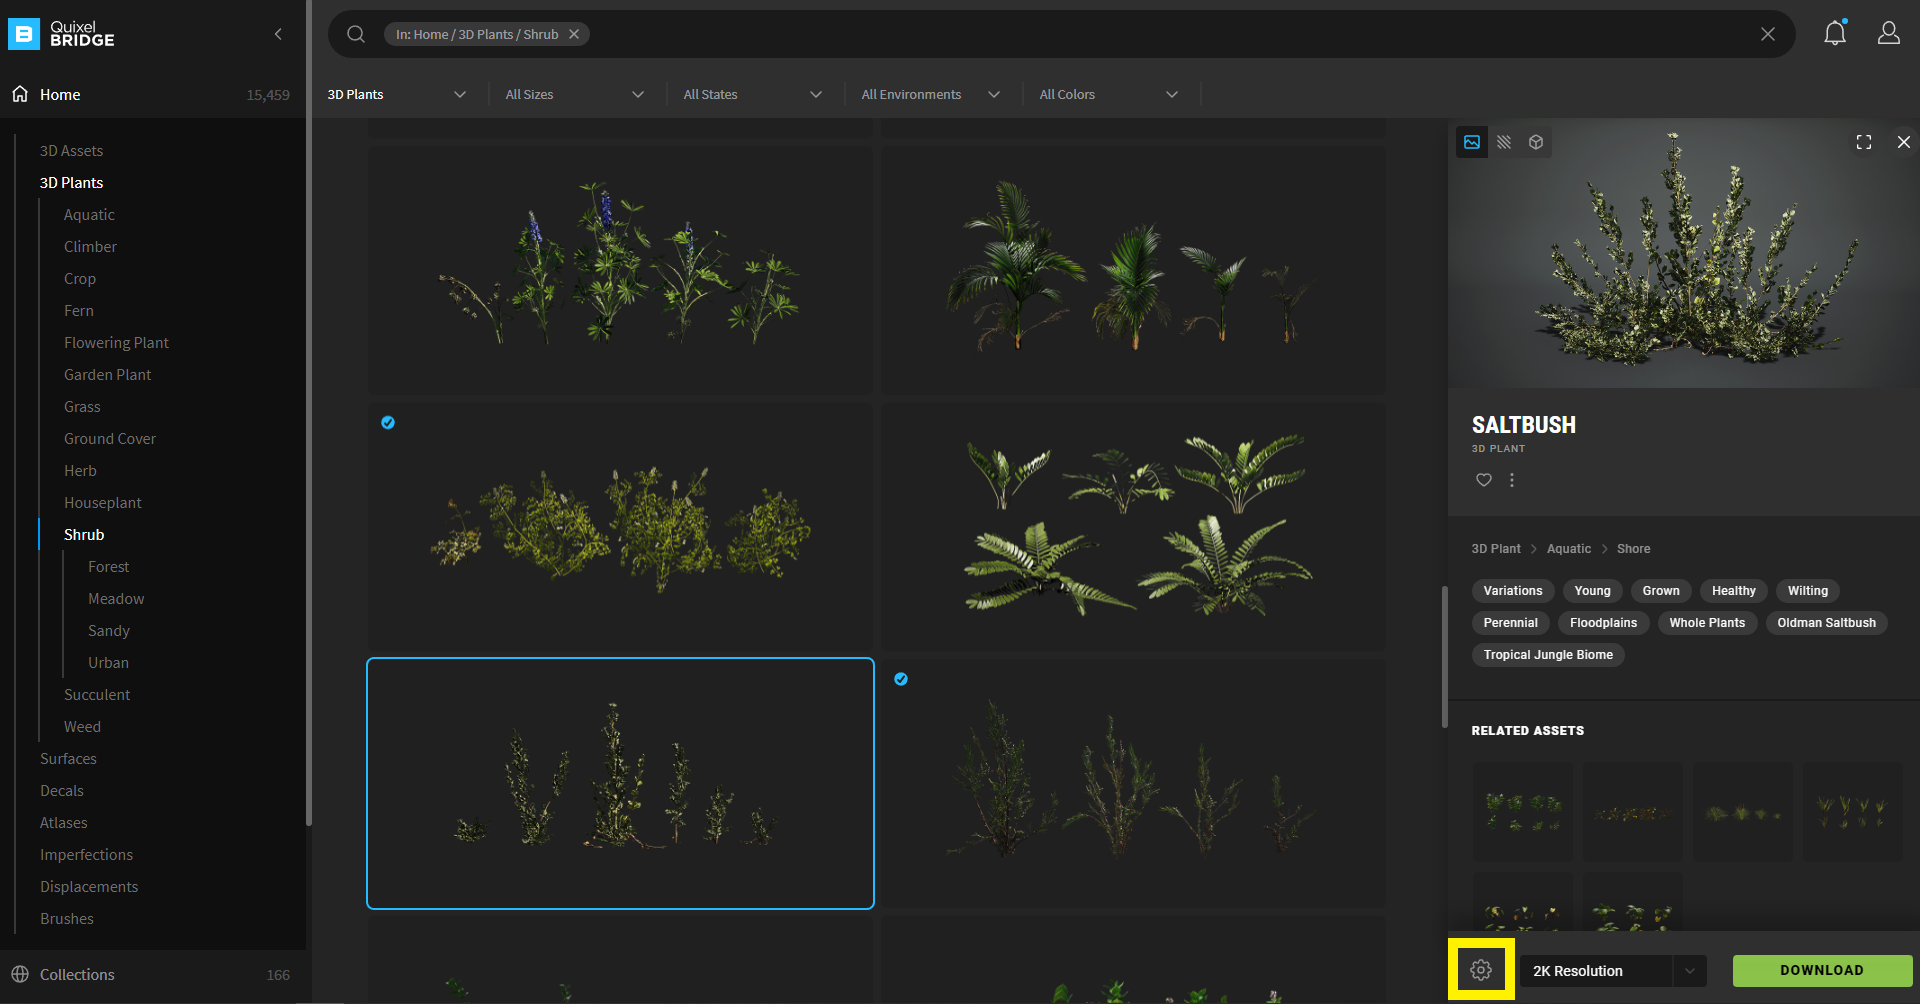
Click on the gear icon. Two options will appear, Download Settings and Export Settings. Click on Export Settings.
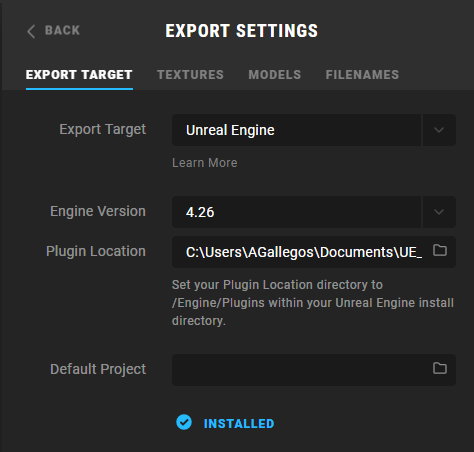
6Ensure that the export target is properly set to your installation of Unreal Engine.
Press the Back button to return to the asset view. You can also adjust your Download Settings by clicking on the gear icon again and selecting Download Settings.
Next to the Settings button, you’ll see a dropdown to adjust the resolution of the asset. In general, unless you need very high resolution assets, it’s a good idea to export the lowest resolution available for use with Cesium for Unreal. This will improve performance.
7Click the green Download button to download the asset.
When the asset is downloaded, the Download button will be replaced with a blue Export button. Don’t press the Export button yet - you’ll need to do a little more setup in the next step first.
8You’ll need to have an Unreal project open in order for Quixel Bridge to export assets to Unreal. Open up the Unreal project that you would like to import your assets to.
If you do not open Unreal before clicking the Export button, you’ll see the following error:
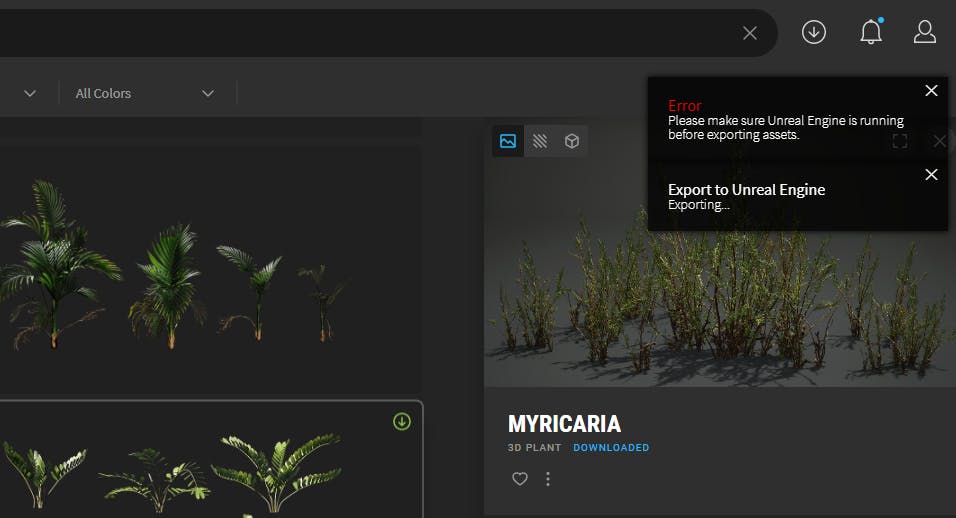
9Now that your project is open, click the blue Export button. The asset will automatically export to your open project.
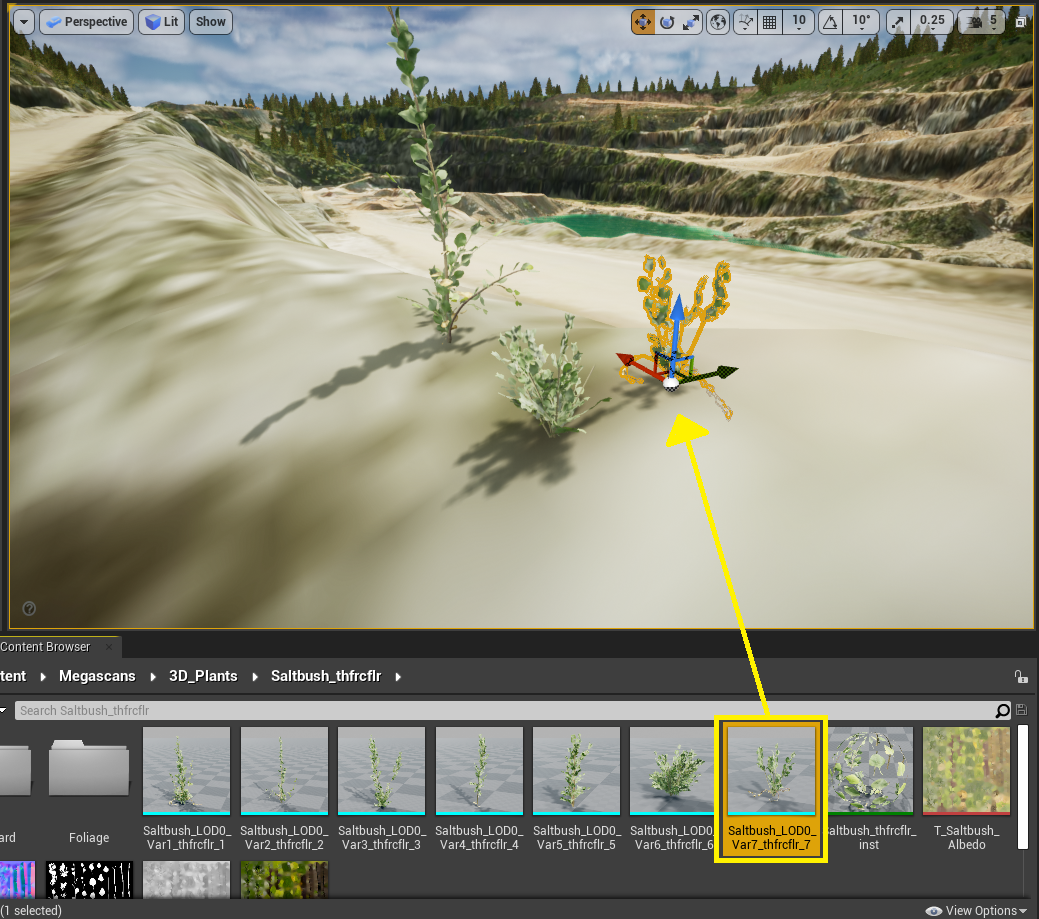
10Once the export is complete, switch to Unreal Engine. You can find the assets in Content/Megascans/3D_Plants/…
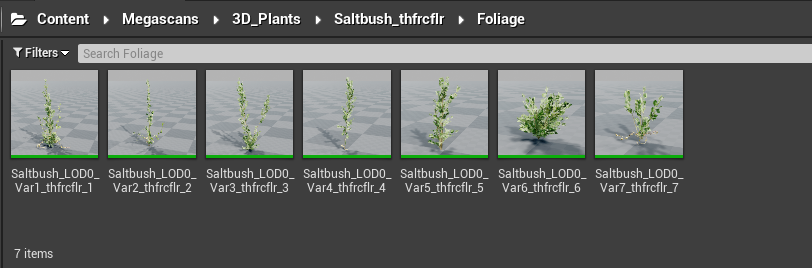
If you open the folder for the asset you just exported, you’ll see the variations of the plant, as well as the materials and textures.
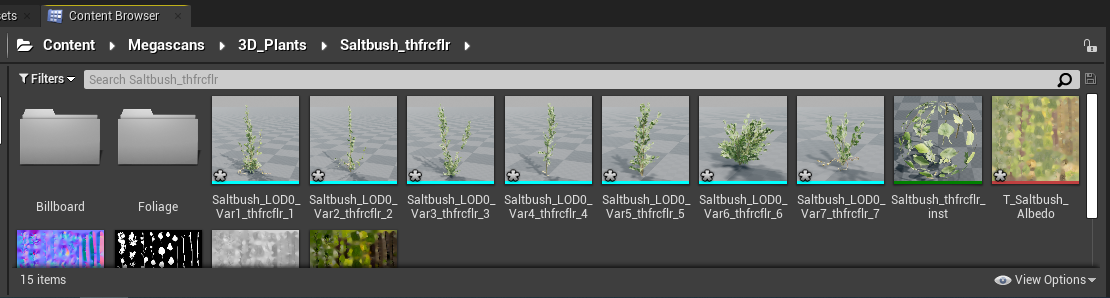
Some plants will also have premade Foliage Types, which will make using them with the Foliage tool easier.
11You’ve just imported your first asset from Bridge to Unreal. Export more assets, or move on to Step 2 to learn how to place these assets in the world.
Along with Megascans, there are many free and paid assets available for download on the Unreal Engine Marketplace. Through the Marketplace, you can add assets directly to your project or other projects. Many of the assets found in Bridge are also available in the Marketplace, usually in asset bundles with other similar assets.
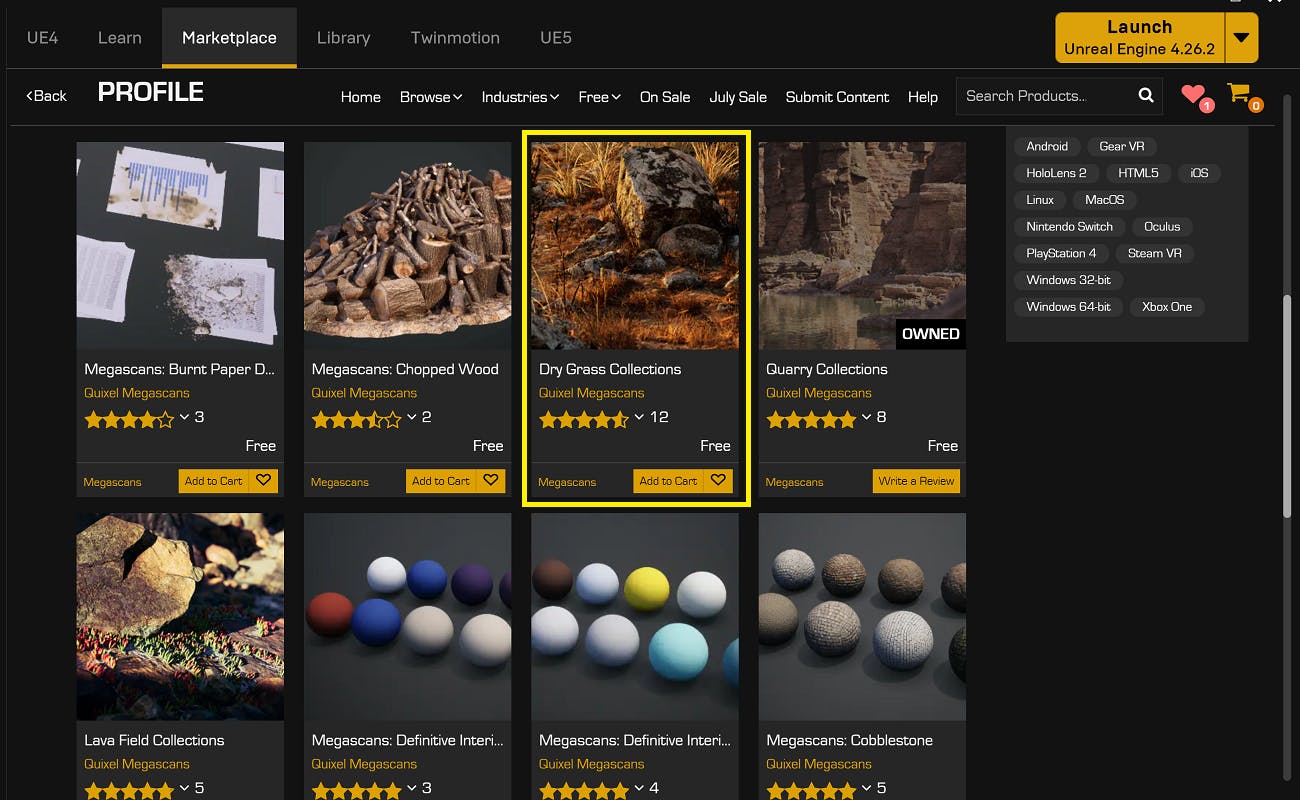
1You can find the Marketplace for Unreal Engine in the Epic Games launcher. Select Marketplace on the top navigation. On that page, click on the Free dropdown button and select Megascans from the list that appears.

2You’ll now see a selection of Quixel Megascans assets. When you find an asset that you would like to add to your project, select it to learn more.
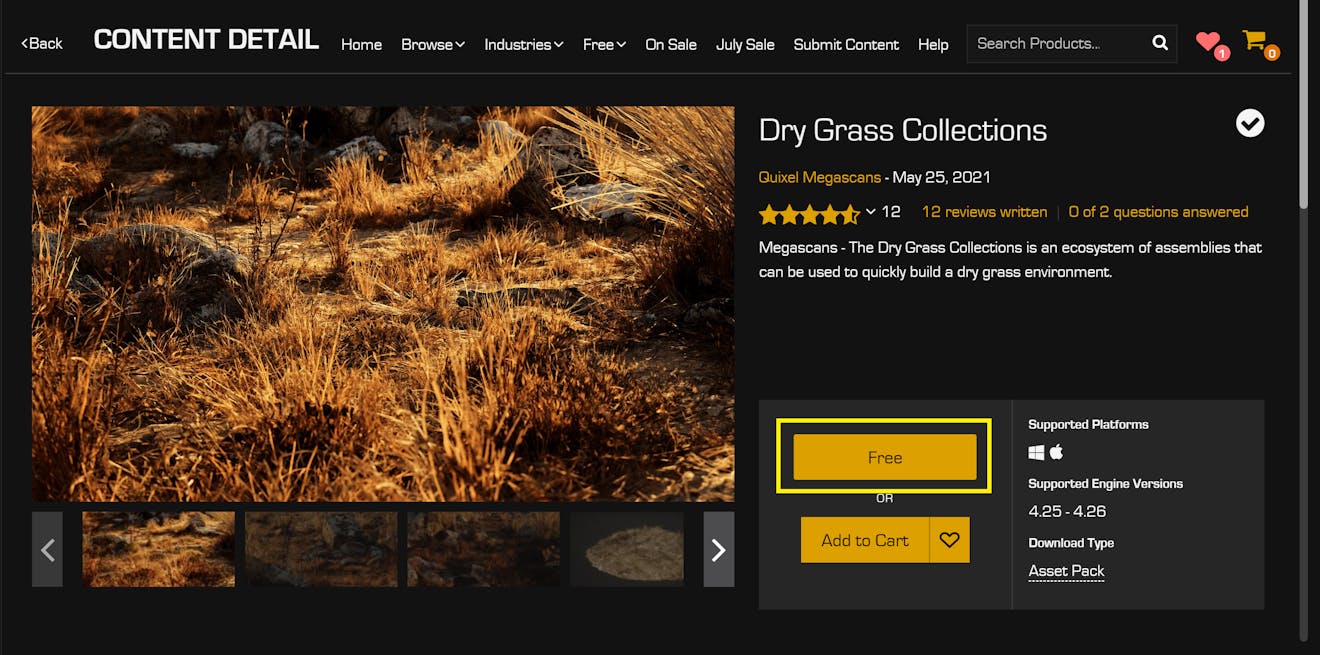
3On the page for that asset, you can add it to your vault by clicking the Free button. Once you have added the asset to your vault, the button will change and instead say Add To Project.
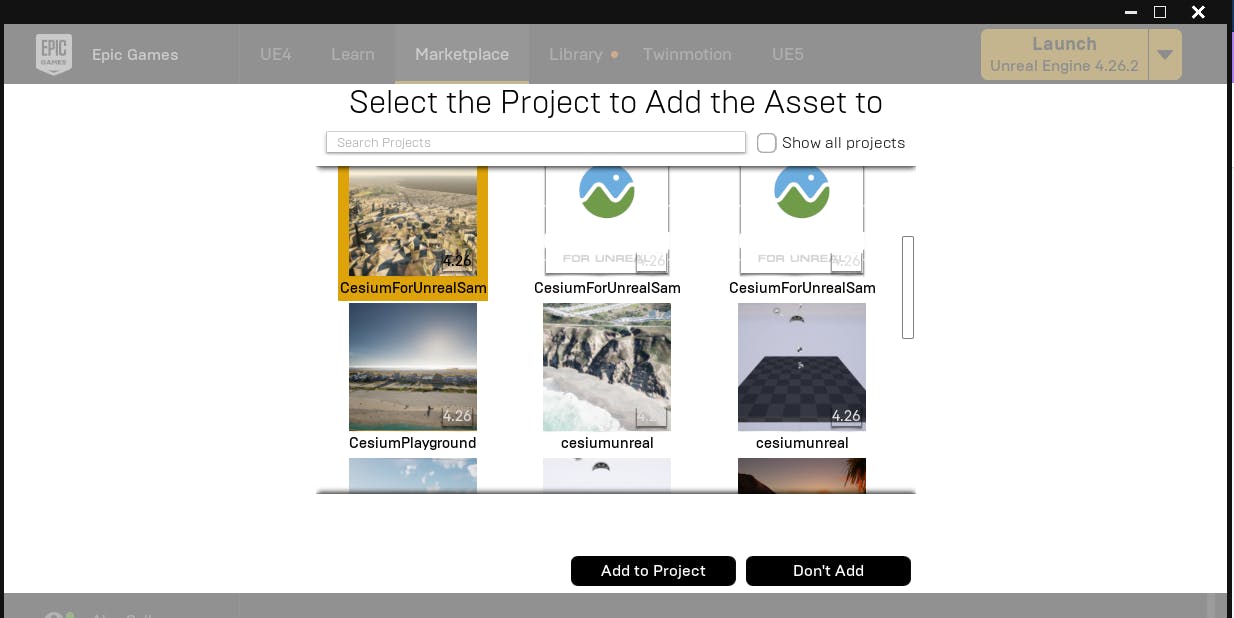
4Click the Add to Project button. A new window will appear. You can add the asset to any of your Unreal Engine projects here.
5Depending on the size of the asset pack, it may take several minutes to download the content and add it to your project. You can complete this process whether the Unreal Editor is open or closed.
6The assets will be added to the Content\Megascans\ folder.
Now that you’ve downloaded some assets, read on to learn how to use them with Cesium for Unreal.
As you may have seen while browsing the available assets, Quixel assets come in several different forms. This tutorial will show how the following types of assets could be used with Cesium for Unreal:
- 3D Plants, 3D models designed to be placed as foliage.
- 3D Assets, 3D models that are not designed to be used as foliage.
- Surfaces, materials and textures that can be used however you might use a Material in Unreal Engine.
- Decals, textures that can be used as stamps to add detail over other assets.
Any 3D assets, including 3D plants, can be added to a scene easily by drag-and-dropping. Select a Static Mesh, which is indicated by a blue line underneath the asset thumbnail, and click and drag it into the scene.
The asset will automatically place itself along the ground, providing an easy way to set models on Cesium World Terrain.
For more information on placing objects with Cesium for Unreal, visit the Placing Objects on the Globe tutorial.
As mentioned above, 3D Plants often come with Foliage Type assets, indicated by a green bar underneath the asset thumbnail.
These assets can be used with the Unreal Engine foliage system.
You can also turn non-foliage meshes, including 3D Assets, into Foliage Types on your own to use other models with the foliage system.
Visit the Foliage tutorial to learn how to create Foliage Types and use foliage on Cesium World Terrain.
Imported Surface materials can be found in Content\Megascans\Surfaces\. These high resolution, realistic materials can be used however you might use a material in Unreal Engine.
The imagery layers of Cesium World Terrain are sometimes too low-resolution for first-person or ground level experiences. If you need more detail in a specific area, try creating a small Landscape and sculpting it to your terrain. You can then apply an imported material directly to the landscape, or create a Landscape Material to selectively paint materials onto the landscape.
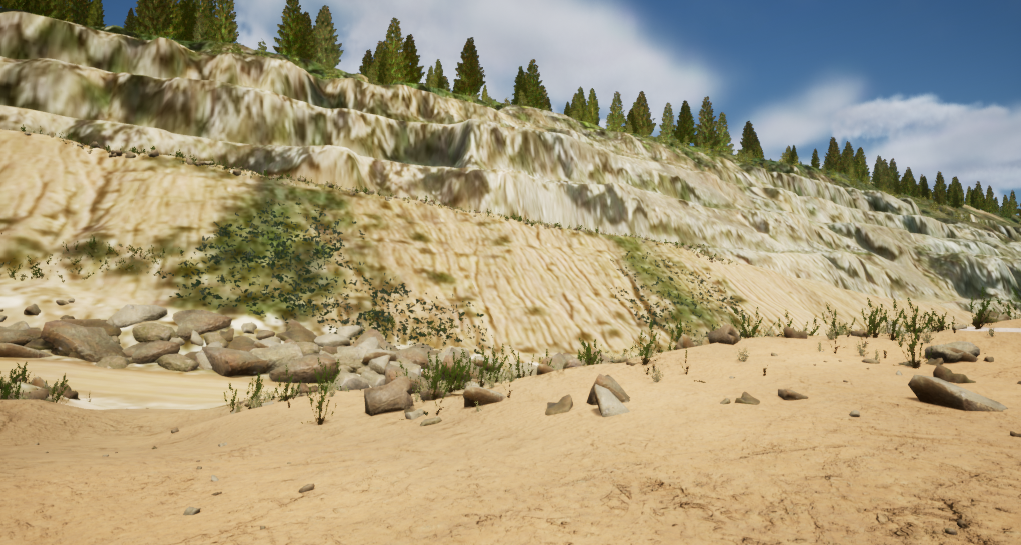
In the below image, a Landscape with Quixel materials is used to create the high-resolution foreground, with Cesium World Terrain filling in the background.
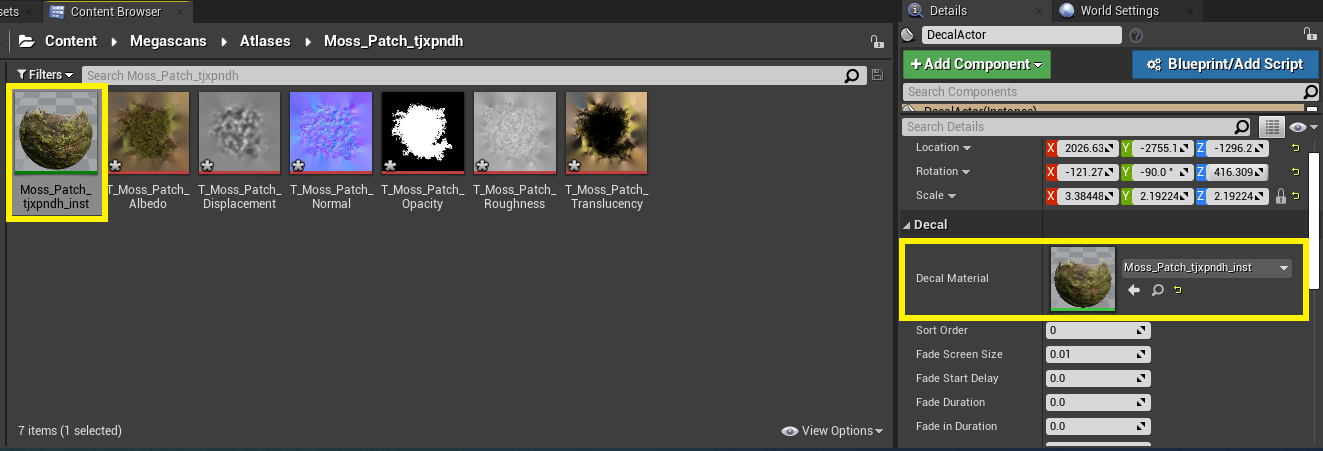
The Decals available from Quixel can be used with Unreal Engine Decal Actors as stamps over other assets. Decals will be downloaded to Content\Megascans\Atlases\.
To use a Decal, drag in a Decal actor from the Visual Effects tab in the Place Actors panel. With the Decal selected, replace the Decal’s material in the Details panel with the material found in the folder for your imported Decal.
Decals can be moved, rotated, and scaled freely to adjust placement.
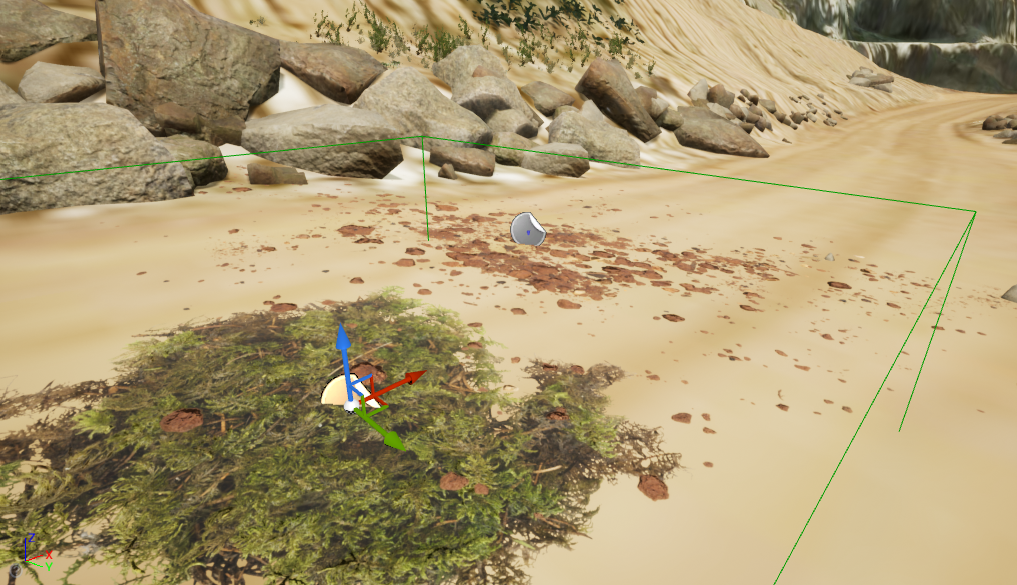
Decals can be helpful in any situation where you want more detail in a specific location, but don’t want to replace the material.
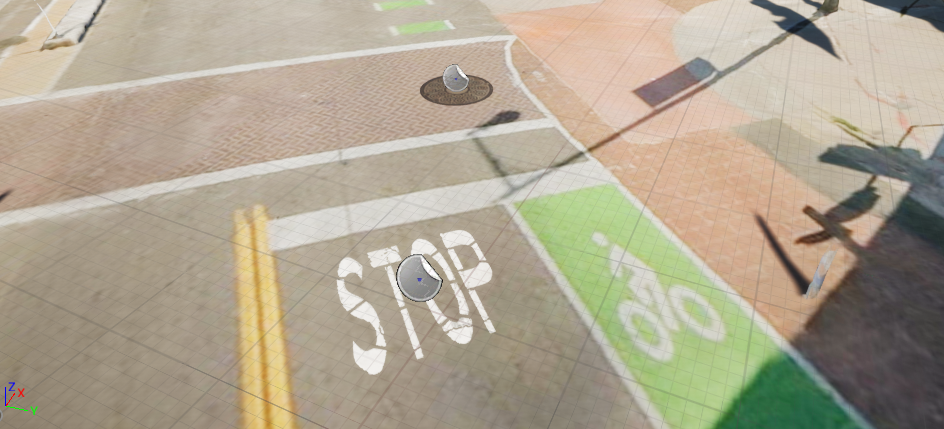
In the image below, decals are used to add a manhole and a painted “Stop” sign on a street in the Aerometrex Denver dataset.
What are you building with imported assets and Cesium for Unreal? Let us know by tweeting @CesiumJS.