CesiumJS: Fundamentals
The CesiumJS: Fundamentals learning path will teach you the core features needed to create an application with CesiumJS.
Introduction
In this lesson, we will cover the background of CesiumJS, how you can use it, and knowledge you may need.
What is CesiumJS?
CesiumJS is a JavaScript library for creating 3D globes and 2D maps in a web browser without a plugin. It uses WebGL for hardware-accelerated graphics, and it is cross-platform and cross-browser. We have also tuned CesiumJS for dynamic data visualization and high-precision analysis on the WGS84 globe.
We will share some additional resources at the end of this lesson if you are still getting familiar with any geospatial concepts we mention, such as WGS84.
On top of that, we have built CesiumJS to be flexible and interoperable with other web frameworks. As a result, many developers use CesiumJS with various frameworks, such as React, Vue.js, and Angular, and build tools such as webpack, esbuild, and Vite.
Assignment
- Complete the CesiumJS Quickstart tutorial.
- Complete the flight tracker tutorial.
Additional resources
This section contains helpful links related to the lesson’s content.
- If you want a refresher on web development concepts, try exploring The Odin Project or freeCodeCamp.org to see if there are any concepts you wish to learn or relearn.
- If you want a quick overview of geospatial concepts, this primer by mapschool.io is a good starting point.
- A basic understanding of 3D graphics concepts could help you tackle problems in CesiumJS. For a crash course, try CrashCourse’s 12-minute video.
Knowledge check
This section contains questions to check your understanding of this lesson. Review the content again if you’re having a problem answering a question.
- Which graphics library allows CesiumJS to render a 3D globe in your browser?
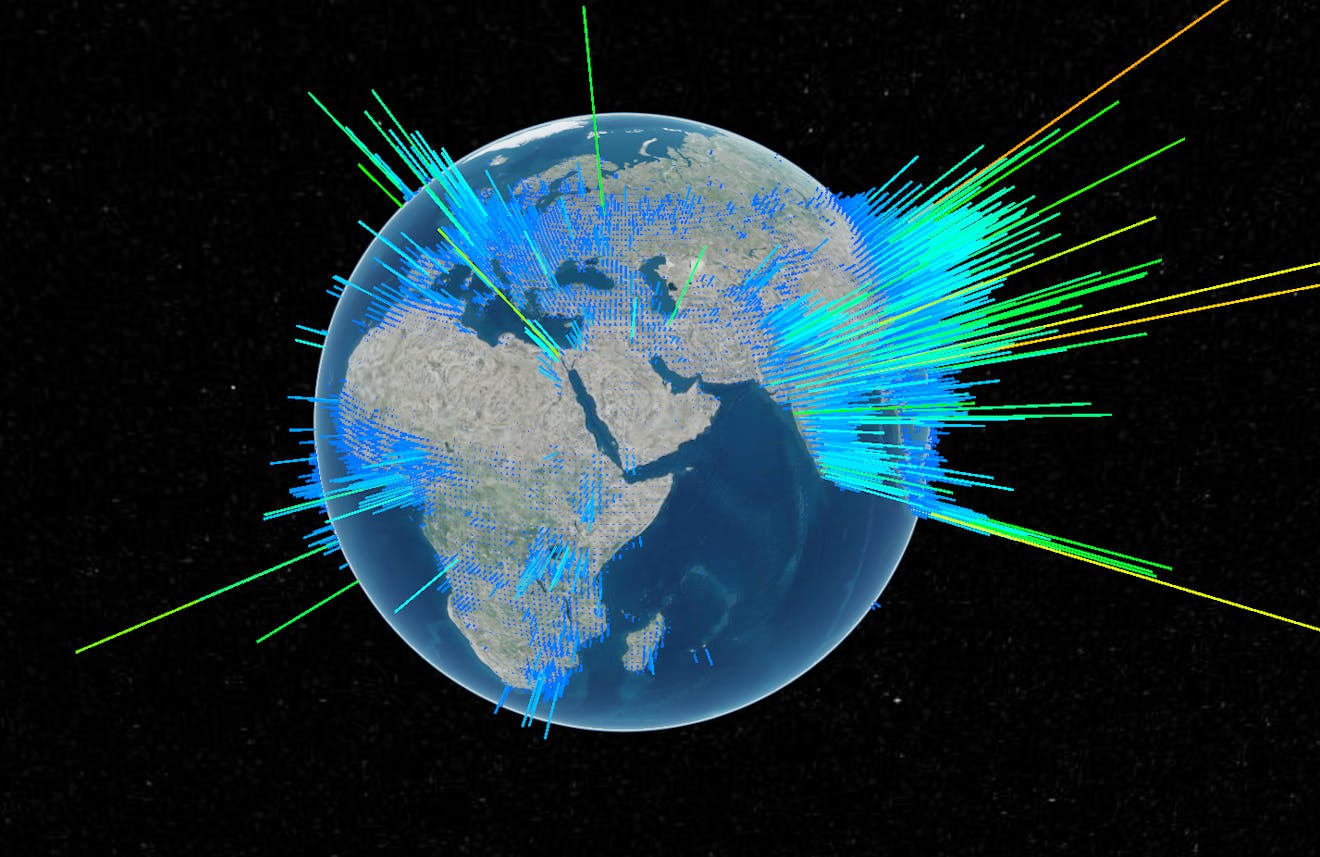
- What are some benefits of visualizing flight data on a 3D globe rather than a 2D map?
- When should you use a 3D model versus a 3D Tileset?
Introduction
This lesson will explore loading and utilizing different data types within CesiumJS.
How do I import 3D models?
One of the benefits of CesiumJS is that it allows you to use combinations of different types of data, including 3D models. If you completed the flight tracker tutorial in the previous lesson, you already have some experience with loading 3D models.
As shown in the flight tracker tutorial, the simplest way to show how your 3D models can be used is through Cesium ion, which allows you to position your model’s geographic location once uploaded.
CesiumJS allows for alternatives if you prefer to host your data outside Cesium ion. More information can be found in our Offline Guide in GitHub.
Cesium ion supports a range of 3D model types, as shown below.
| Format | File extensions |
|---|---|
| Wavefront OBJ | .obj |
| Filmbox | .fbx |
| Digital Asset Exchange | .dae |
| glTF | .gltf |
| Binary glTF | .glb |
If you want to practice loading 3D models into Cesium ion so they can be used with your CesiumJS application, follow the steps in the short tutorials below. Once you are comfortable loading your 3D models, we’ll move on to other data types.
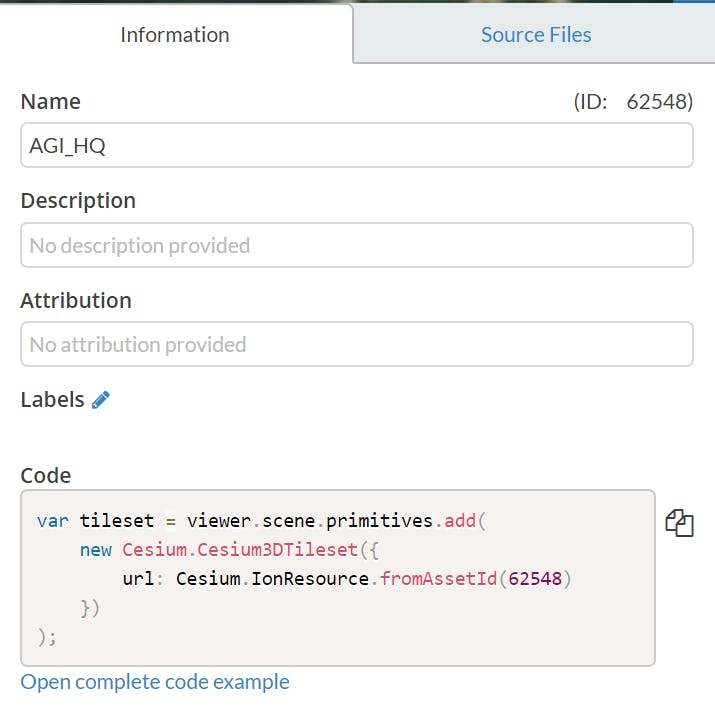
Be sure to click the “Open complete code example” option to see how your 3D model looks once loaded.
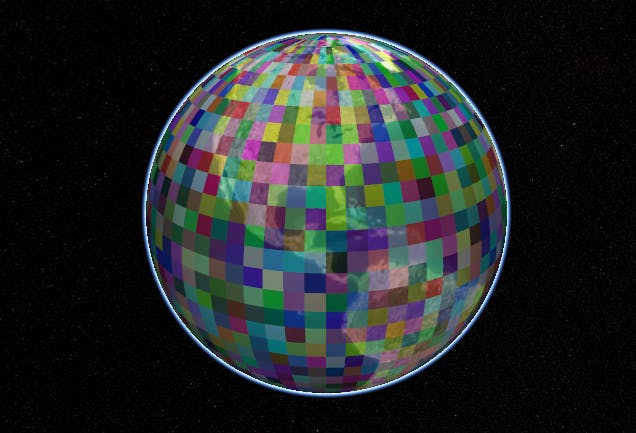
How do I import terrain and imagery?
Now that you’re familiar with loading 3D models, it will be straightforward to load terrain and imagery for use in CesiumJS. The main difference between imagery and terrain data compared to 3D models is that you must georeference your imagery and terrain before loading it into Cesium ion. Cesium ion accepts various formats for both types of data, as shown below.
| Accepted Formats | File extensions | Terrain | Imagery |
|---|---|---|---|
| GeoTIFF | .tiff, .tif | X | X |
| Floating Point Raster | .flt | X | X |
| Arc/Info ASCII Grid | .asc | X | X |
| Source Map | .src | X | X |
| Erdas Imagine | .img | X | X |
| USGS ASCII DEM and CDED | .dem | X | X |
| Cesium Terrain Database | .terraindb | X | X |
| JPEG | .jpg, .jpeg | X | |
| PNG | .png | X | |
| Other common raster formats |
To practice loading terrain and imagery, follow these short tutorials to see how both data types can be loaded into Cesium ion and pulled into a CesiumJS application.
Assignment
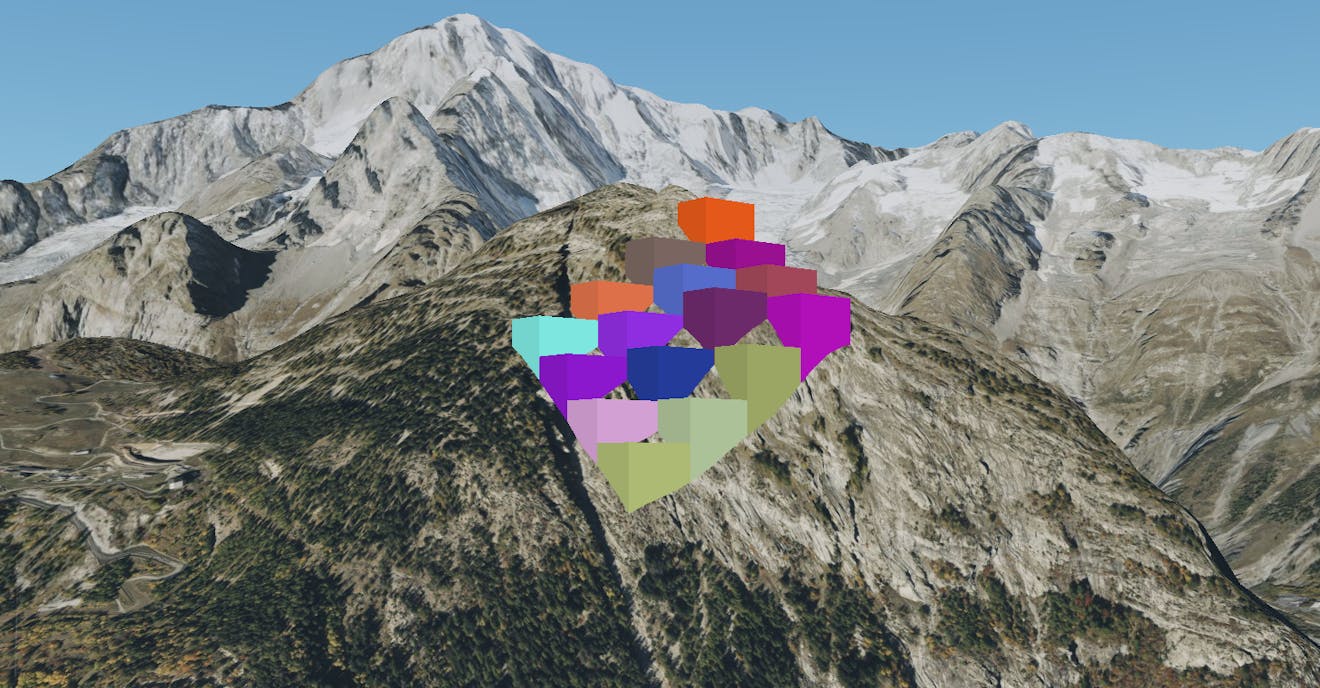
- Complete the Visualize a Proposed Building in a 3D City tutorial.
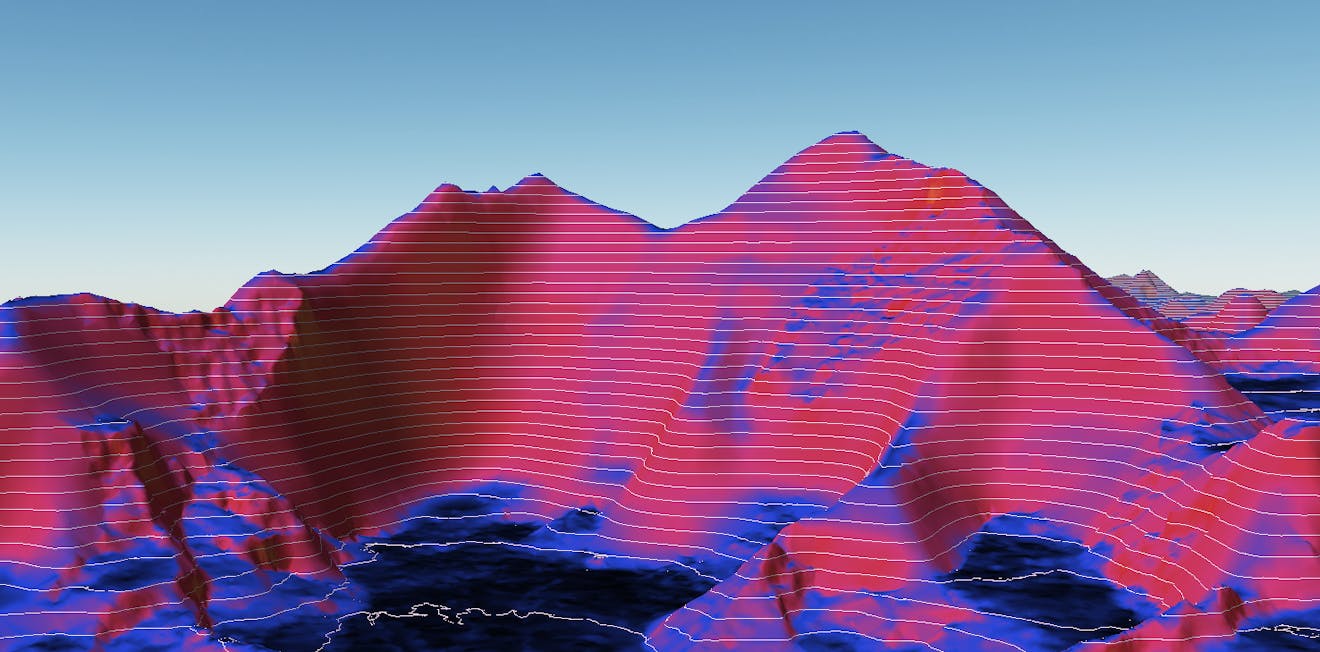
- Complete the Visualizing 3D Terrain tutorial.
- Complete the Visualizing Imagery tutorial.
Additional resources
This section contains helpful links related to the lesson’s content.
- If you need help getting your data to be correctly georeferenced, follow this short guide.
- If you want more examples of 3D models used in CesiumJS, look at this Sandcastle example.
- For more Sandcastle examples showing how you can manipulate imagery layers, look at Imagery Adjustments and Imagery Layer Manipulation.
Knowledge check
This section contains questions to check your understanding of this lesson. Review the content again if you’re having a problem answering a question.
- Why is it essential that your terrain and imagery data be georeferenced?
- Do you need to unzip 3D models before you upload them to Cesium ion?
- How can you view your 3D models, terrain, and imagery data before loading them into your CesiumJS application?
Introduction
This lesson will cover the basics of creating and manipulating entities in CesiumJS.
What are entities?
Entities are high-level visualizations you can make in CesiumJS, such as points, markers, shapes, and labels, which you can incorporate into your application. Unlike primitives, which we will look at later, entities operate consistently through a unified data structure, making them simpler to use in most applications.
If you have completed the previous CesiumJS lessons, you have created and interacted with entities through the assigned tutorials.
How can I use entities in my application?
Entities enable you to visualize concepts and data on the 3D globe in the simplest way possible. For example, if you want to highlight a portion of the map or call attention to a model moving across the screen, you will need to use entities to make that happen.
In the assignment for this lesson, you will follow along with the Creating Entities tutorial, which will demonstrate all of the properties available through the Entity API. Once you have finished the tutorial, review the additional resources to see how you can apply these concepts in interactive applications.
Assignment
- Complete the Creating Entities tutorial.
Additional resources
This section contains helpful links related to the lesson’s content.
- You can read more to dig deeper into entities documentation.
- To explore code examples of entities, follow the links for Points, Labels, Billboards, and Showing or Hiding Entities.
Knowledge check
This section contains questions to check your understanding of this lesson. Review the content again if you’re having a problem answering a question.
- What is the default height of an entity if it is
undefined? - What is the difference between
zoomToandflyTomethods? - What is the difference between
scene.pickandscene.drillPick? - What is the difference between a
pointand abillboard?
Introduction
This lesson will cover camera controls in CesiumJS.
Why are camera controls necessary?
Although we built CesiumJS to allow users to interact with the globe directly, additional features in your application that limit or take control of the user’s camera are often necessary. Without these controls in CesiumJS, all camera controls would need to be built from scratch, reducing the time for other critical features.
How can I control the camera?
We already touched on a few basic controls for the camera in Lesson 3, such as flyTo and zoomTo, but more methods are available.
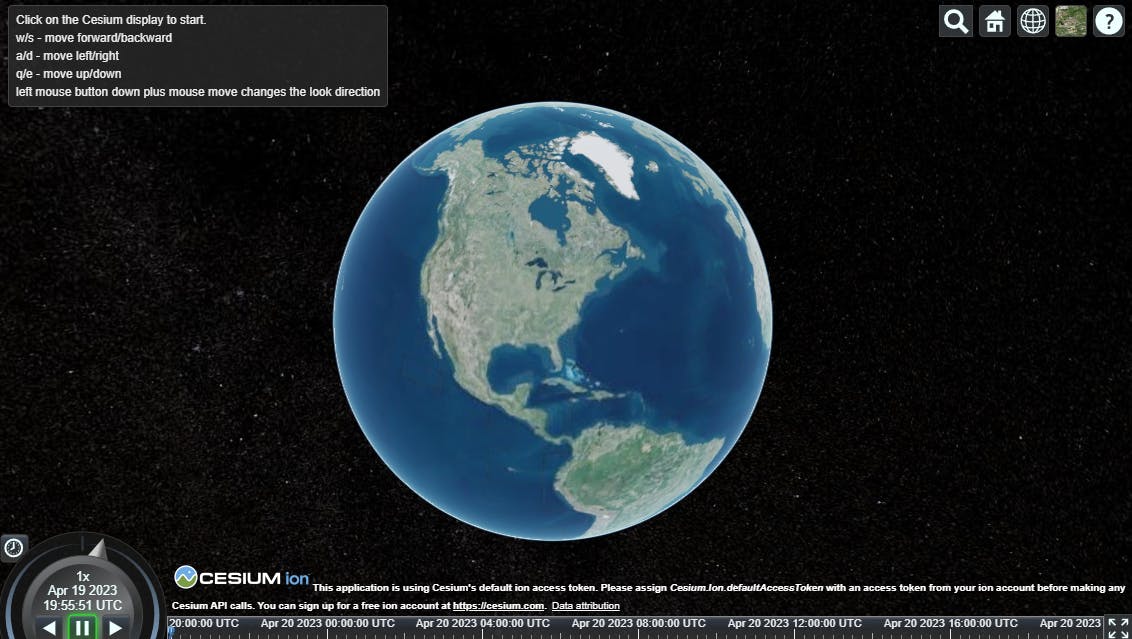
The camera methods also provide developers with tools to change and rebind the default camera controls to UI elements or keystrokes. In the GIF below you can see how these controls can be used to create the right experience for your application.
Assignment
- Complete the Control the Camera tutorial.
- Parse through the Sandcastle camera example, taking notes on constructing each camera function.
Additional resources
This section contains helpful links related to the lesson’s content
- If you want to read through the documentation for the camera controls, start here.
- Explore the Sandcastle example that looks at manipulating camera controls with custom keybindings.
Now that you understand the fundamental concepts in CesiumJS, put them into practice. Before progressing to the next course, create a CesiumJS application that implements the following concepts:
- Import a 3D model.
- Import terrain or imagery.
- Create at least three different types of entities.
- Implement camera controls that move between all of your entities, and try to use a different method for each one.
Your CesiumJS application can be standalone, or you can use the Hello World Sandcastle example to start your application.
We would love to see what you're creating, so feel free to share your application with the Cesium community or share and tag us on LinkedIn or Twitter.
Consider starting the CesiumJS: Intermediate Applications learning path and working to become a Cesium Certified Developer.