Building on a Global Scale with Georeferenced Sub-scenes
The previous tutorials have covered ways to build projects and explore 3D Tilesets with Cesium for Unity. However, up until now, you were building Unity scenes centered around one location on the globe per scene. In this tutorial, you'll learn to use georeferenced sub-scenes to build a global-scale experience spanning multiple locations and ensure that your placed game assets stay where they belong—even when you're on the other side of the world.
Build sub-scenes across the world and seamlessly explore them.
Prerequisites
- Know how to set up a basic Cesium for Unity application. If you are new to Cesium for Unity, check out the Cesium for Unity Quickstart to learn how to install the package, connect with Cesium ion, and create a simple world.
- Know how to place objects on the globe.
- A Cesium ion account to stream real-world data into Unity.
- A project with the Cesium for Unity package installed.
The scenes you built in previous tutorials have all centered around a single location on the globe. This location is determined by the CesiumGeoreference component, which maps the location on the globe to the Unity origin (0,0,0). Any georeferenced objects will adjust their Unity positions and orientations with respect to that location. This includes 3D Tilesets, the DynamicCamera, and any game objects that have the CesiumGlobeAnchor component.
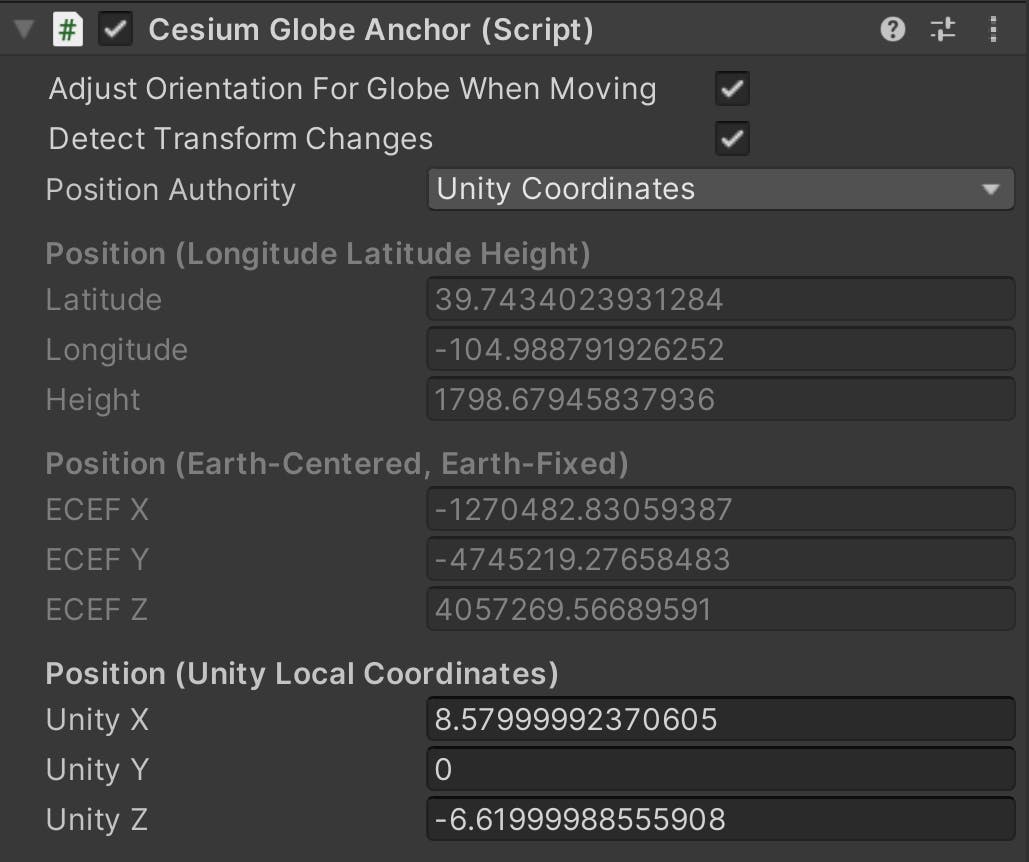
The CesiumGlobeAnchor component as it appears in the Inspector.
Game objects without globe anchors can be displaced from their intended positions when the georeference origin is changed. On the other hand, adding globe anchors to every object in the scene can be tedious. And even with globe anchors attached, game objects may still behave in undesired ways.
For example, Unity’s built-in physics are not entirely compatible with georeferences or origin shifting. Gravity does not automatically account for the georeference’s origin, and it only works in one direction across the whole scene. Thus, any objects on the opposite side of the globe will fall away from the ground in the wrong direction. Additionally, the physics system can interpret origin shifts as large displacements of objects in Unity space. The displacements can cause undesired reactions or behaviors in physically-simulated objects.
These complications can be addressed by limiting where physics and other complex simulations occur, and only enabling them close to the user’s location. Generally, global content can be organized as multiple local scenes that are only enabled when a user enters them. This is possible in Cesium for Unity through the use of georeferenced sub-scenes. Georeferenced sub-scenes allow users to define global locations for groups of objects across the world. Each sub-scene defines a central location and a radius that surrounds its contents, with the intent to simulate an ordinary Unity scene inside them while placing them in a global context.
After this tutorial, you will be able to:
- Create and manage georeferenced sub-scenes within the global scene.
- Fill each sub-scene with Unity assets.
- Understand the difference between globe anchors and georeferenced sub-scenes.
This step should be familiar if you have been progressing through the Cesium for Unity Getting Started Tutorials. For this tutorial, you can either create a new scene or use any of the scenes that you have built in the previous tutorials.
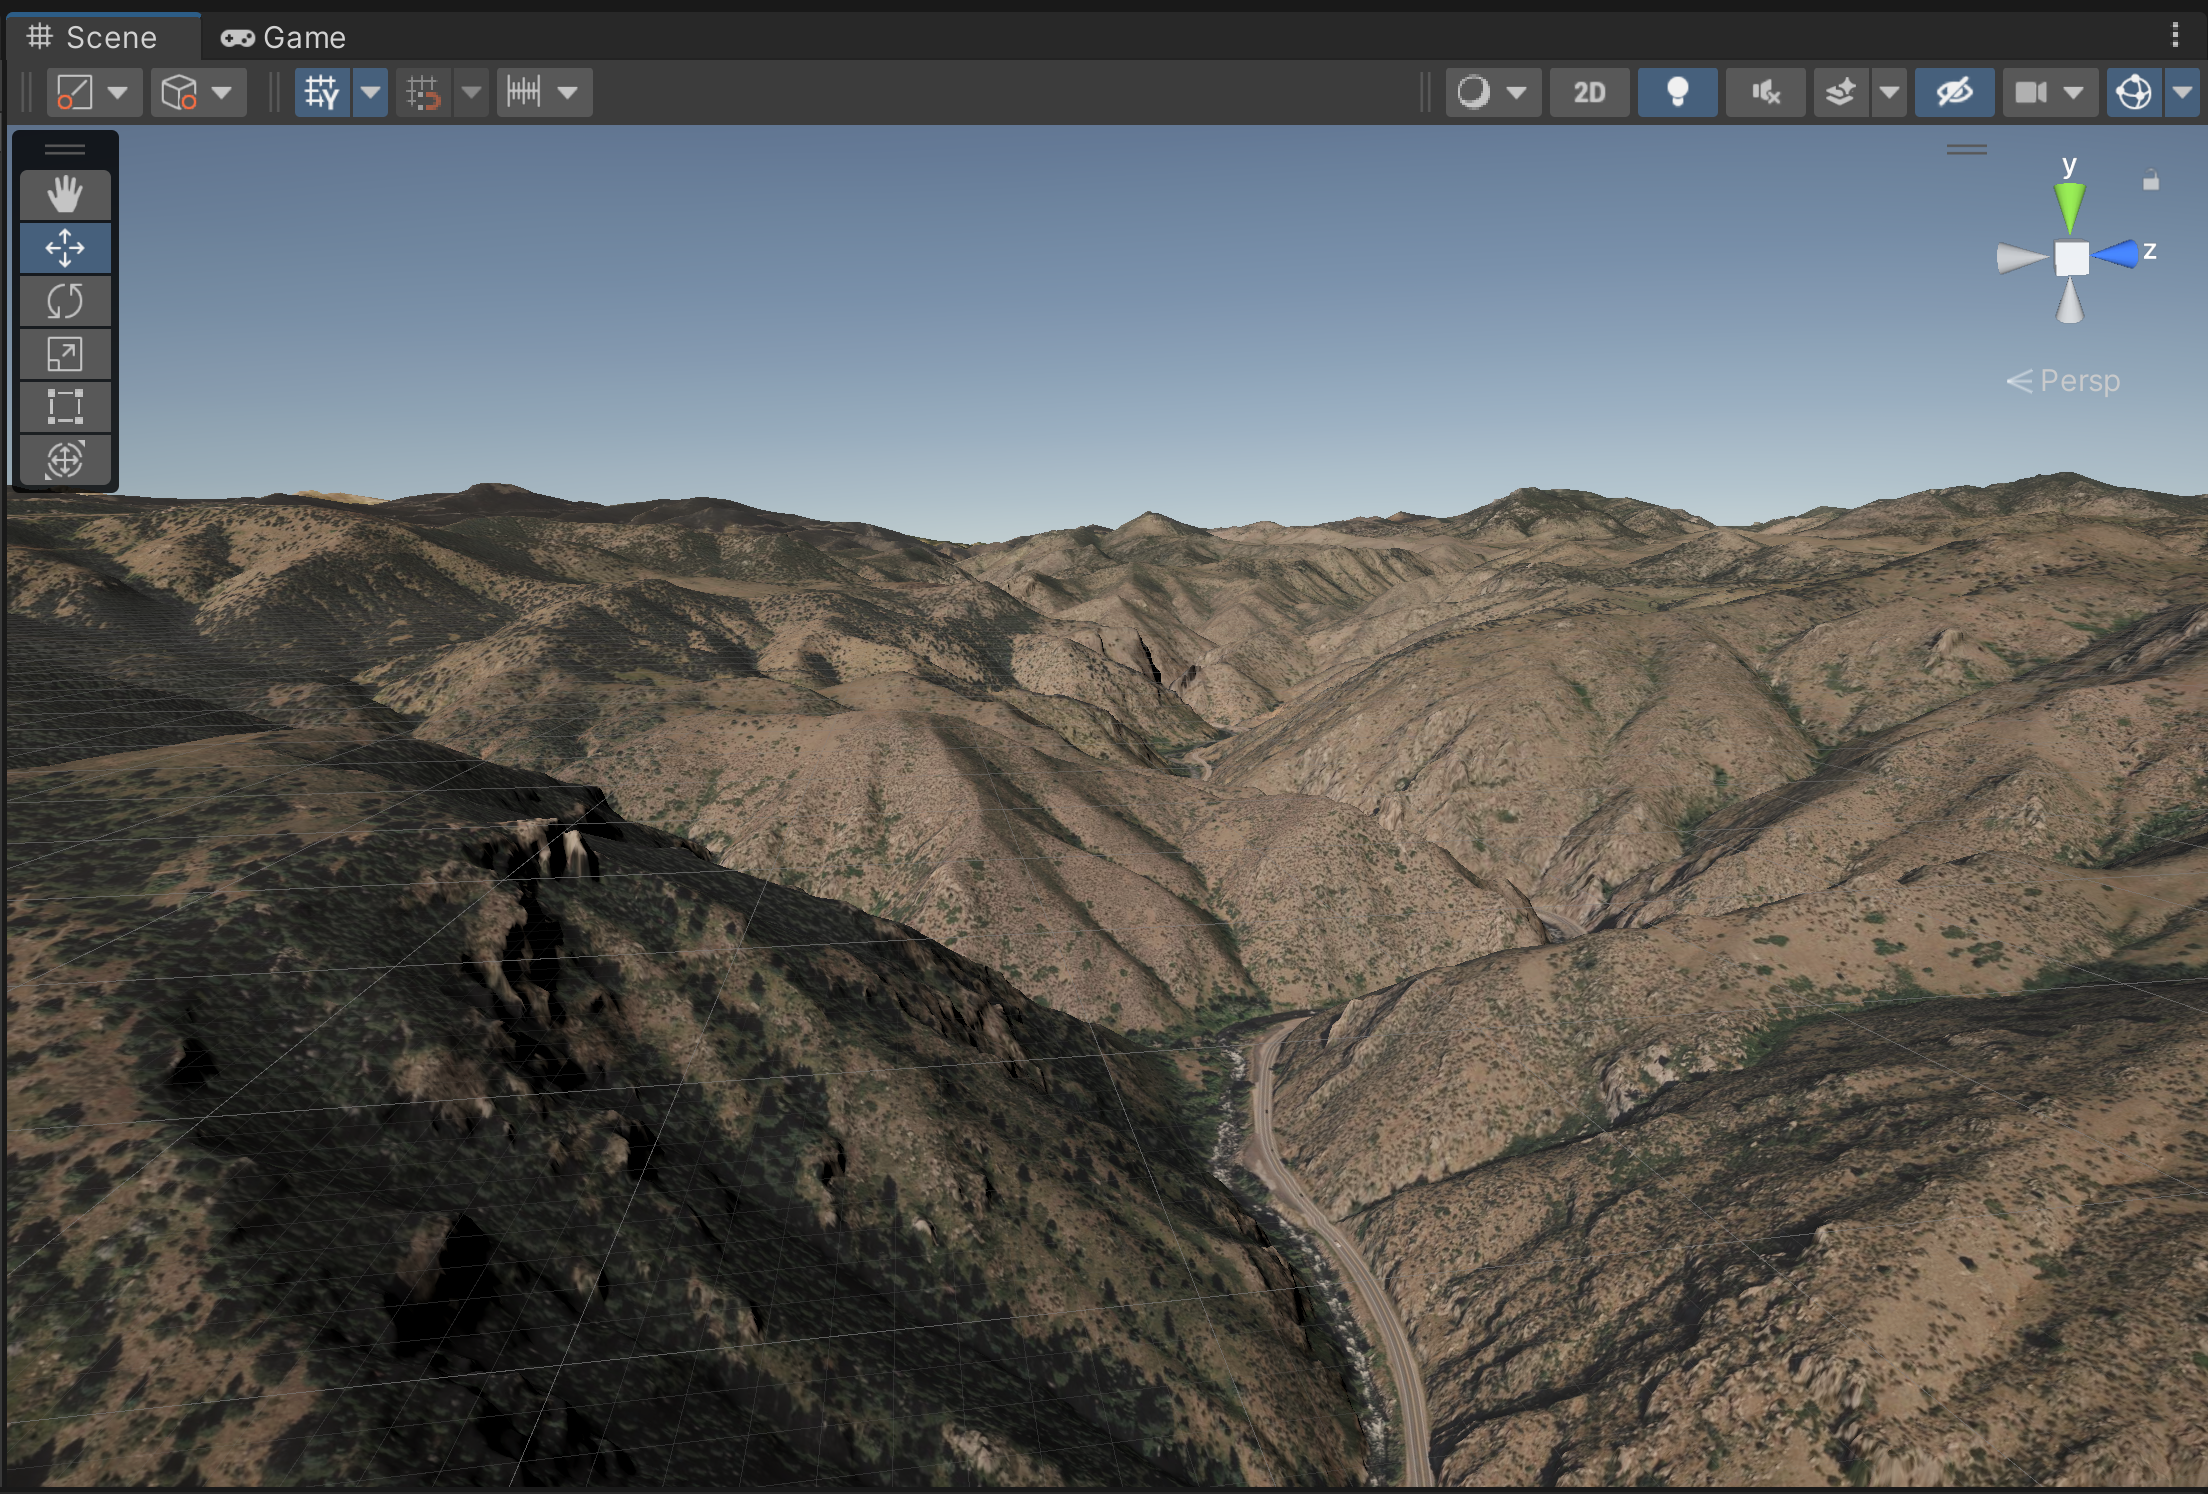
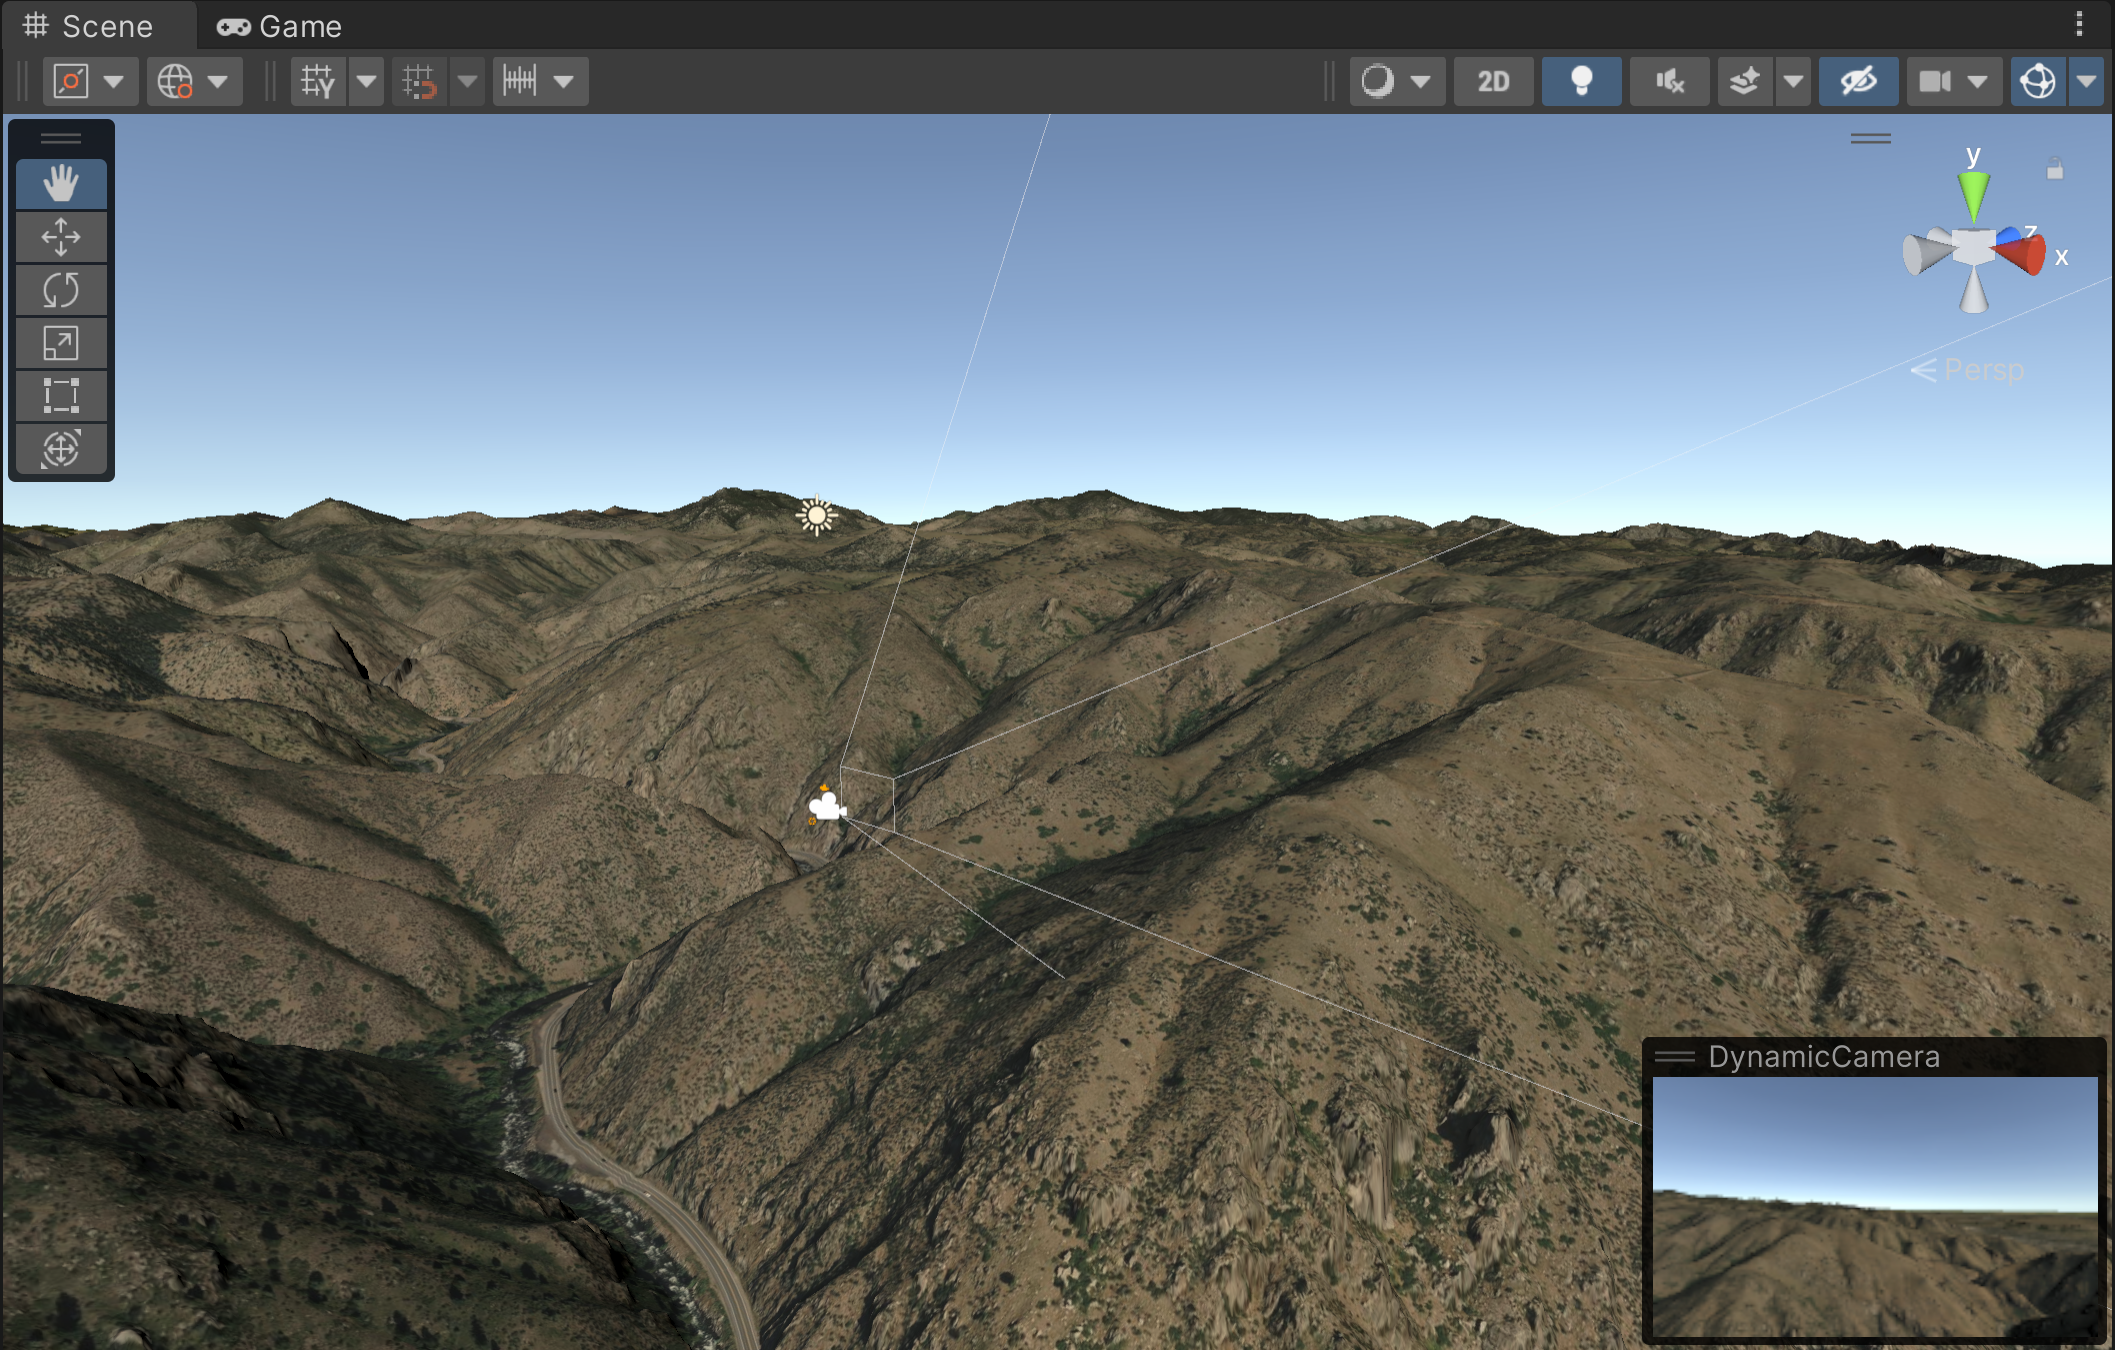
1. First, add Cesium World Terrain With Bing Aerial Imagery to the scene. If you need to refresh your memory, see Step 3 in the Quickstart tutorial for how to do this. This step provides the global base-terrain for you to place your sub-scenes. Once you add the terrain, you should be able to see the hills of Denver at the origin of the scene.
2. Next, add two photogrammetry datasets of your choosing. This tutorial demonstrates how to place sub-scenes around the Aerometrex Denver Photogrammetry and Nearmap Boston Photogrammetry datasets. Some parts of the Nearmap Boston Photogrammetry tileset clip into the ground, so make sure to offset the Y-coordinate of its Position by 4 meters.
If you need help adding and repositioning 3D Tilesets from Cesium ion, check out the Adding Datasets tutorial.
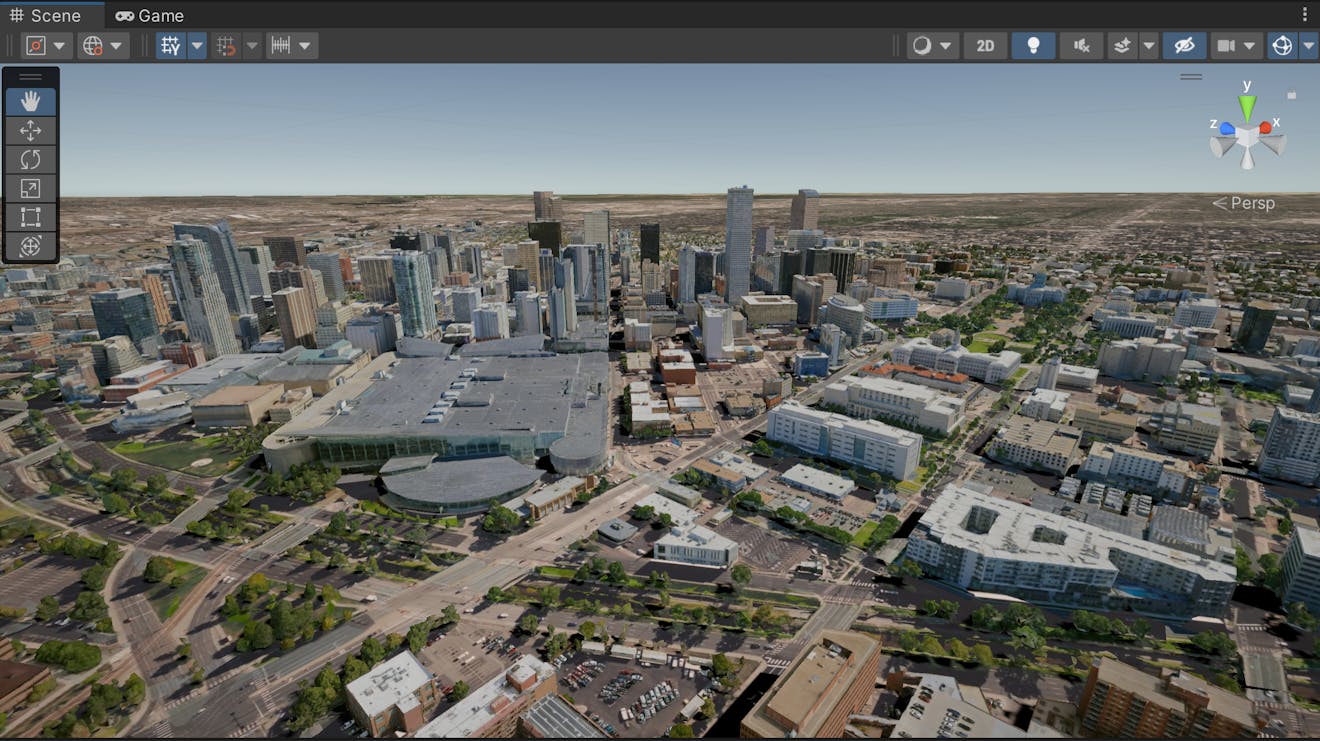
The Aerometrex Denver Photogrammetry 3D Tileset.
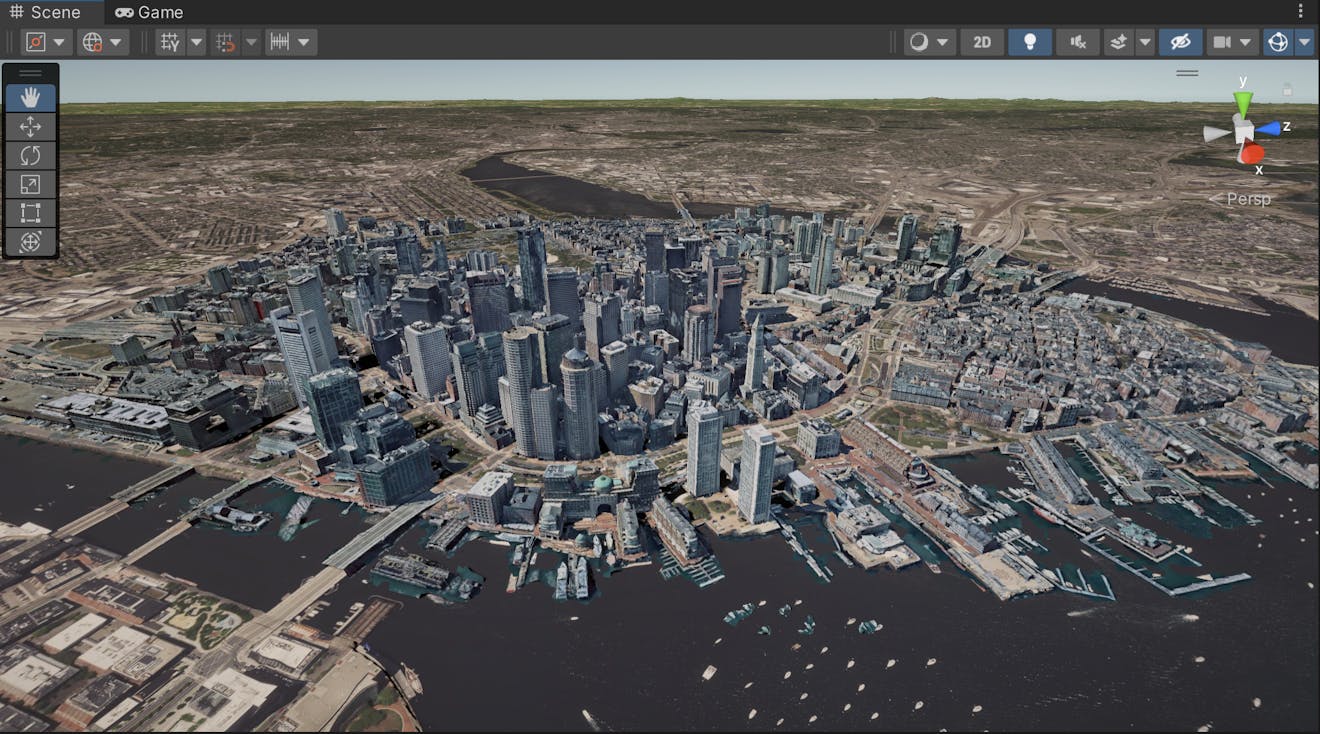
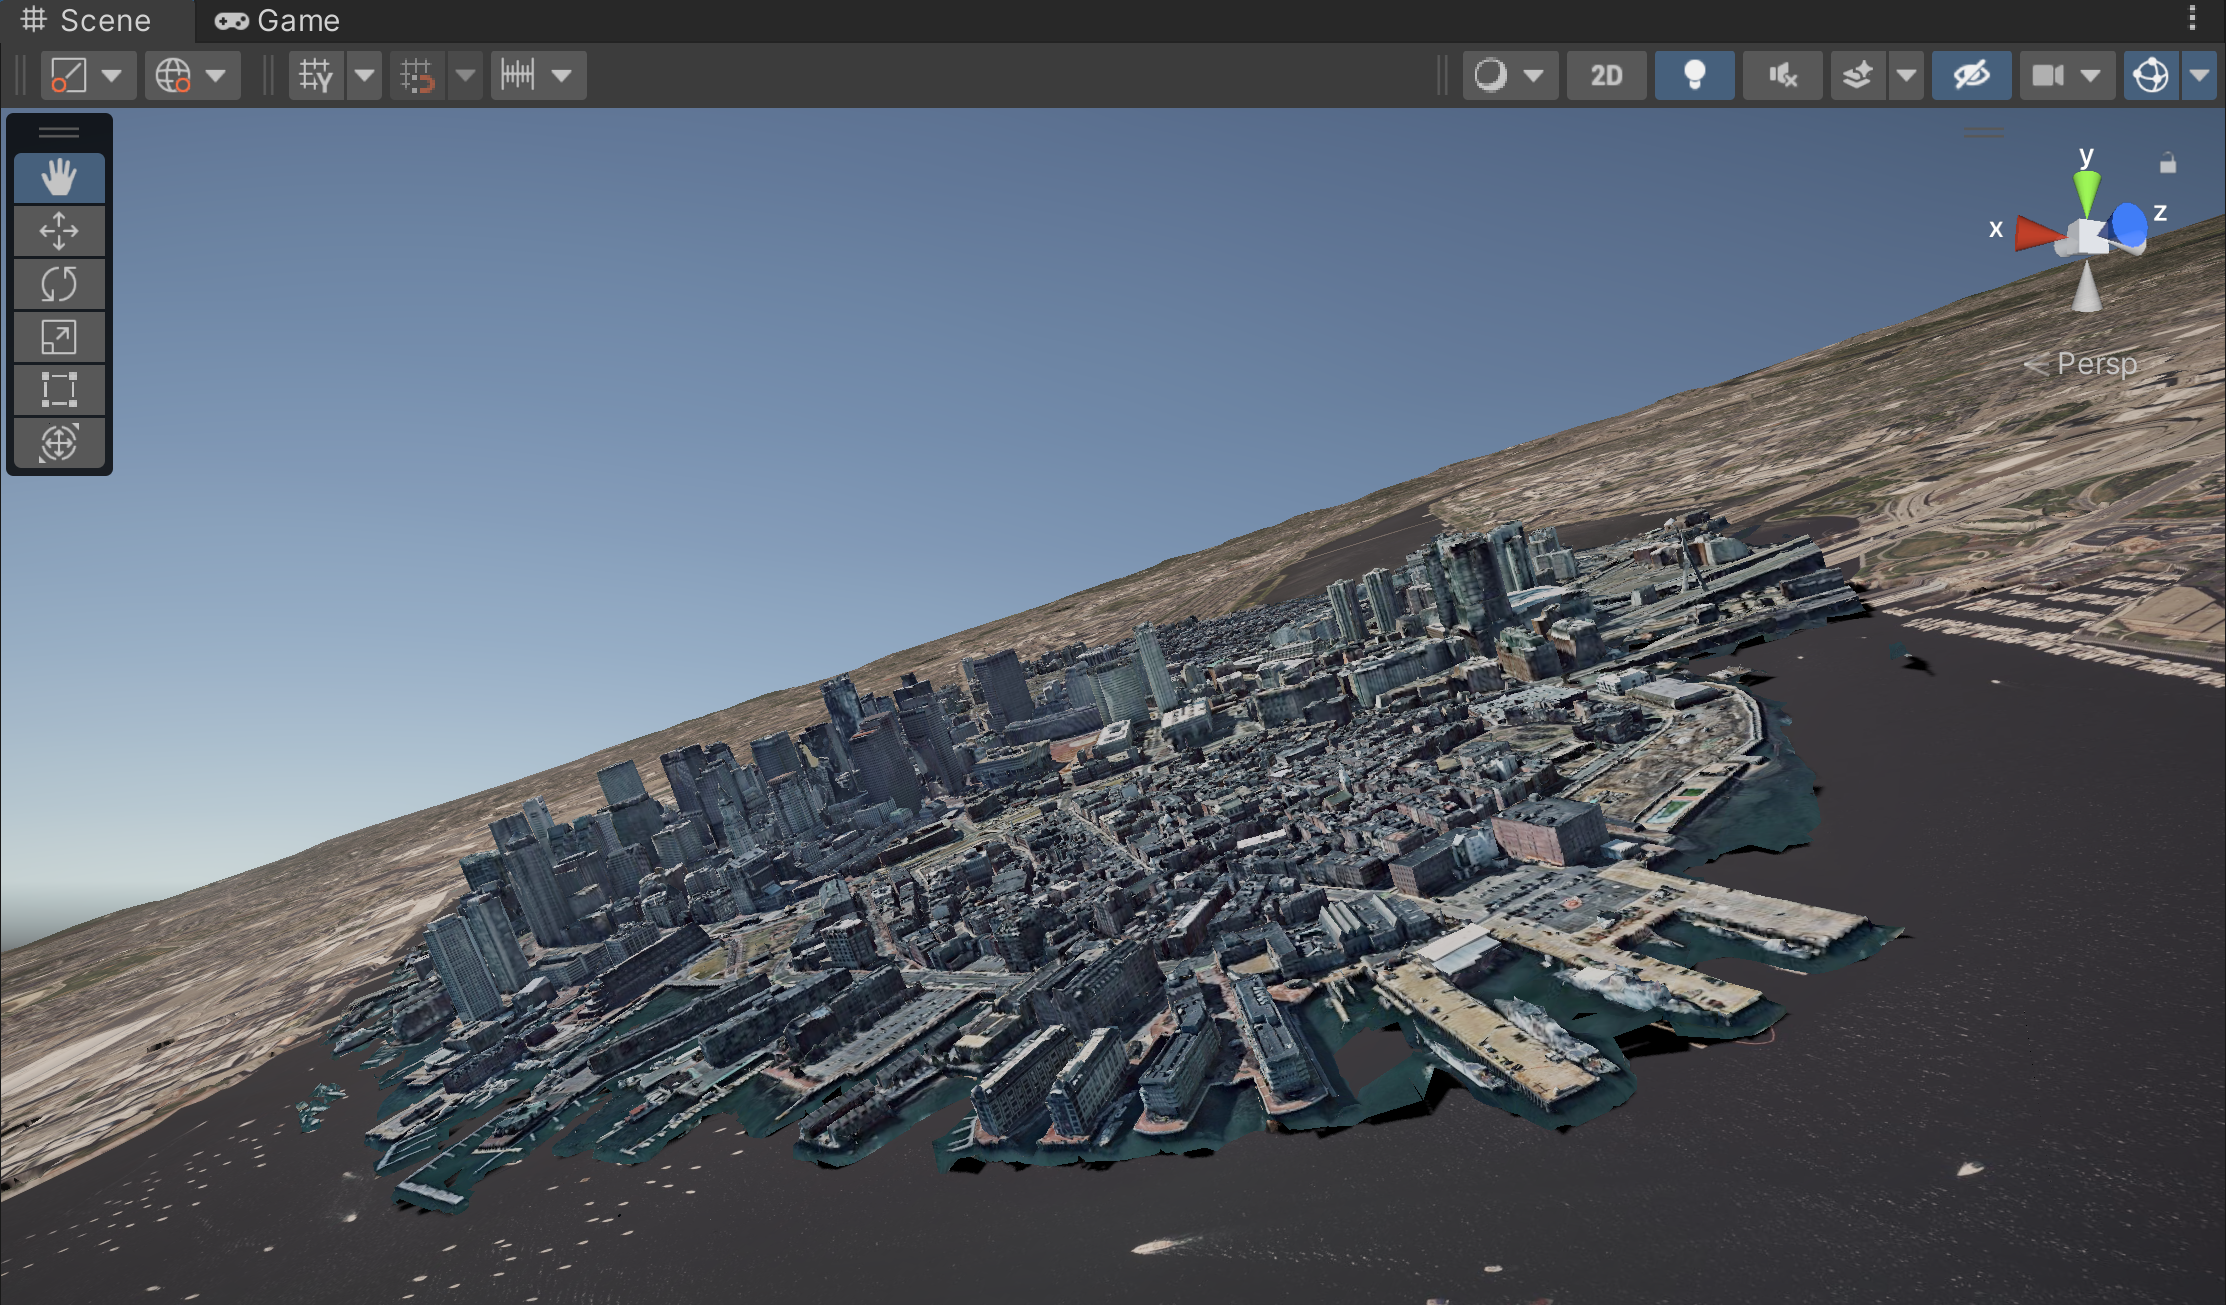
The Nearmap Boston Photogrammetry 3D Tileset.
Are either the Aerometrex Denver Photogrammetry or Nearmap Boston Photogrammetry missing from the asset list? Visit the Cesium ion Asset Depot, find the photogrammetry tilesets, and click Add to my assets on both. Then return to Unity, and in the Cesium ion Assets panel, click the blue refresh button to refresh the asset list.
3. Finally, add a DynamicCamera to the scene. This camera adjusts its orientation as it flies around Earth so that its “up” direction is correct no matter where it is on the globe. Once the DynamicCamera is in your scene, make sure to delete or disable the original Main Camera object, if it exists. If you are having trouble adding a DynamicCamera, refer to Step 6 in the Quickstart tutorial.
Now let’s learn how to create a georeferenced sub-scene. This tutorial uses photogrammetry of Denver and Boston, so the sub-scenes will be created in those cities. The location of your sub-scenes will depend on the datasets that you chose in the previous step.
First, let’s travel to Denver to create the first sub-scene.
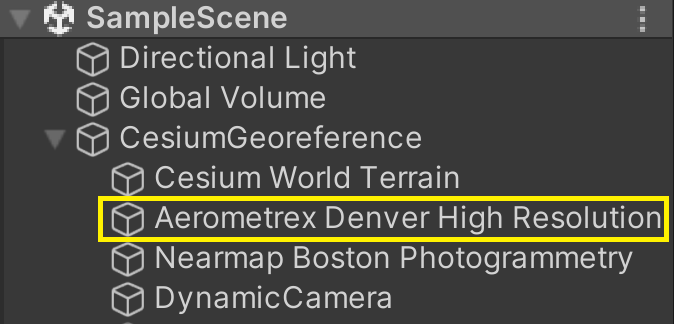
1. In the Hierarchy window, double-click on the Aerometrex Denver Photogrammetry object to center the tileset in the Scene View.
Using the arrow keys and mouse, move the camera in the Scene View to a distinctive location on the tileset. If you need help navigating the scene in the Editor, take a look at Step 6 of the Quickstart tutorial. This tutorial will use the rooftop of one of the tallest buildings in the tileset.

Prefer not to fly? You can get to this location by entering the following coordinates on the CesiumGeoreference:
Origin Latitude: 39.743454
Origin Longitude: -104.988761
Origin Height: 1798.733479
2. Click on the CesiumGeoreference in the Hierarchy window. Then, in the component’s Inspector window, click on the button labeled Create Sub-Scene Here.

This will create a new game object nested under the CesiumGeoreference in the Hierarchy window.
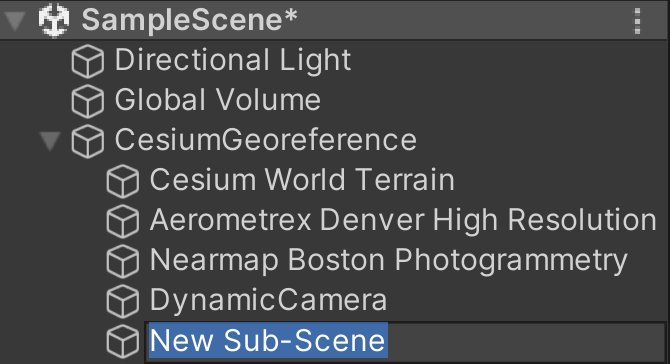
Give the new game object a descriptive name. This tutorial uses the name “Denver Sub-Scene.” The new game object will have a CesiumSubScene component attached, which will look similar to the CesiumGeoreference component in the Inspector.
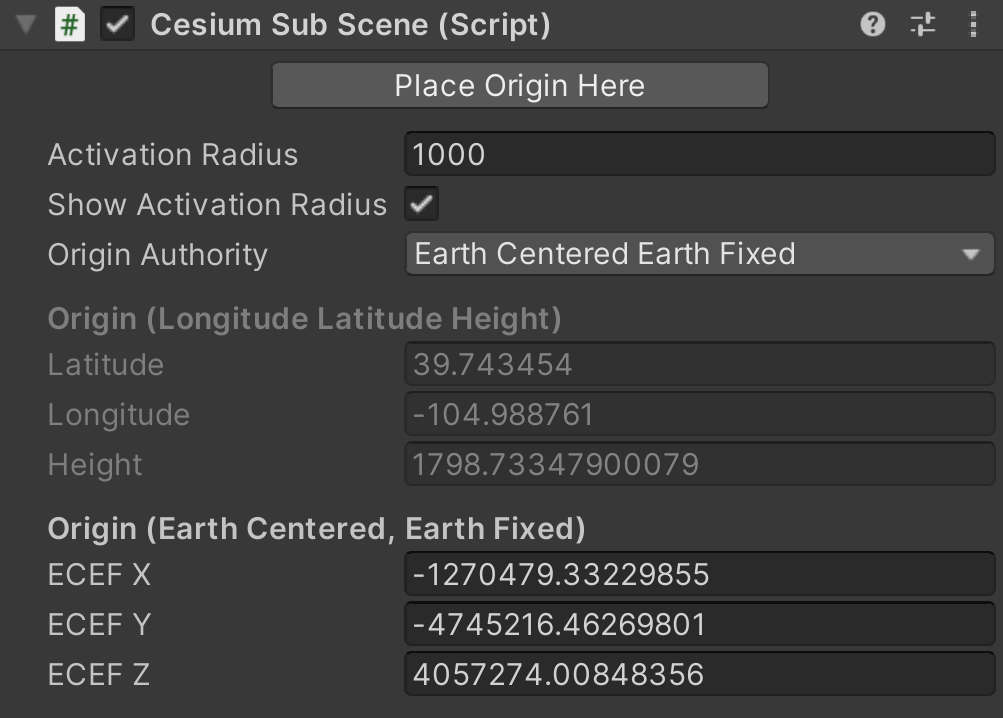
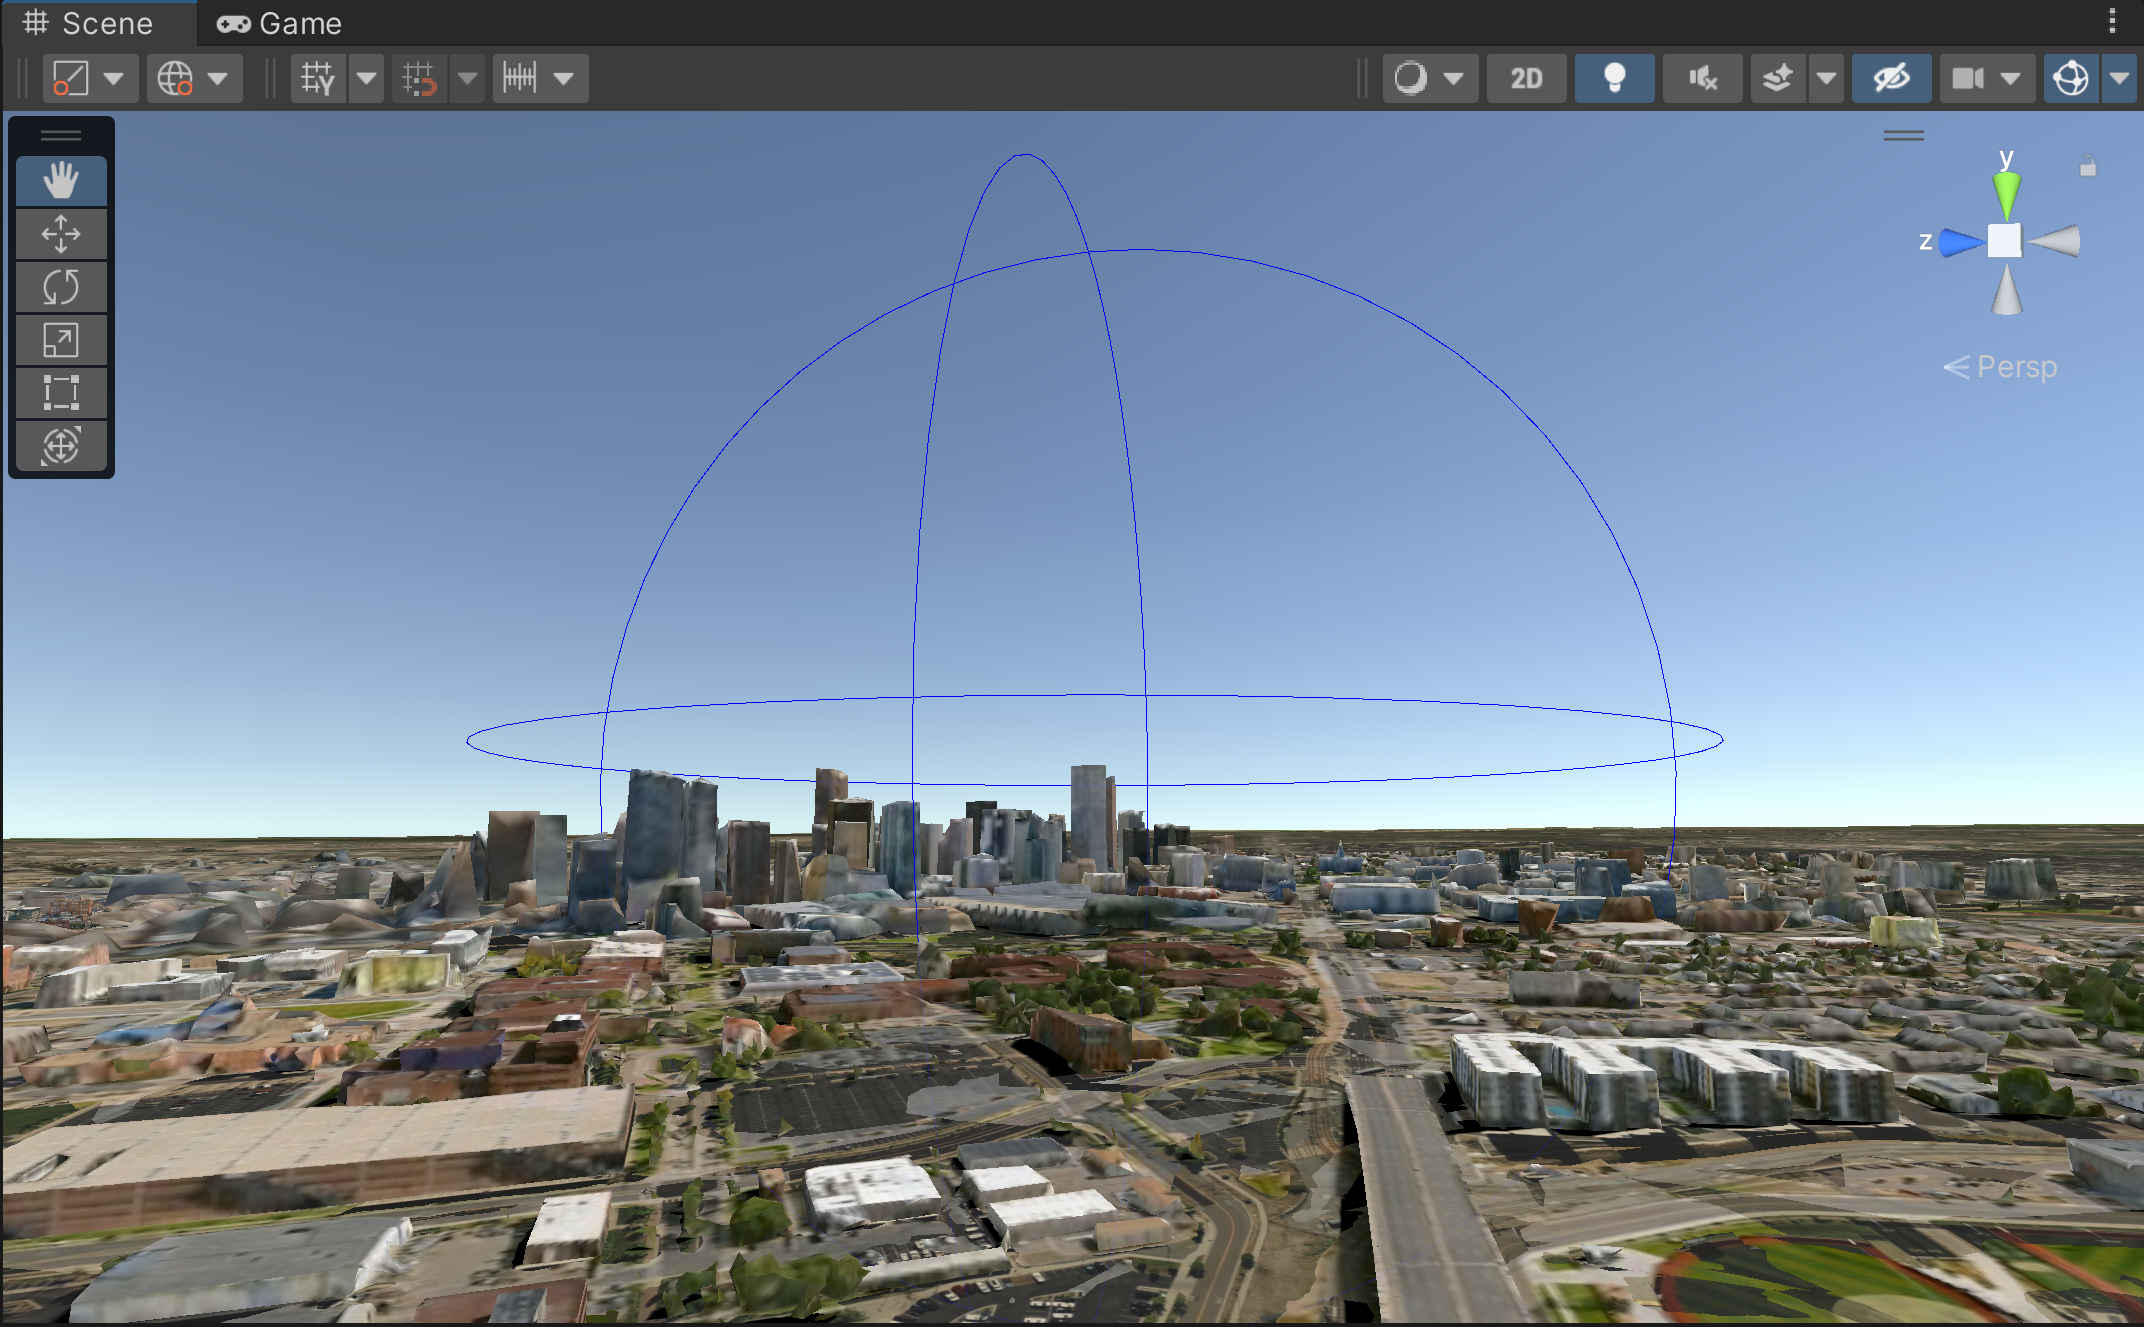
The CesiumSubScene component represents a georeferenced sub-scene in Cesium for Unity. Whenever Create Sub-SceneHere is clicked, it converts the position of the Editor camera to global coordinates, then sets them as the origin of the new sub-scene. This also sets the origin of the CesiumGeoreference to the same value. In fact, whenever you enter a sub-scene’s activation radius, it automatically sets the georeference origin to be the origin of the sub-scene. This radius is visualized by a wireframe sphere in the Scene View whenever the Show Activation Radius checkbox is checked.
Whenever the user enters a sub-scene’s radius, it enables the sub-scene. This means the game objects inside the sub-scene are enabled. Origin shifting is also disabled while the user is inside. Upon exiting, origin shifting will be re-enabled, and the sub-scene will be disabled along with its contents.
3. If you want to adjust the activation radius of your sub-scene, select the Denver Sub-Scene in the Hierarchy window. Then, in the Inspector, enter your desired value in the field labeled Activation Radius.
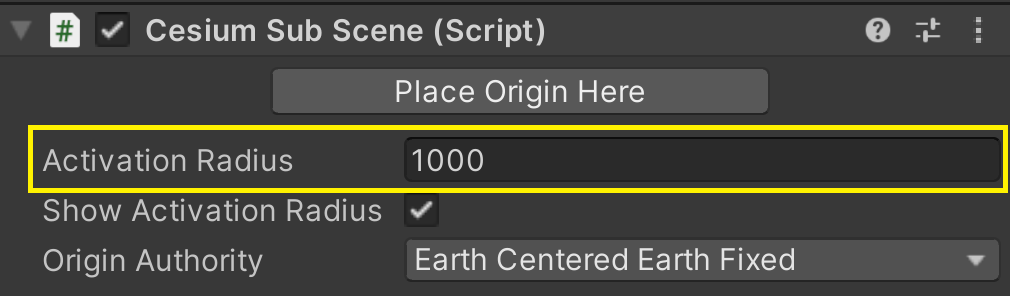
For this tutorial, the radius is set to 100 so that you can easily see the sub-scene as it is enabled and disabled. Once you place objects inside the sub-scene, feel free to use other values to test how the sub-scene appears as you approach it.
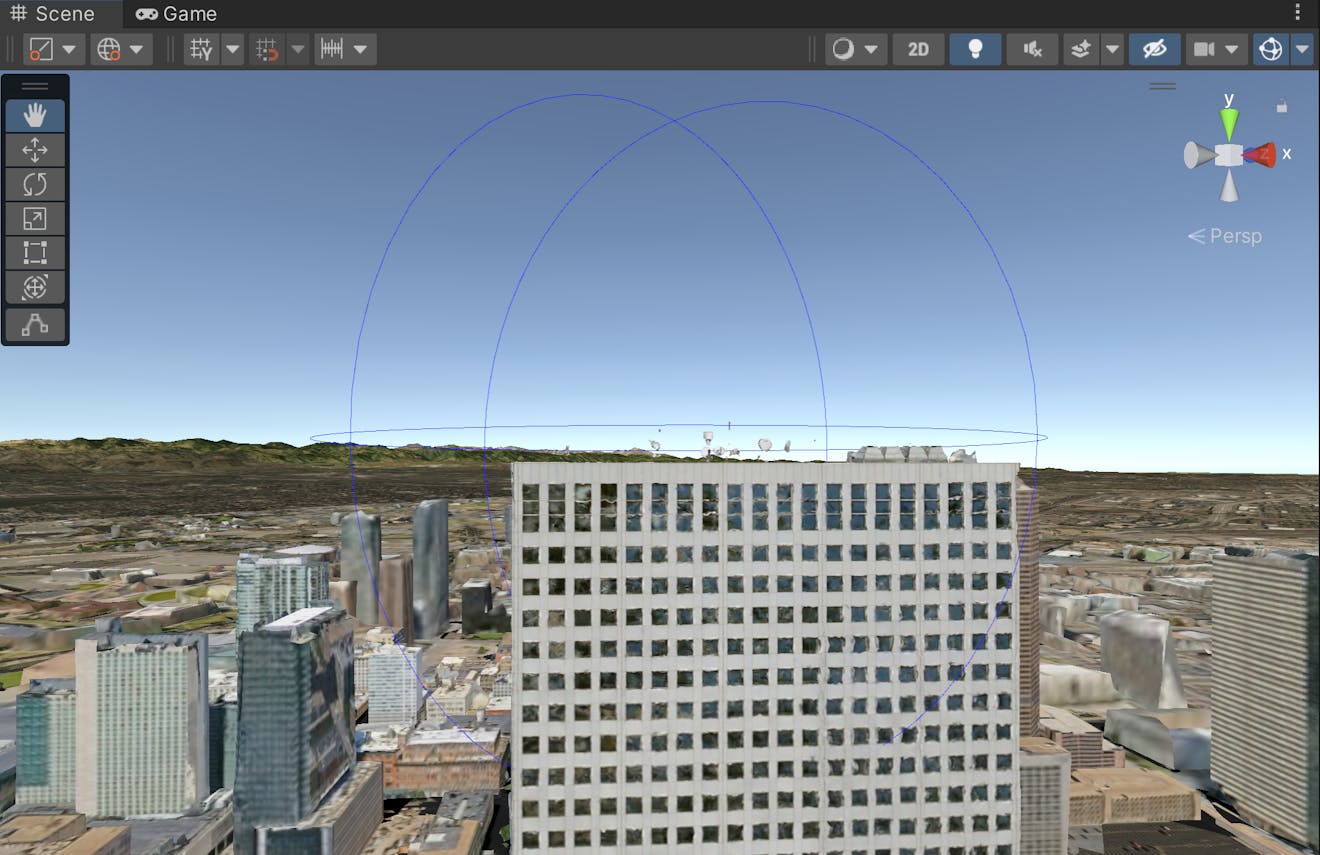
Setting the Activation Radius to 100 limits the sub-scene to the building’s rooftop.
Sub-scenes will not be enabled or disabled by the movement of the Editor camera. This is to prevent the displacement of objects that have not yet been placed in a sub-scene. Sub-scenes can be activated in play mode by an object containing a CesiumOriginShift (usually a camera), or by manually enabling them if origin shifting is not used in the scene.
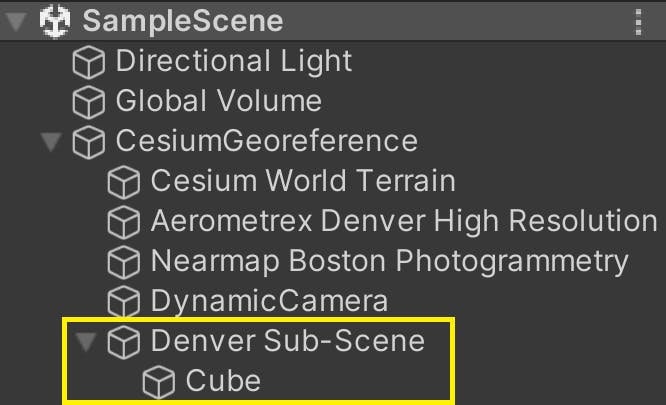
Georeferenced sub-scenes become more useful once you build your local scenes inside of them. In Cesium for Unity, a game object is considered part of a sub-scene if its parent object has a CesiumSubScene component. This tutorial will demonstrate how this works by placing a cube in the sub-scene in Denver.
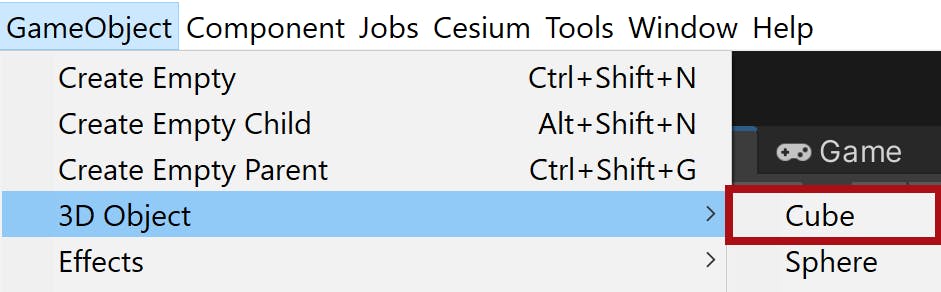
1. In the top menu, go to GameObject > 3D Object > Cube to create a cube in your scene.
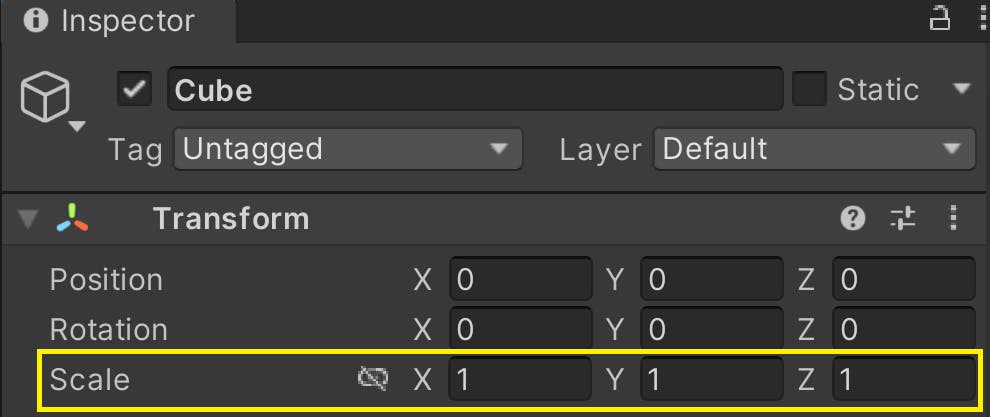
You can increase the cube’s Scale so that it is more visible from a distance. The cube in this tutorial is scaled by 5 in all directions.
2. In the Hierarchy window, drag the Cube game object so that it hovers above the Denver Sub-Scene. Then, release the mouse button to make the cube a child of the sub-scene game object.
Now whenever the sub-scene is enabled, it will also enable the cube object. Likewise, whenever the sub-scene is disabled, the cube will be disabled too. You can test this out during play mode by using the DynamicCamera.
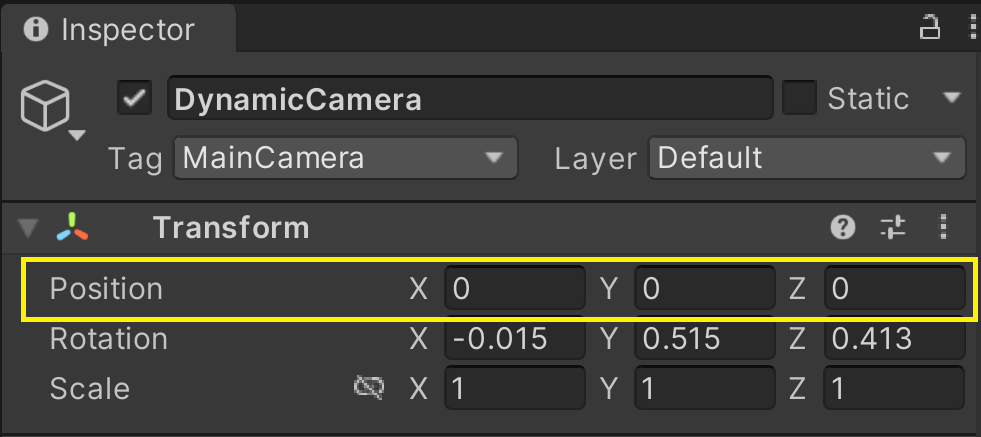
3. Select the DynamicCamera in the Hierarchy window. Since the camera has a CesiumGlobeAnchor, it will have been left behind at the Denver hills. You can bring the camera to the origin of the sub-scene by setting its Position to (0, 0, 0).
Once you can see the DynamicCamera, be sure to move it away from the Cube. Otherwise, when the level starts, the camera will get stuck inside it.
Now you can press Play and navigate around the scene. Move the camera with the W, A, S, D keys and the mouse. You can also use the Q and E keys to move the camera down and up with respect to the globe.
If you placed the camera in the sub-scene before pressing Play, the sub-scene will be active and the cube will be visible. However, once you move away from the roof, the cube will disappear.
Conversely, entering the sub-scene’s activation radius again will reactivate the cube. This demonstrates how sub-scenes enable and disable themselves based on if the user is inside them.
If the camera is moving too fast for your liking, it may be because of its dynamic speed. When dynamic speed is enabled, the camera scales its speed by its height above the globe, so it moves faster at high altitudes to account for the size of Earth. This may make it too fast for scenes close to the ground, so you can disable this by clicking on the DynamicCamera, finding the CesiumCameraController in the Inspector, and unchecking the box next to Enable Dynamic Speed.
4. Now that you know how to place a simple cube in your sub-scene, feel free to make it more immersive by placing other assets. Like the Cube, any assets you add will need to be parented by the sub-scene game object in order to be considered part of the sub-scene. In this example, we added furniture to the building rooftop, but you can expand beyond it and place assets all over the city. Just be sure to set the Activation Radius to a value that makes sense for your sub-scene.
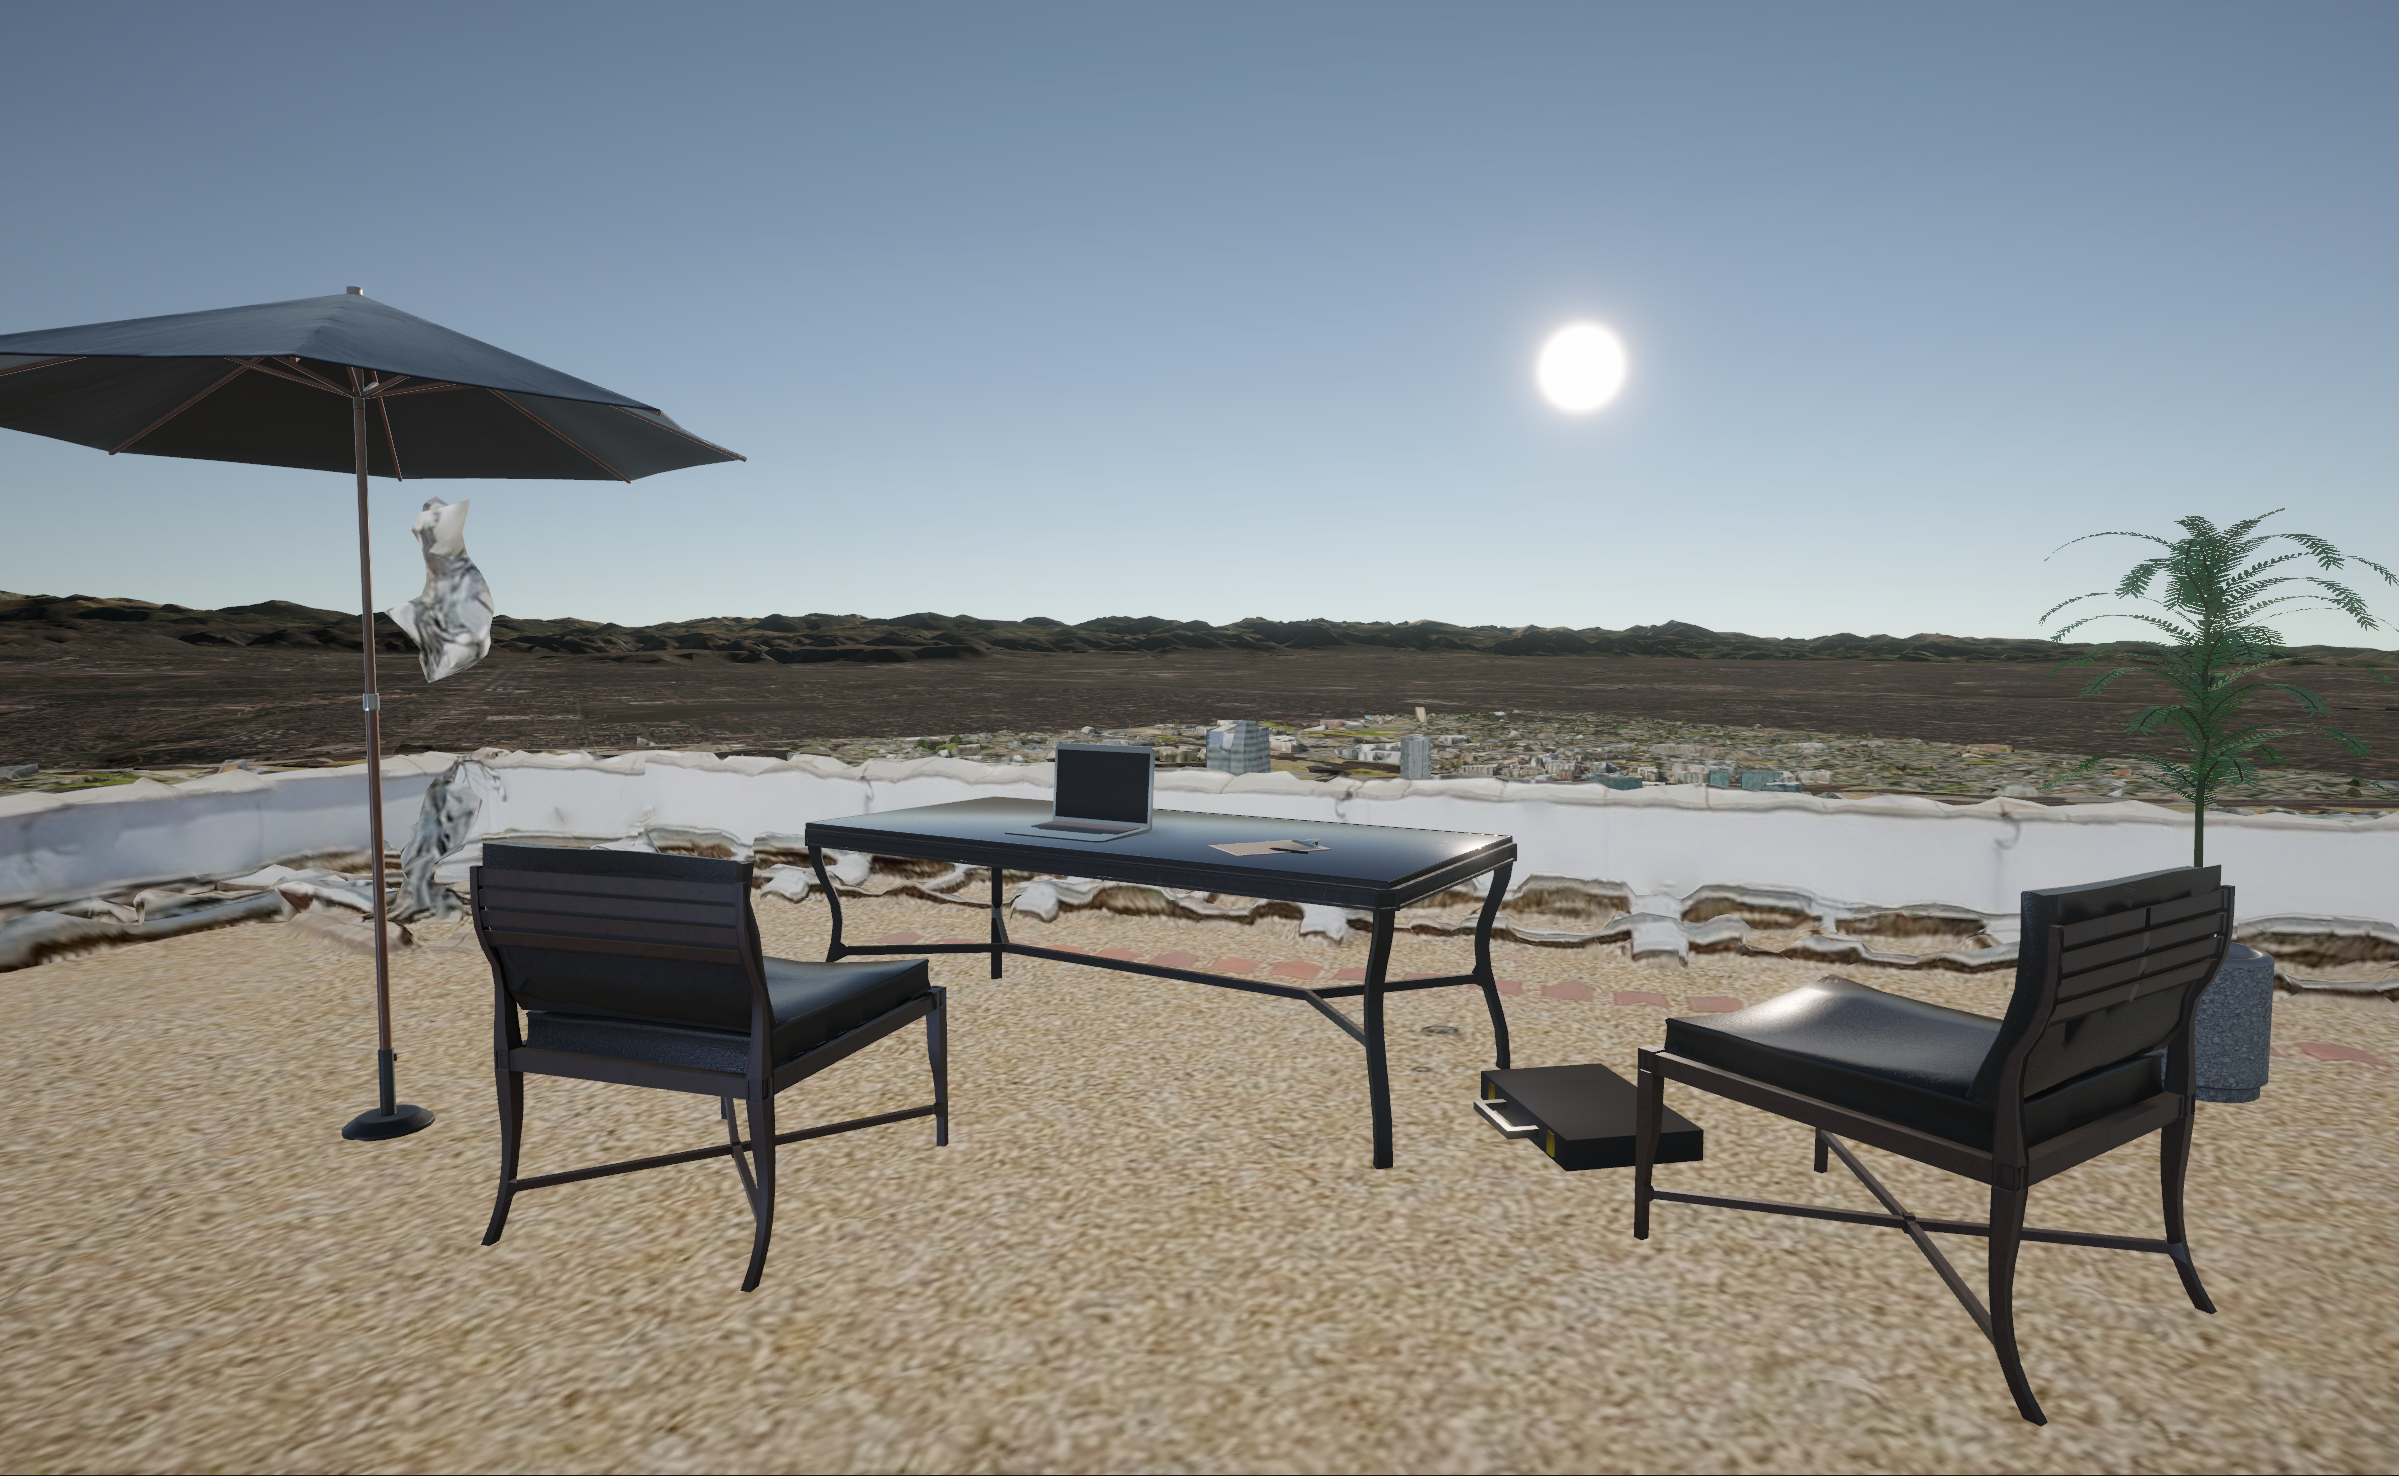
The following assets from the Unity Asset Store were used to build this rooftop sub-scene: Patio chair, Patio table, Colored Parasols, Low-Poly Office Props - LITE, PBR Floweringpot 01, (PBR) Low-Lying Plant Pack, Clipboard.
5. When you’re happy with your changes, press Play to see how it appears in play mode. Now when the sub-scene gets activated or disabled, all of your assets within it will be affected as well.
Be careful when placing game objects in georeferenced sub-scenes. Any assets meant to be active for the entire level should not be children of sub-scene objects. This includes global tilesets like Cesium World Terrain, as well as the DynamicCamera. If you accidentally place these in a sub-scene, they will disappear once you exit the sub-scene’s radius, leaving you without a globe or main camera for the rest of the scene!
Congrats on your first sub-scene! Let’s move on and build the next one. Before you do, make sure that every object is properly parented by the sub-scene object. Otherwise, these objects will be displaced when you change locations.
Follow these steps to create two more sub-scenes.
1. The next sub-scene will be built in Boston. You should already be familiar with these steps.
Double-click on the Nearmap Boston Photogrammetry in the Hierarchy window to zoom to the dataset. You may notice that the world is oriented at an angle because the georeference has not adjusted to your new location.
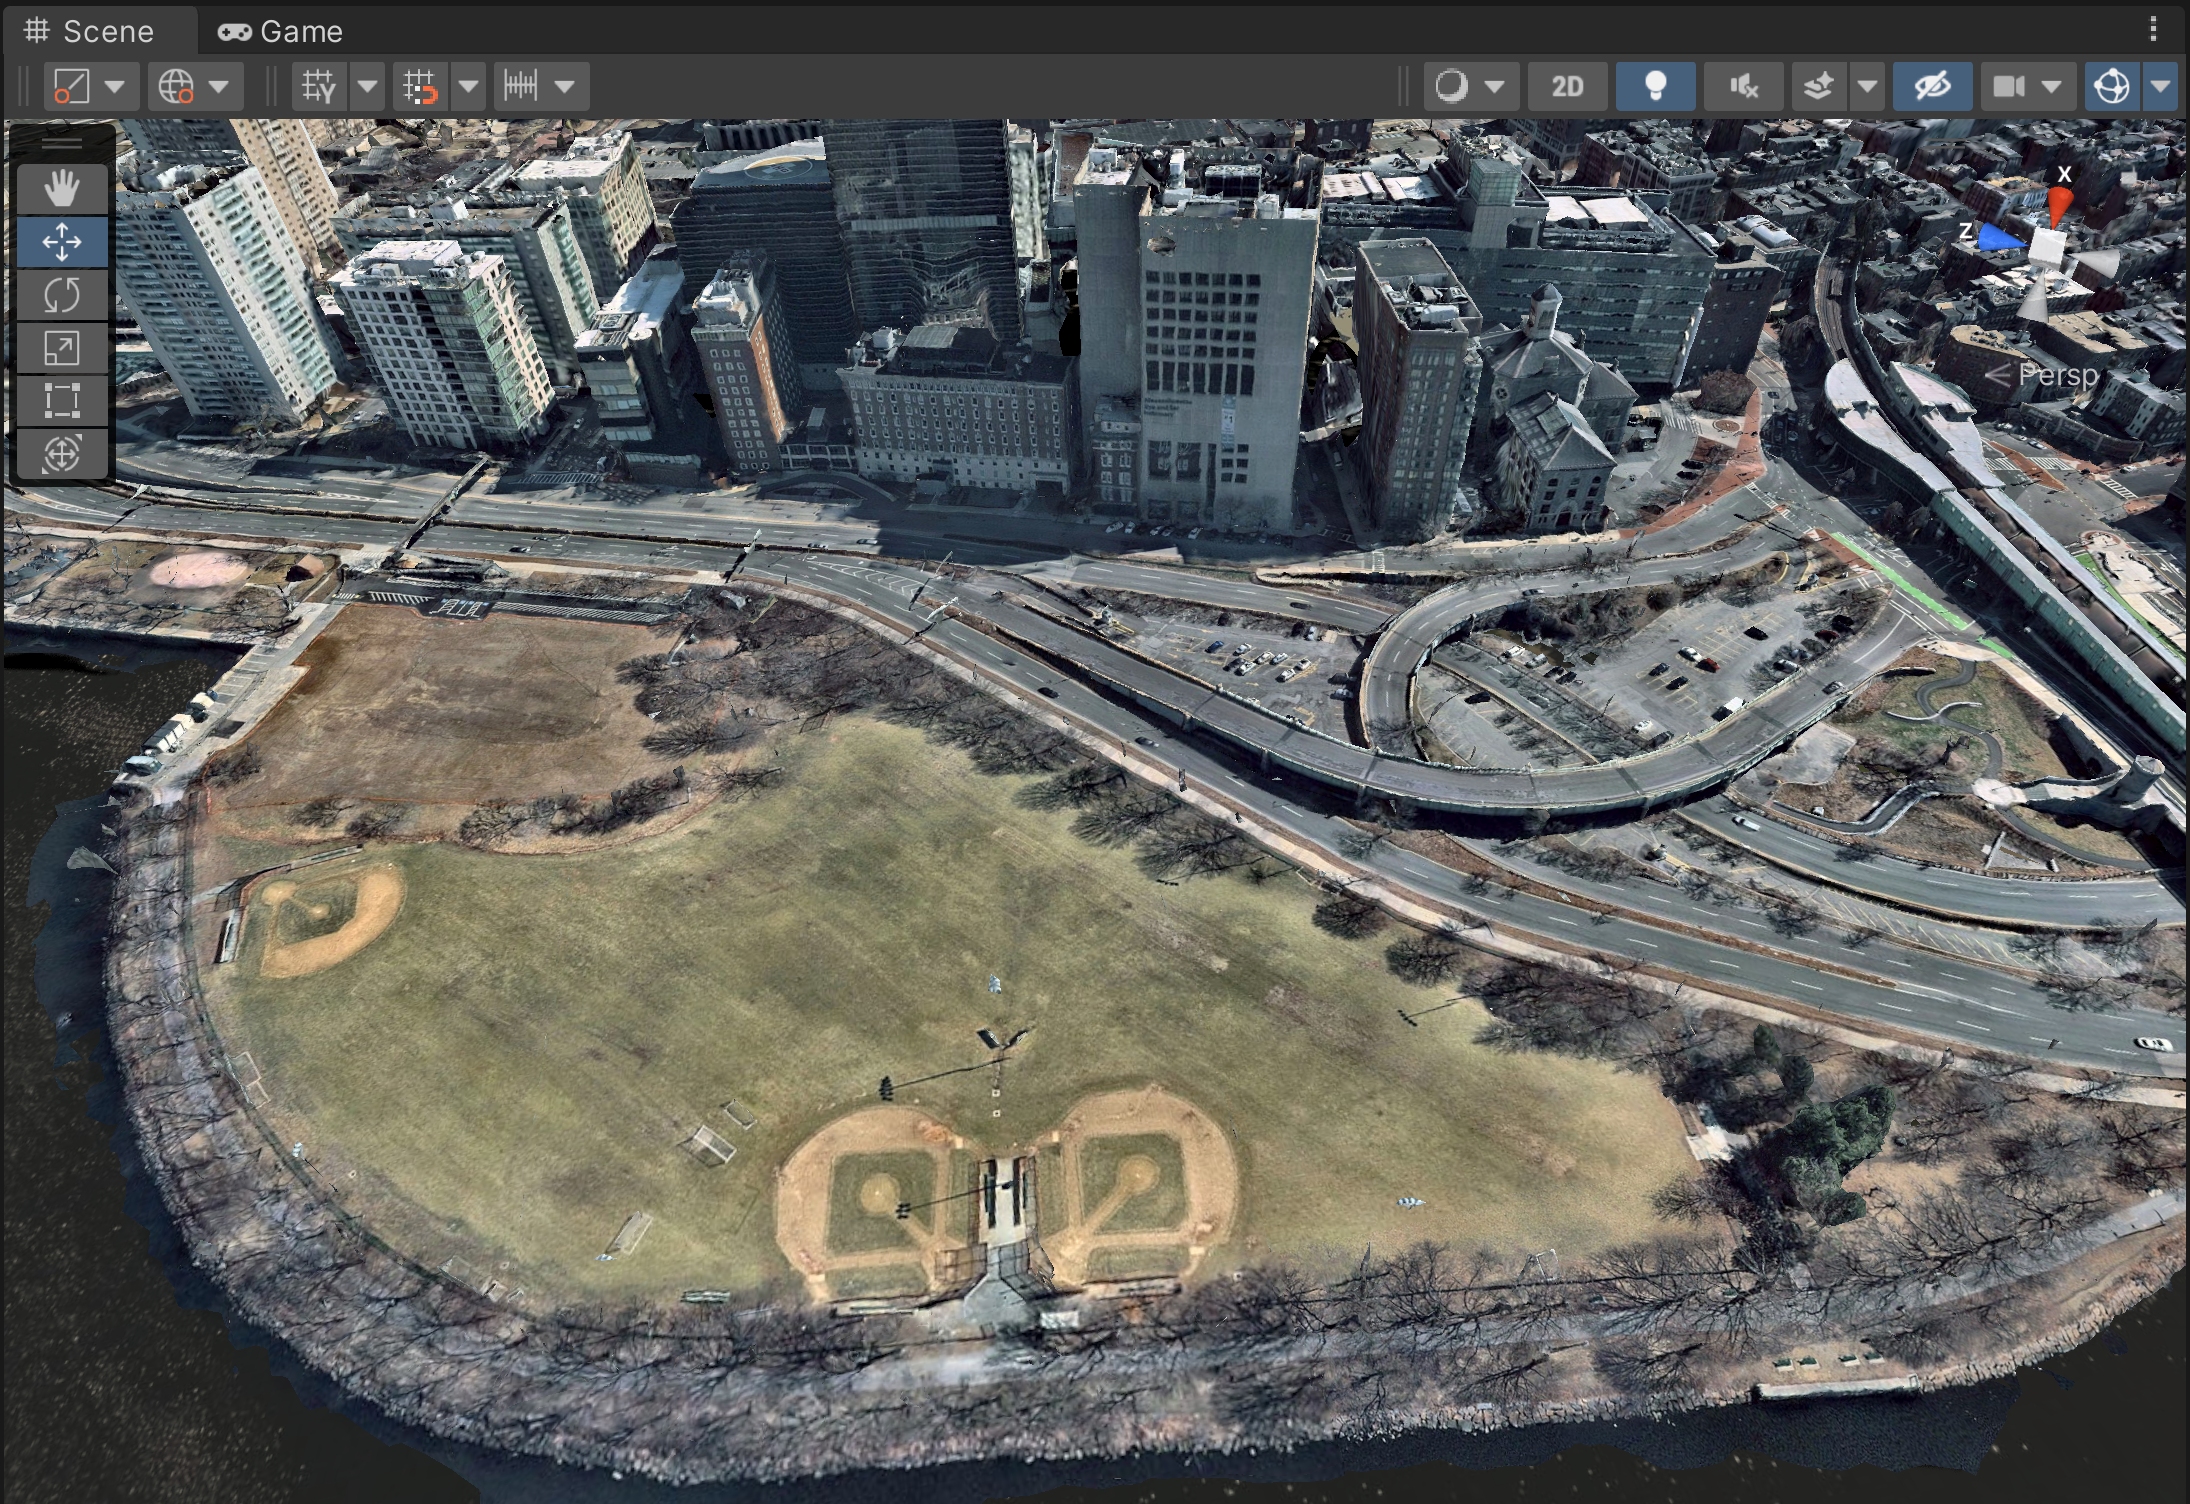
Navigate to a notable place to build your next sub-scene in the city. In this example, the new sub-scene is located in one of the green areas on the Nearmap Boston Photogrammetry, near the river.
Alternatively, if moving the Editor camera is too cumbersome, you can disable the Denver Sub-Scene to indicate that you are no longer editing that sub-scene. Then, enter these coordinates into your CesiumGeoreference:
Origin Latitude: 42.363575
Origin Longitude: -71.07222
Origin Height: -17.62373
Once the Editor camera is in your desired location, select the CesiumGeoreference from the Hierarchy window, then click Create Sub-Scene Here in the Inspector. Name the new sub-scene appropriately, like “Boston Sub-Scene.”
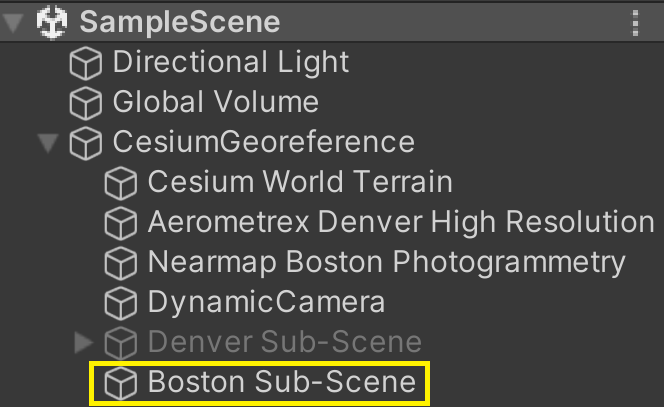
The world will be oriented properly once you create the sub-scene.
2. If you correctly placed all of your assets in the first sub-scene, then your new one will be empty. Let’s change that by placing some assets around the new location. Since the Boston sub-scene is in a grassy area, why not add some foliage? You can also take advantage of the larger space and add physics, controllers, and other game logic to the sub-scene.
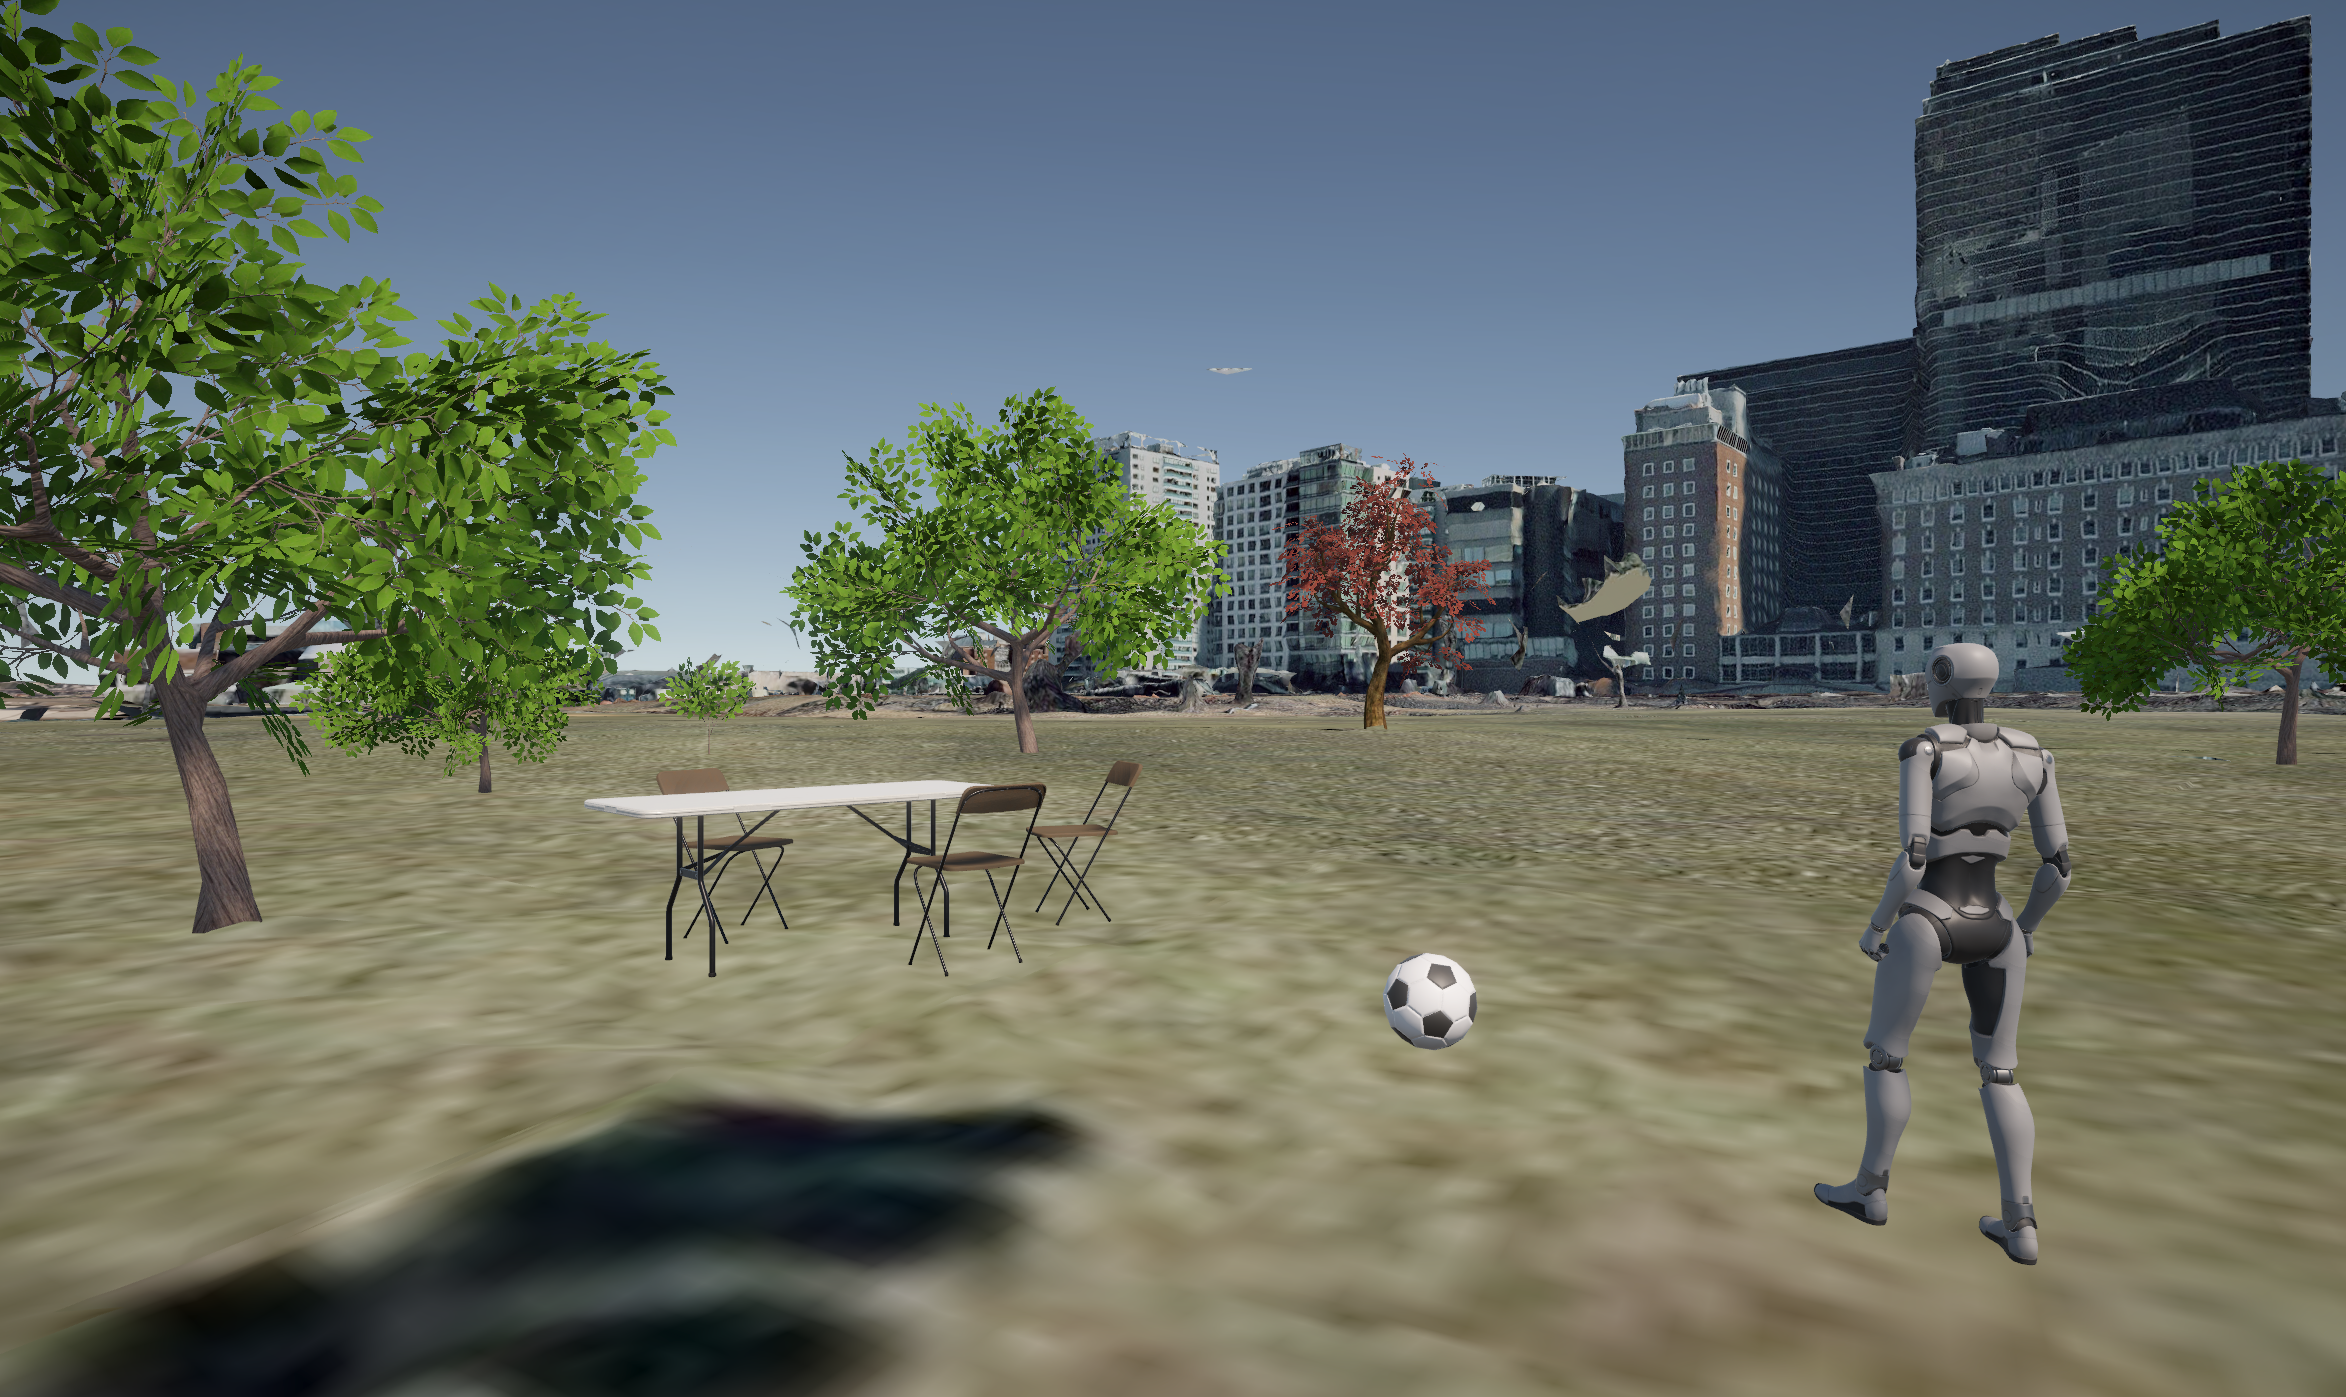
This Boston sub-scene uses the following assets from the Unity Asset Store: Starter Assets - Third Person Character Controller, Folding Table and Chair PBR, Japanese Garden Pack, Lemon Trees, and Low Polygon Soccer Ball.
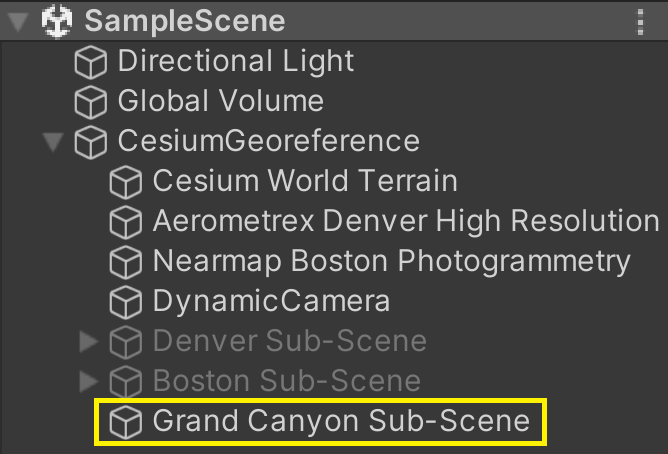
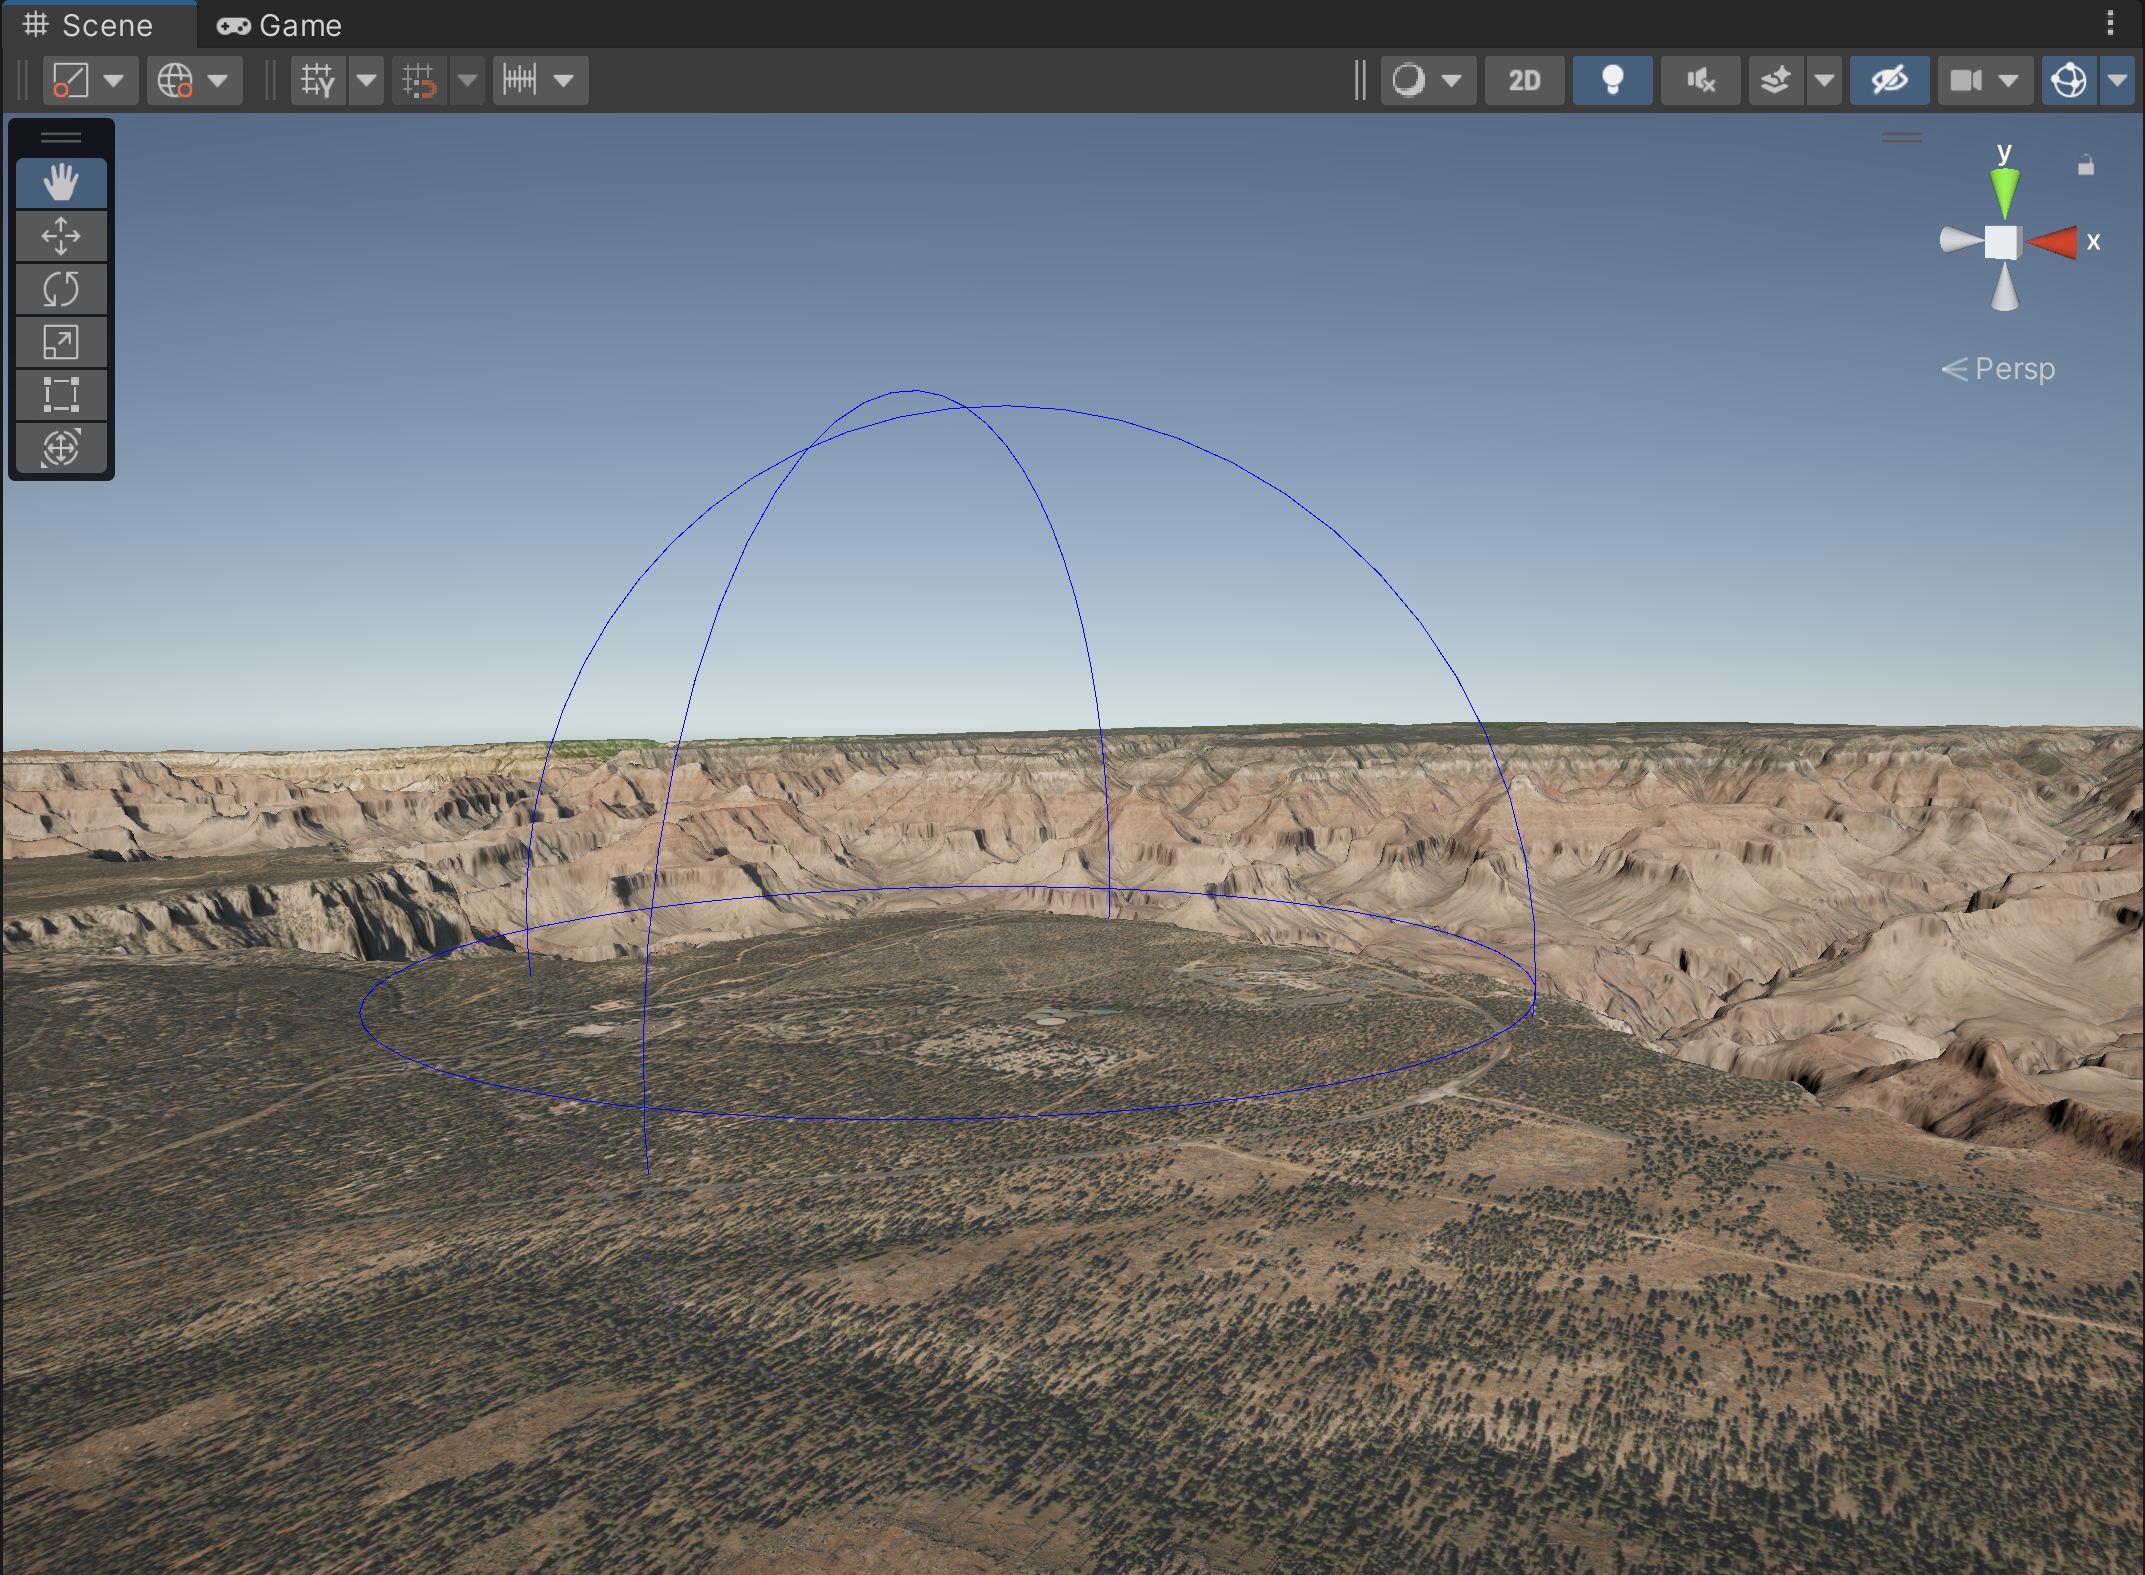
3. Once the Boston sub-scene is filled to your liking, create another sub-scene at any location of your choice. This tutorial will place the final sub-scene at the Grand Canyon.
This time, instead of flying to the desired location of the sub-scene, you will position the sub-scene after it has been created. Select the CesiumGeoreference in the Hierarchy, then click Create Sub-Scene Here. Name this sub-scene after your desired location, like “Grand Canyon Sub-Scene.”
Then, in the Inspector, find the CesiumSubScene component and use these coordinates for the origin:
Latitude: 36.056595
Longitude: -112.115
Height: 2200.0
This will put you near the edge of the Grand Canyon.
4. Fill this sub-scene with assets of your choosing. This is a great area to place rocks and trees on top of the satellite imagery. There are also roads near the edge of the Grand Canyon that you can populate with cars and other assets.
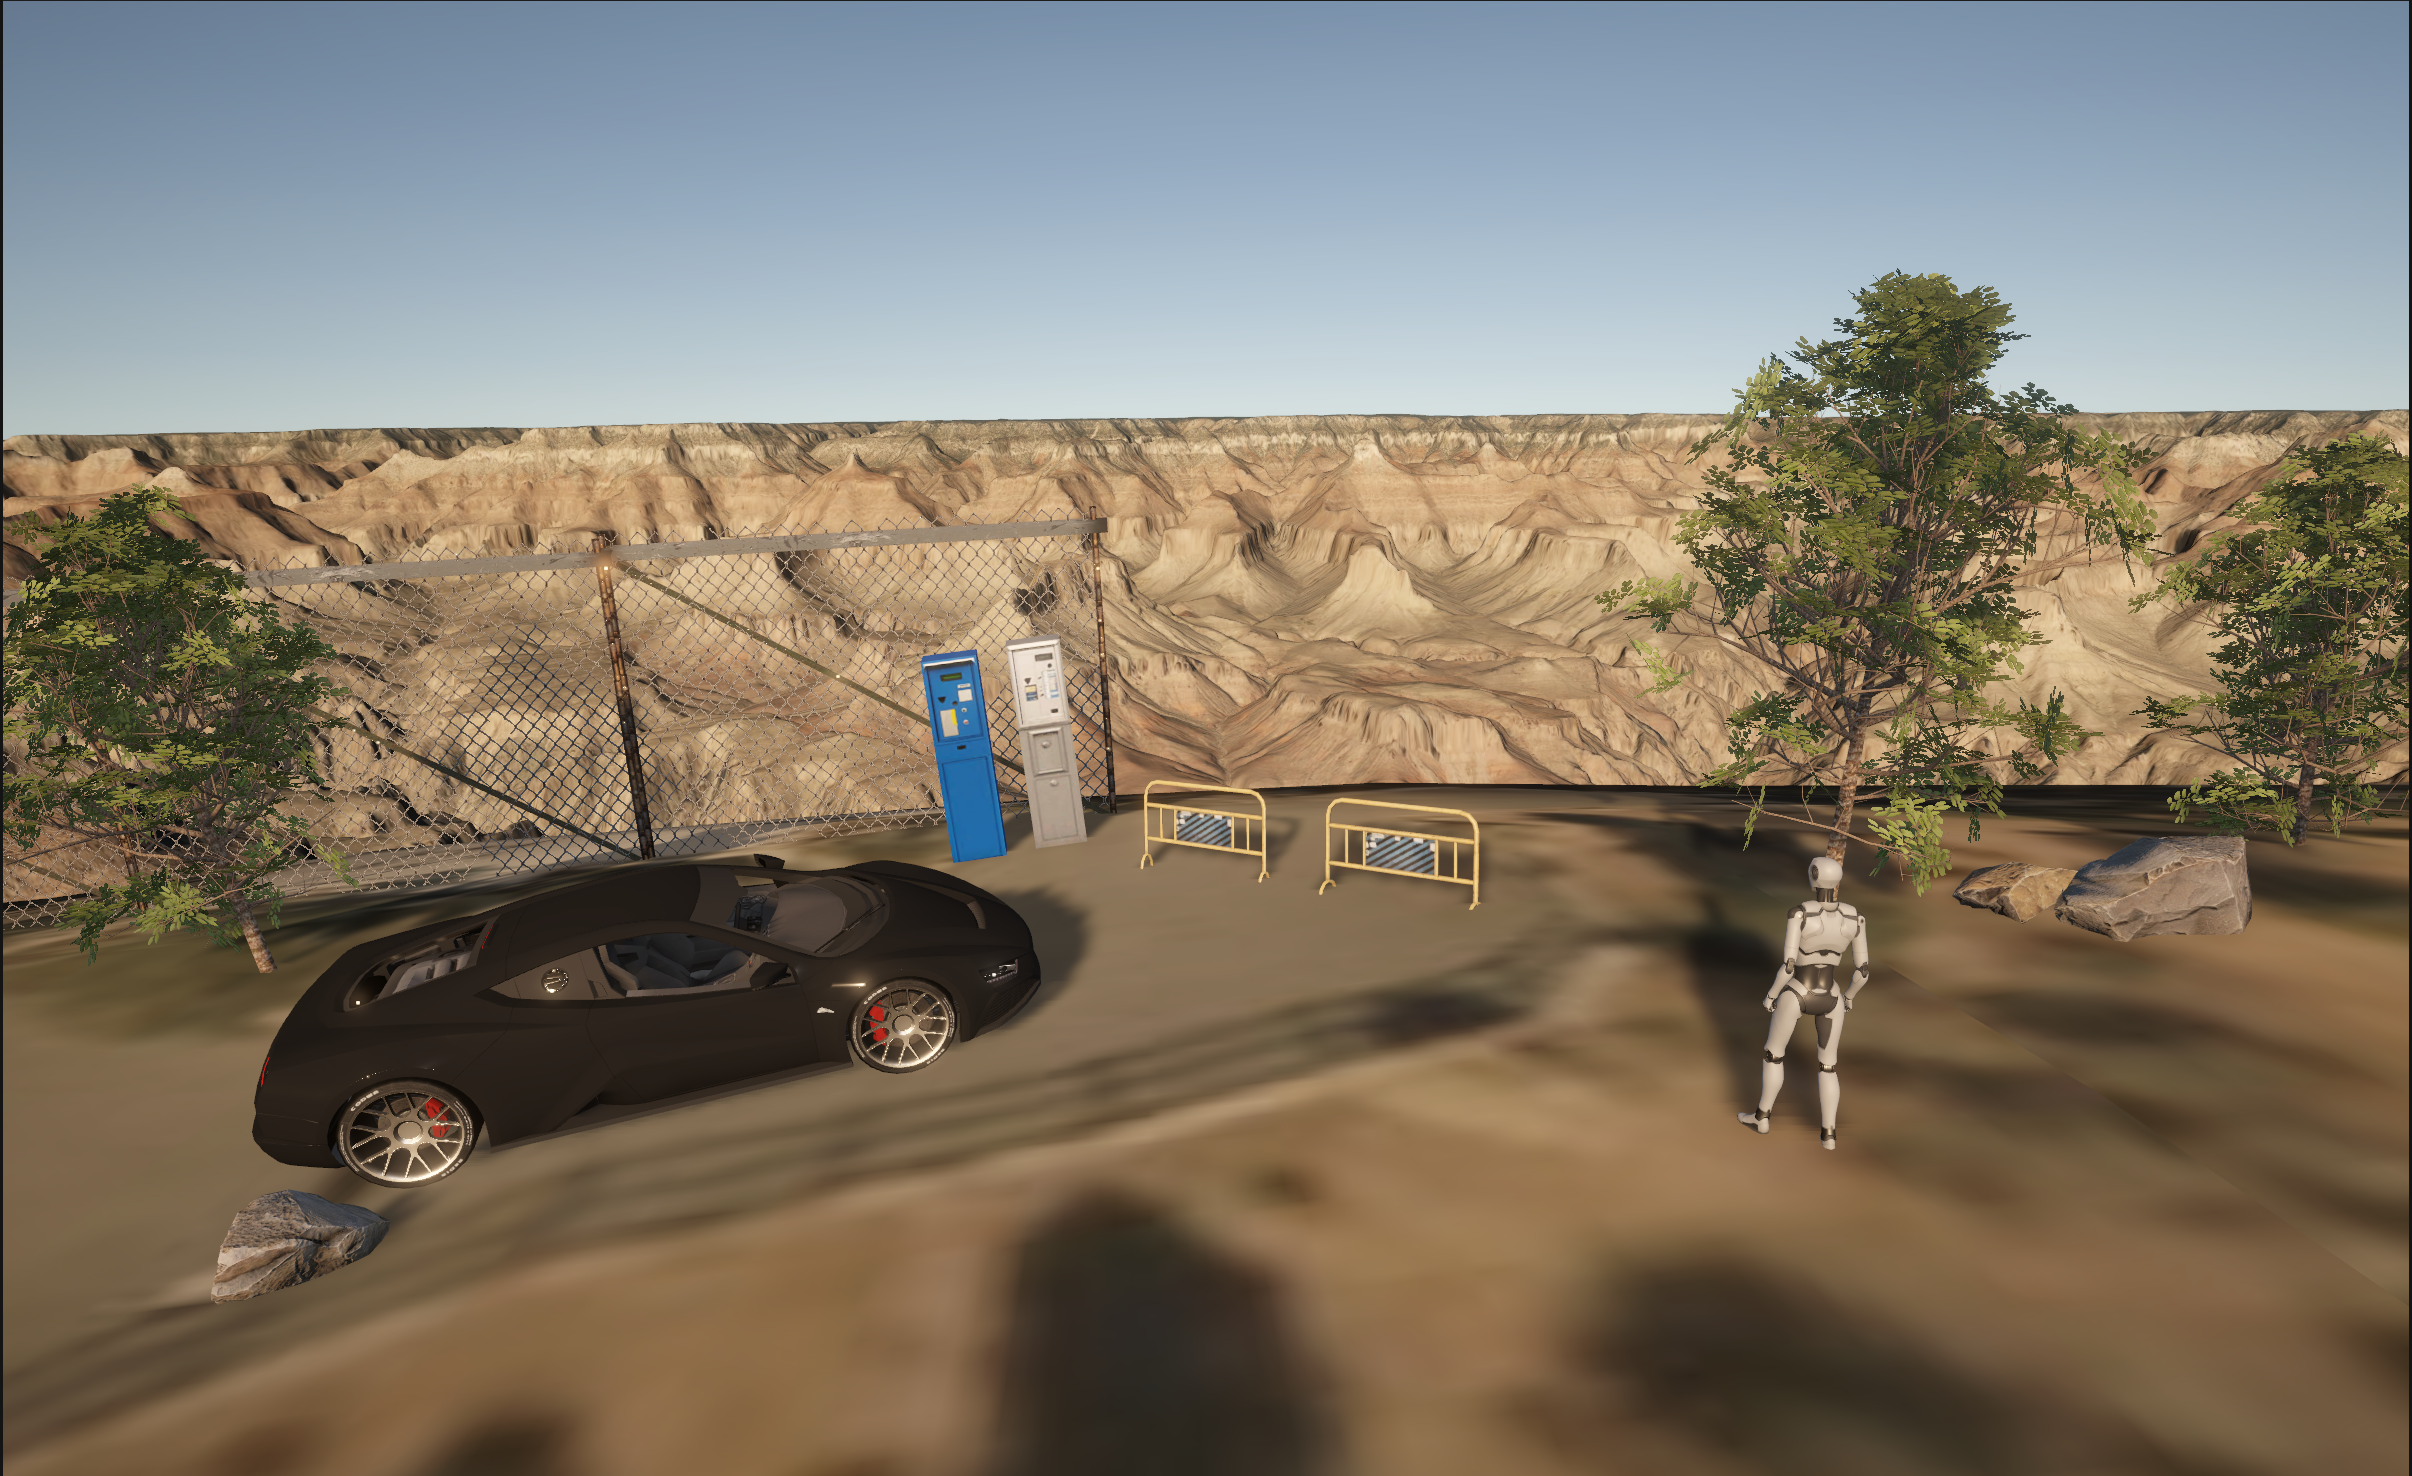
This Grand Canyon sub-scene was made with the following assets from the Unity Asset store: HQ Racing Car Model No.1203, Realistic Tree Pack Vol. 1, Modular Fences Pack, Parking Meter, Rock package, and Starter Assets - Third Person Character Controller.
5. Now that you’ve finished all your sub-scenes, press Play to see how they appear in play mode. Try flying with the DynamicCamera across the globe to your other sub-scenes. You may need a map!
While creating your sub-scenes, you may have noticed that activating any sub-scene will automatically disable the others. This is because only one sub-scene may be active at a time on a georeference, both in play mode and in the Editor. When a sub-scene is active, the georeference it belongs to will reposition the Unity origin at the center of the sub-scene. Since each sub-scene defines a different location on the globe, it does not make sense to have multiple sub-scenes active, each trying to put the Unity origin at their own locations.
If you are working with multiple sub-scenes in one scene, you will have to switch between them and edit their contents separately. This will only take a few clicks:
1. Select the sub-scene you want to enable from the Hierarchy.
2. Click the empty checkbox to the left of its name in the Inspector. This will enable the selected sub-scene while disabling every other sub-scene under the CesiumGeoreference.
As previously mentioned, all objects meant to be in a sub-scene must be properly parented by that sub-scene before you switch sub-scenes. Otherwise, the objects will not stay in that sub-scene when you switch.
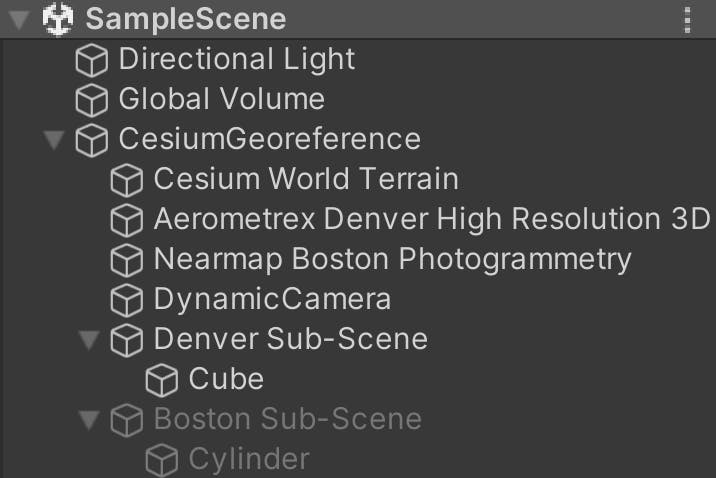
For example, imagine you have a scene with a Hierarchy that appears as follows.
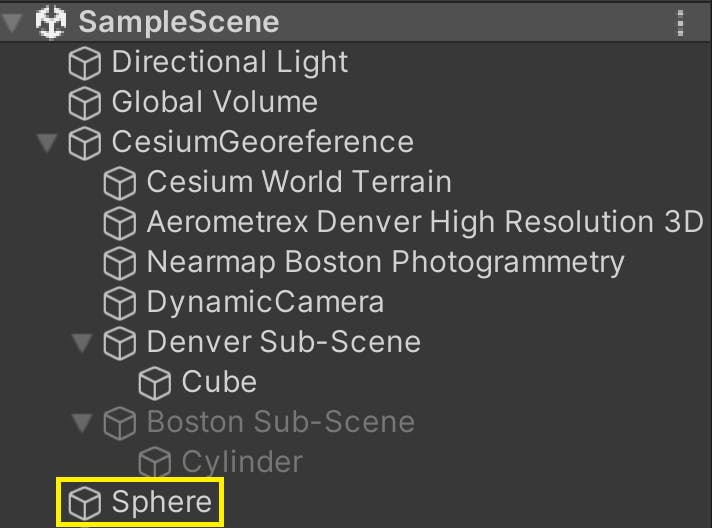
Then, imagine you added a Sphere that exists outside of both sub-scenes.
This is what happens when you switch between the sub-scenes.
The Cube and Cylinder are toggled correctly, but the Sphere appears in both scenes. Since the Sphere does not belong to any sub-scene, it is not disabled when you switch. It also does not have a CesiumGlobeAnchor component, which would otherwise anchor it to the globe without needing a sub-scene. These factors cause the sphere to “travel” with you as the georeference origin changes.
In your own applications, if you position an object in one sub-scene and accidentally switch to another, you may be frustrated to find the object displaced. Fortunately, if this happens, you can simply switch back to the original sub-scene. The object will still be positioned relative to the first sub-scene’s origin. Of course, if you are confident that it was in the desired position before you switched sub-scenes, you can just drag the object underneath the sub-scene in the Hierarchy window.
Then, your object will be properly enabled and disabled with the rest of the sub-scene.

When you build a scene that spans the globe, you may need a combination of sub-scenes and globe anchors to place game objects around the world. However, when and where you should use them will depend on your application.
If you aren’t sure which one to use, consider two main differences:
- Sub-scenes enable and disable objects, but globe anchors do not. This means that objects with globe anchors will stay active even when you’re on the other side of the globe. This is great for objects that are active for the entire level, such as cameras or controllers that move across the globe. However, it may be wasteful to have numerous other objects enabled that the user cannot immediately see.
- Game objects with globe anchors are aware of their global positions at all times. On the other hand, objects in sub-scenes are only aware of their positions relative to the sub-scene origin. An object with a globe anchor can be moved into a sub-scene without issue, but objects without globe anchors cannot be removed from sub-scenes, or else they will be displaced by origin shifting.
While globe anchors give their objects more positional accuracy and awareness, it may not be ideal to equip every single object with a globe anchor. Any objects with globe anchors will constantly recompute their Unity positions to account for origin shifting. These additional computations may be wasteful for objects that the user does not immediately see.
There are also systems in Unity that are not equipped to handle scenes on a global scale, such as physics and other simulations. Adding globe anchors will not necessarily improve these behaviors, especially when origin shifting is the main source of these problems. Therefore, georeferenced sub-scenes are a compromise between global positionality and local functionality. They simulate a typical Unity environment within the sub-scene, while positioning that environment in a broader global context.
Because sub-scenes are intended to georeference objects that are not compatible with globe anchors, you do not need to add anything that is already georeferenced to the sub-scene. This includes 3D Tilesets or objects with a CesiumGlobeAnchor (such as DynamicCamera). However, it can be useful to place georeferenced objects in sub-scenes anyway. For example, imagine a level with two sub-scenes, each at a different city. The first city contains a photogrammetry dataset, while the second uses Cesium OSM Buildings. Cesium OSM Buildings is a global tileset, so the first city’s photogrammetry may be obscured by the buildings. If you put the Cesium OSM Buildings under the second sub-scene, they would appear only in the second city’s sub-scene. Only the photogrammetry will be visible in the first city.
In the global-scale world provided by Cesium for Unity, it's easy to become lost when aimlessly flying around. Fortunately, using the georeferencing system built into Cesium for Unity, it is straightforward to not only determine your location on the globe but also move toward a target location. The DynamicCamera comes with built-in functionality to fly between locations.
Stay tuned for a future tutorial on using the DynamicCamera to transition between global locations.