Building an App for Magic Leap 2
This tutorial will show you how to build a project using Cesium for Unity for the Magic Leap 2 headset.

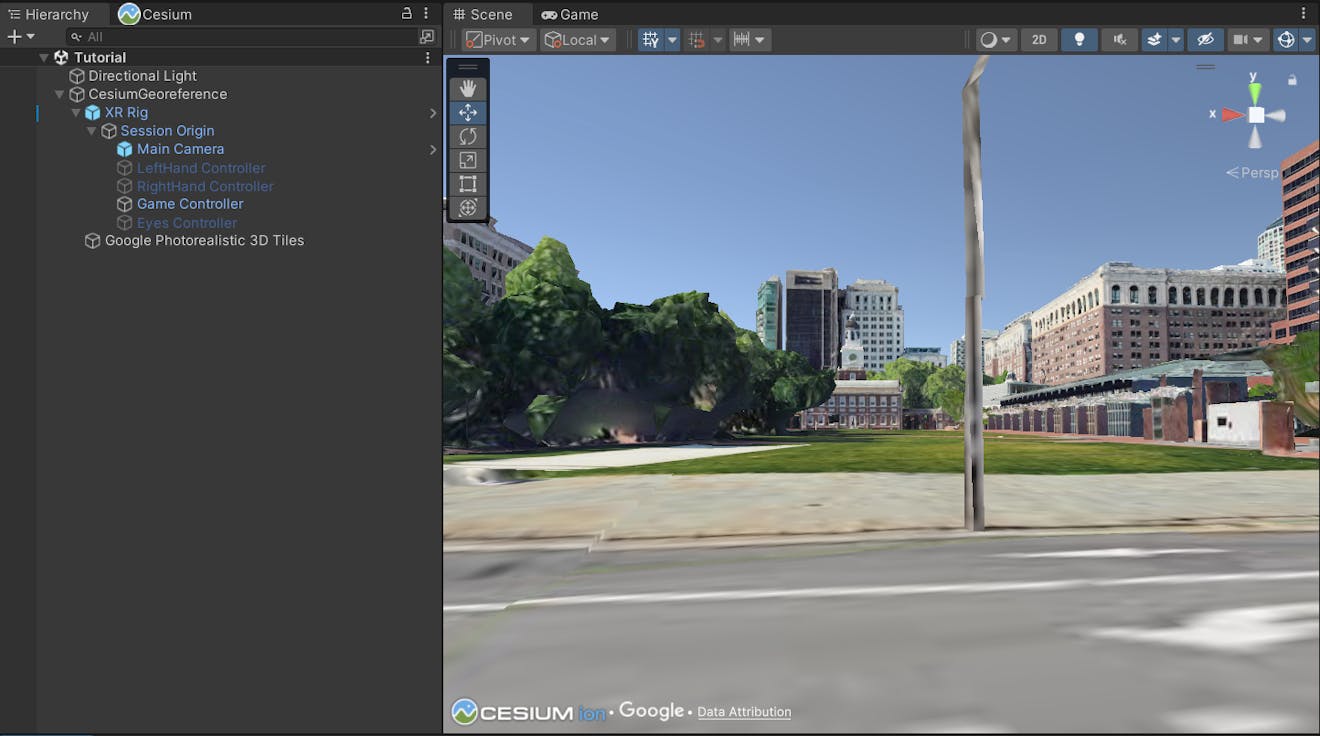
A view of Independence Mall in Philadelphia, PA, USA, visualized with Google Photorealistic 3D Tiles in Cesium for Unity and rendered on the Magic Leap 2 headset.
You’ll learn how to:
- Prepare a project for Magic Leap 2 development in Unity.
- Create and set up an XR scene.
- Package and deploy your application to a Magic Leap 2 headset.
- Configure movement inputs from a Magic Leap 2 controller.
This tutorial builds on ideas from the prior Getting Started tutorials. While not required, it may be helpful to familiarize yourself with Cesium for Unity before beginning this project. Check out the Cesium for Unity Quickstart for a thorough introduction to the package.
- Unity 2022.3.11f or later. The latest version of Unity 2022.3+ LTS is recommended.
- An installed version of Cesium for Unity (1.8.0 or later).
- A Magic Leap 2 device.
- An installed version of Magic Leap Hub.
1Download the latest version of the Magic Leap SDK for Unity. You can do this by following the instructions in the official Magic Leap 2 documentation.
2Ensure that you have installed Unity 2022.3+ LTS with Android Build Support enabled. If you need help, you can also find instructions for configuring and installing the Unity Editor in the Magic Leap 2 documentation.
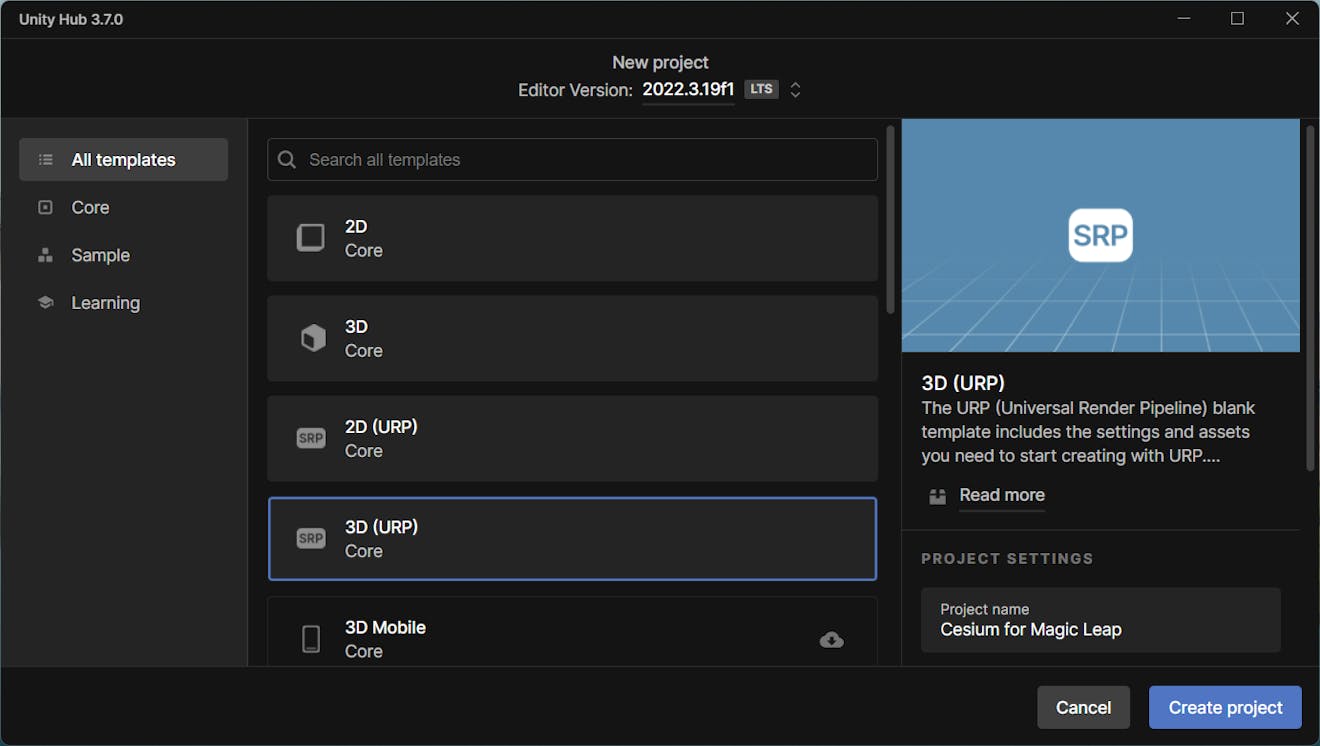
3Create a new project from Unity Hub. Ensure that the selected version of Unity is 2022.3.11f or newer. Select the 3D (URP) template and enter a project name before clicking Create Project.
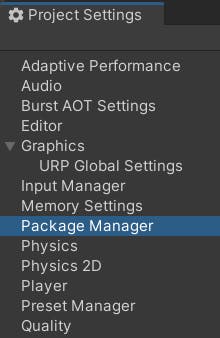
4Once the project has loaded, we’ll begin adding required packages. First, add Cesium for Unity to your project by opening the Project Settings window through Edit > Project Settings. Navigate to the Package Manager section.
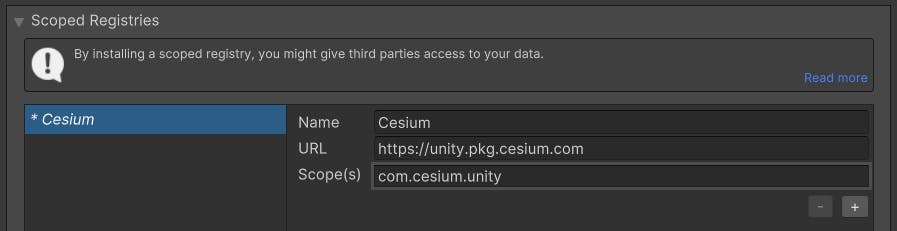
Then, add a new Scoped Registry with the following settings and click Save.
Name: Cesium
URL: https://unity.pkg.cesium.com/
Scope(s): com.cesium.unity
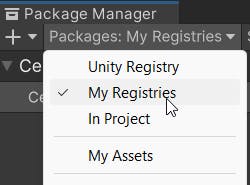
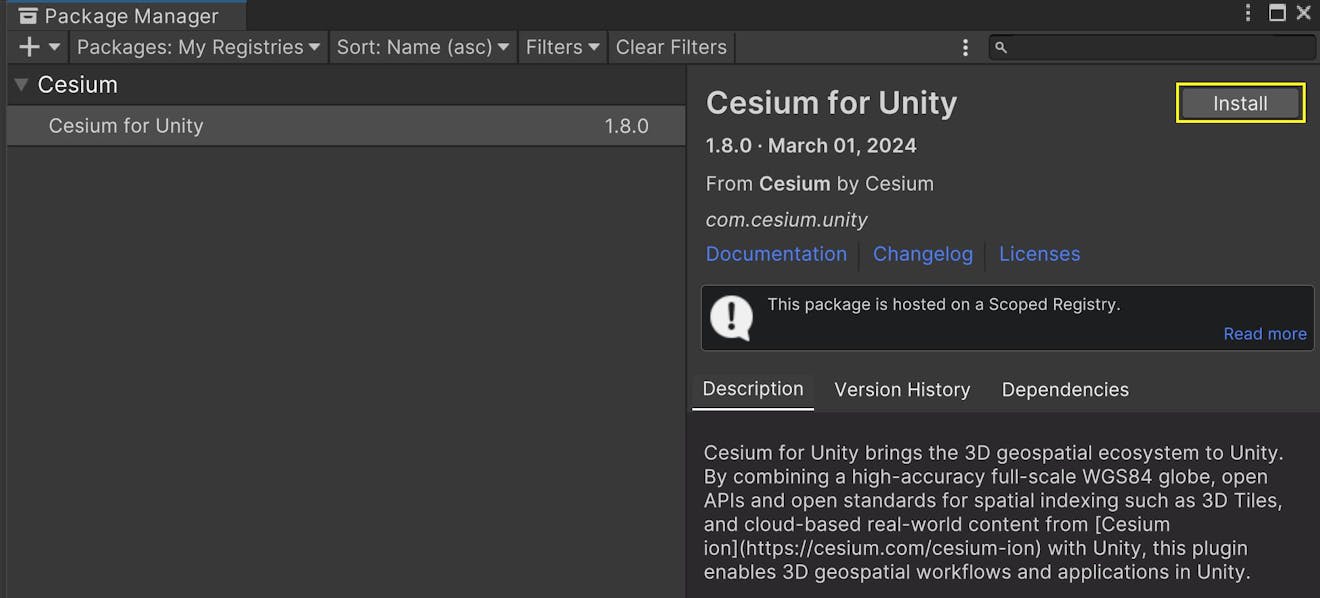
5Open the Package Manager by going to Window > Package Manager. Click the Packages: In Project dropdown and select My Registries.
Then, select Cesium for Unity in the Package Manager and click Install. During this process, you may be prompted to restart the editor to enable the new input system package. Confirm the restart, as we’ll be using the new input system later on.
6Now add the Magic Leap SDK to your project. Click the “+” symbol at the top left of the Package Manager and select the Add package from tarball… option.
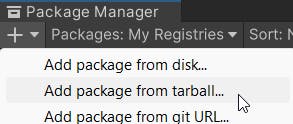
Using the file browser, locate and select the com.magicleap.unitysdk.tgz file for the Magic Leap SDK that you installed in the first step of this tutorial. For example, on Windows the package typically installs to C:/Users/[Username]/MagicLeap/tools/unity/.
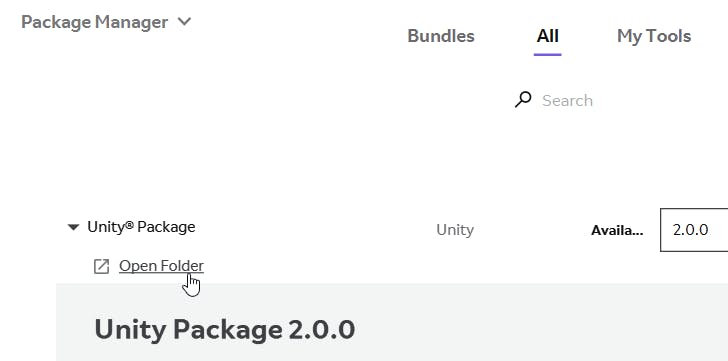
If you need help finding the file’s location on your machine, open the Magic Leap Hub and click Open Folder under the Unity Package entry from the package manager.
7Next, switch the project’s platform to Android to build for the Magic Leap 2. Go to File > Build Settings and select the Android target. Then, click Switch Platform.
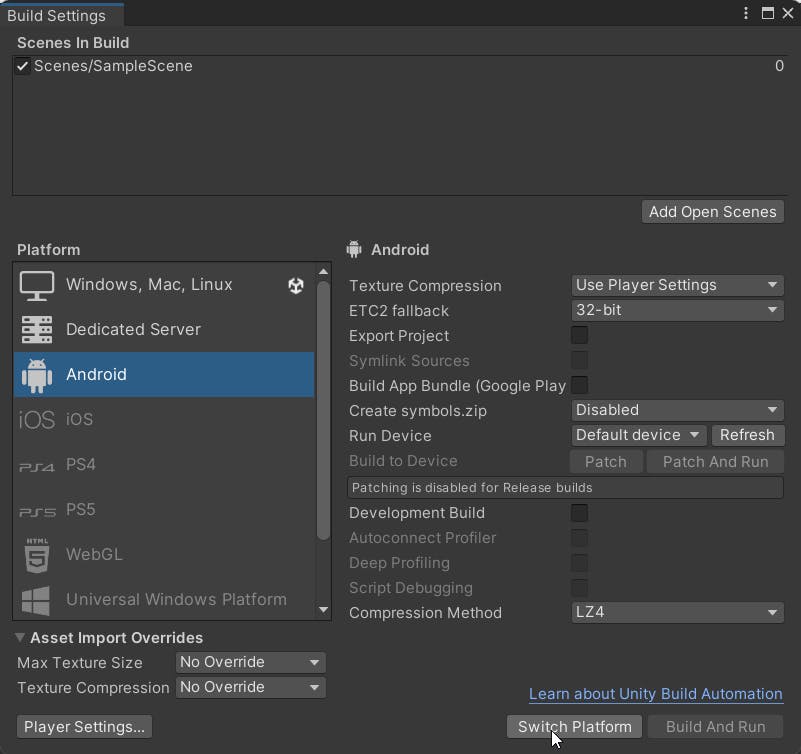
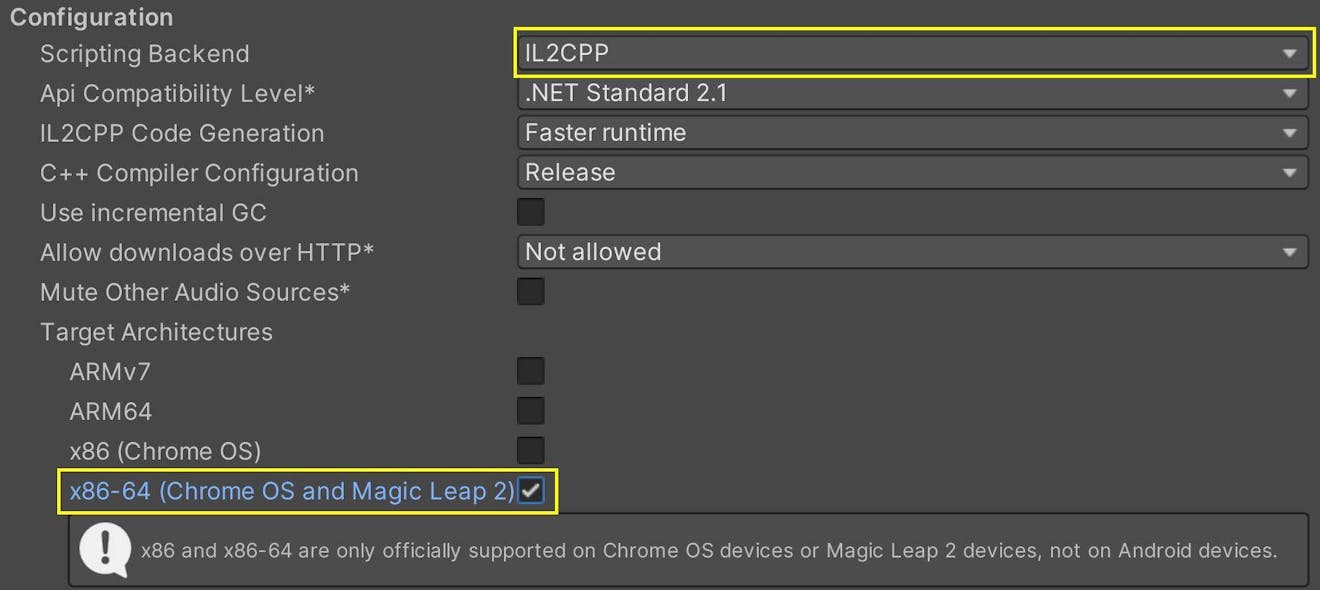
8Click Player Settings in the bottom left of the window. Scroll down to the Configuration section, and then set the “Scripting Backend” to “IL2CPP”. Make sure x86-64 is the only target architecture selected.
9Next, on the left side of the Project Settings window, select XR Plug-In Management. Under the Plug-in Providers list, enable OpenXR and the Magic Leap feature group.
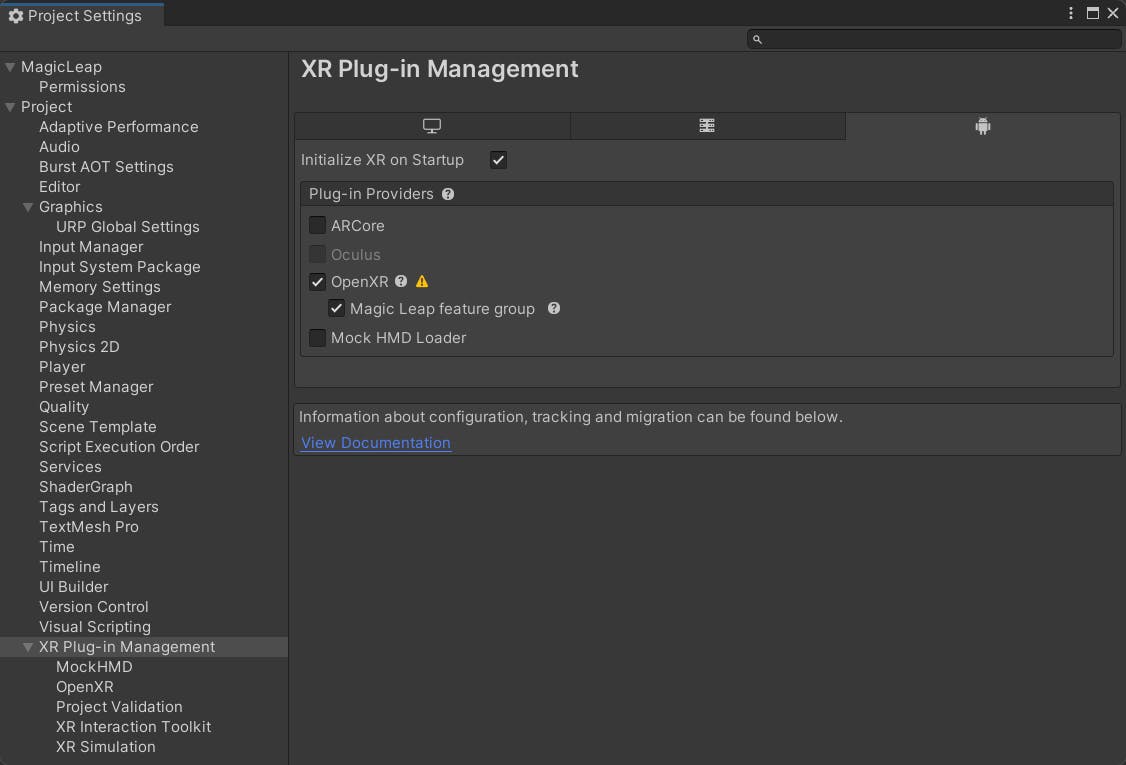
If you see warning or error icons next to OpenXR, you can click on them or go to the Project Validation page for fixing those errors.
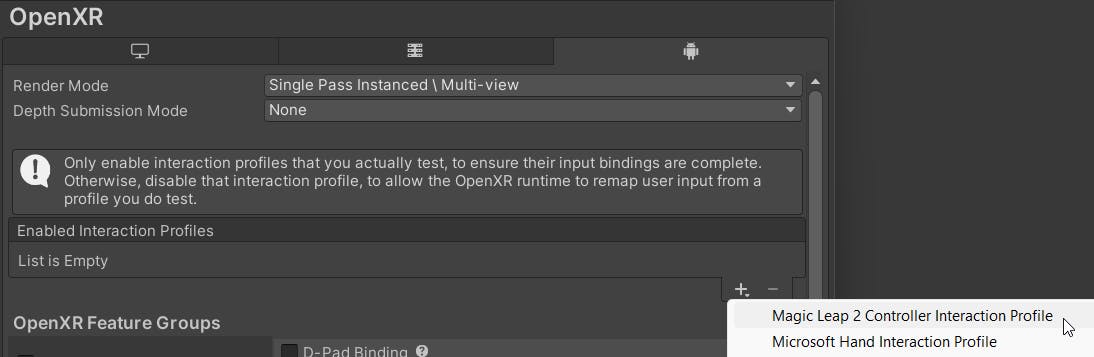
10Under XR Plug-in Management on the left side of the Project Settings window, select OpenXR. Confirm that you see Magic Leap 2 Controller Interaction Profile under the list of Enabled Interaction Profiles. If you do not, click the “+” symbol and select the profile from the list.
11Finally, in the list of OpenXR Feature Groups, click the gear next to Magic Leap 2 Support. Click the Far Clip Policy dropdown and select None.
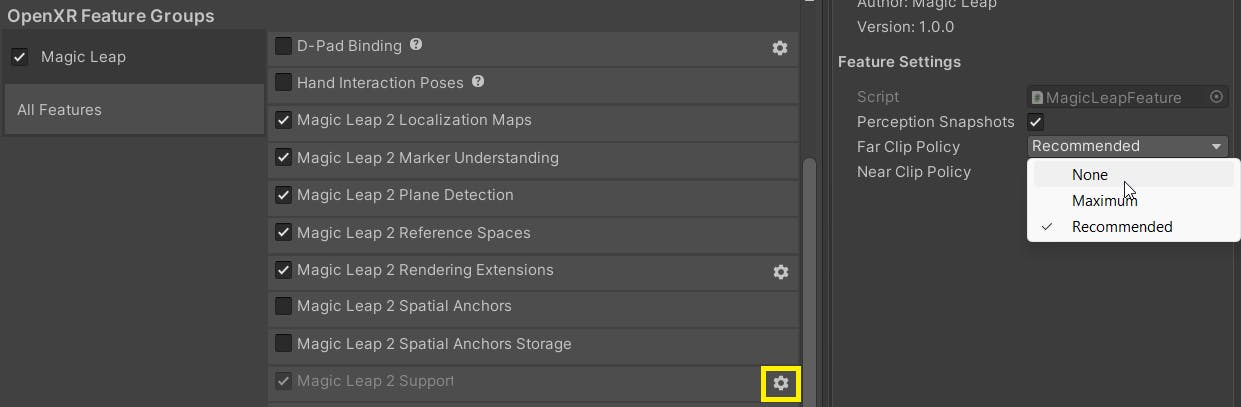
Your project is now set up for the Magic Leap!
At this point, your project is properly configured to use Cesium for Unity on the Magic Leap 2 headset. Next, you will create and set up a scene with XR elements.
In Cesium for Unity, the main camera is typically positioned on the globe using a CesiumGlobeAnchor. When developing for the Magic Leap 2, you will need to create an XR rig that matches the position and rotation of the camera to the location and orientation of the headset.
1Go to File > New Scene and create a new Basic (URP) Unity scene. Delete the default Main Camera that spawns in your scene. The only object in your scene Hierarchy should be a Directional Light.

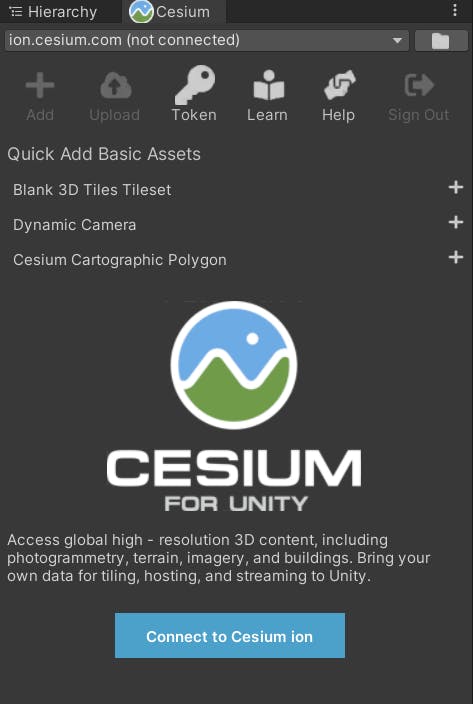
2Open the Cesium window by going to Cesium > Cesium. Click Connect to Cesium ion and follow the steps in your browser to connect your project to Cesium ion.
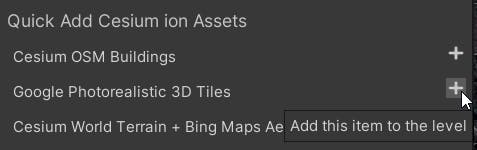
3Add Google Photorealistic 3D Tiles to your scene using the Quick Add panel in the Cesium window. This will also add a game object with a CesiumGeoreference component, which will be used to geolocate Cesium elements in your scene.
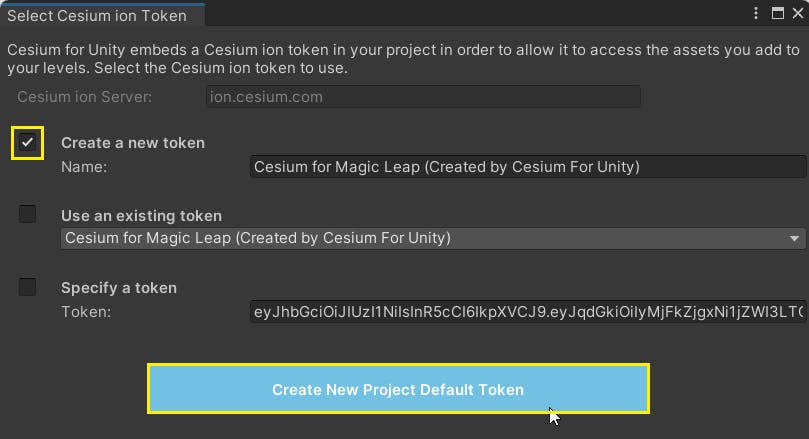
You will then be prompted to configure the default Cesium ion token for the project. You can use an existing one or create a new one by checking the box next to Create a new token. Enter a name for your new token; then click Create New Project Default Token.
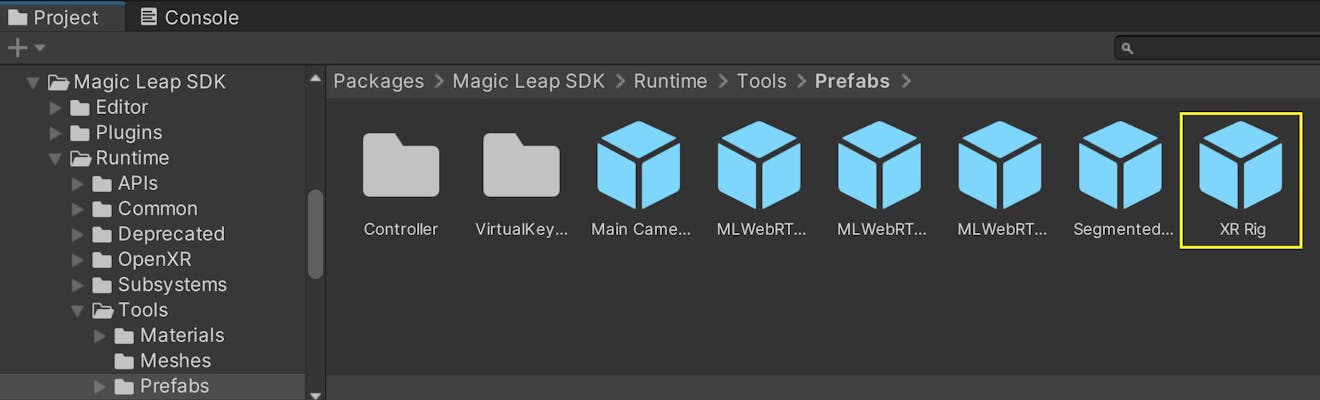
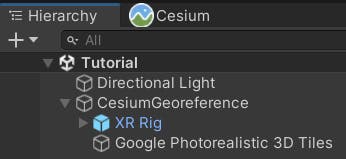
4In the Project browser, navigate to Packages > Magic Leap SDK > Runtime > Tools > Prefabs and select the XR Rig prefab. Drag this into the scene Hierarchy as a child of the CesiumGeoreference object.
Your scene’s hierarchy should now appear like so:
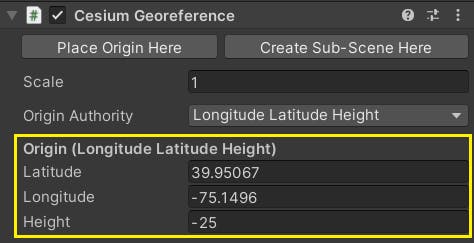
5Select the CesiumGeoreference game object in the Hierarchy. Then, in the Inspector, set the Origin (Longitude Latitude Height) coordinates to the following location in Philadelphia:
Latitude: 39.95067
Longitude: -75.1496
Height: -25
6Under the XR Rig, select the Session Origin and add a CesiumOriginShift component to it using the Inspector.
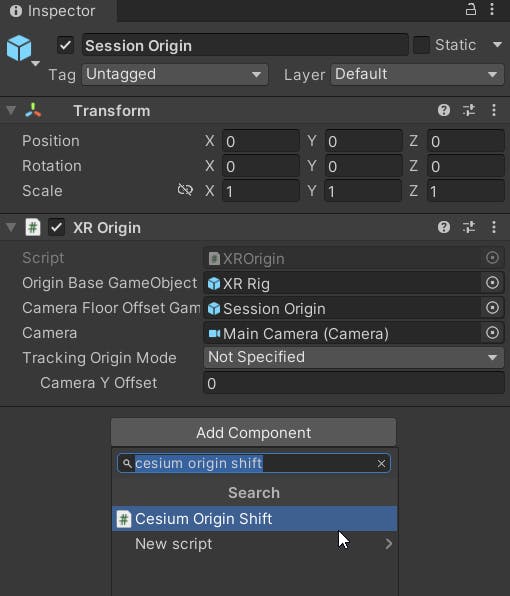
This will automatically create a CesiumGlobeAnchor on the object as well.
The XR Origin component specifies the origin from which the VR camera will move. As you move your head, the Main Camera will update to match your head’s position, while the XR Origin keeps its position at (0, 0, 0).
Cesium for Unity takes this behavior a step further. Attaching a CesiumGlobeAnchor causes the XR Origin to correspond to a specific point on the globe. Then, the CesiumOriginShift component will update the parent CesiumGeoreference’s origin in response to the changes in position. This ensures that even with the extra layer of geolocation, the XR Origin stays at (0, 0, 0) in the scene.
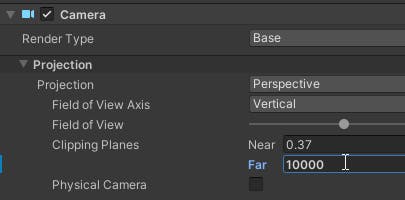
7Under the Session Origin object, click on the Main Camera. Scroll down to the Camera component and update the Far value of the Clipping Planes property to 10,000.
At this point, your Unity scene should contain a configured XR Rig and a view of Independence Mall in Philadelphia.
Now it’s time to test your application on the Magic Leap 2 itself.
1Turn on your Magic Leap 2 headset and connect the Compute Pack to your computer using a USB-C cable. If prompted on the device, choose to Allow USB debugging.
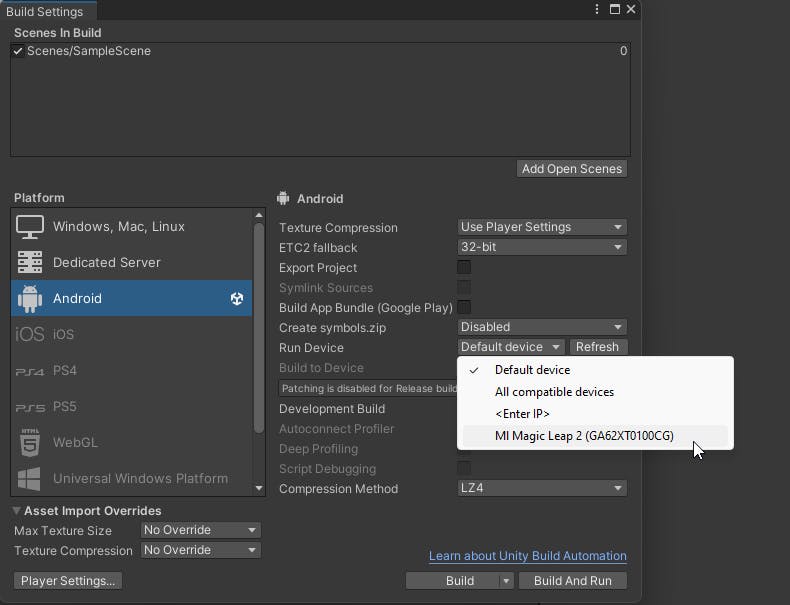
2Open the Build Settings window by going to File > Build Settings. Then, click the dropdown next to Run Device. You should see your Magic Leap 2 device in the dropdown list. If not, try clicking Refresh to update the list.
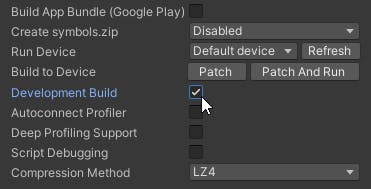
3Check the box next to Development Build. This allows you to debug any issues that arise on the device more easily.
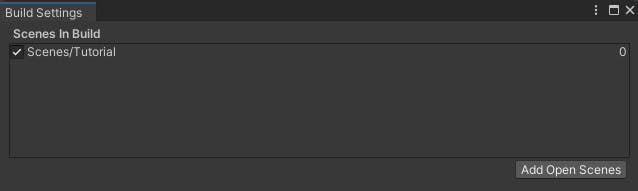
4Ensure that the scene you just created is the only scene listed in the Build Settings window. If the current scene is missing, click Add Open Scenes to add it. Remove any other scenes if they are listed.
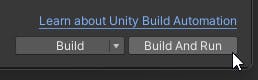
5Now click Build And Run to build and launch the application on your Magic Leap 2.
Once compilation is finished, your application should run on the Magic Leap 2 headset. As you move your head, look around, or even get up and walk around the room, the camera in the scene will track your movement, and Philadelphia’s Old City neighborhood will automatically load around you as you move.

As you explore your scene through the headset, you may find yourself limited by the real-world boundaries of the room you’re in. In this step, you will set up a camera controller on your XR Rig to enable freer movement in the Unity world.
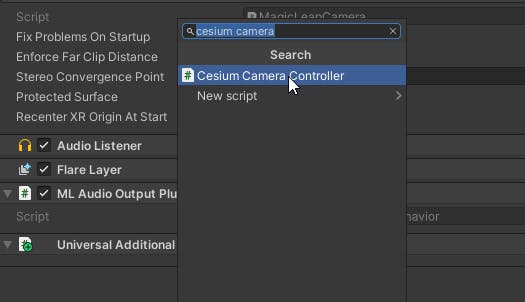
1Select the Main Camera object and add a CesiumCameraController component using the Inspector.
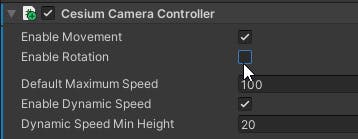
2Uncheck the box next to Enable Rotation on the CesiumCameraController. Your Main Camera already has a Tracked Pose Driver that will match its rotation to the rotation of the headset, so you don’t need the CesiumCameraController to handle it.
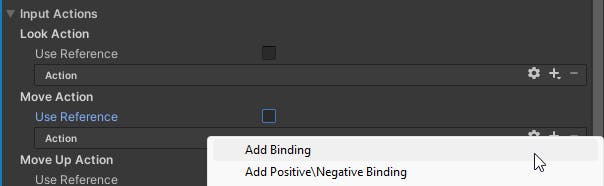
3In the CesiumCameraController component, open the Input Actions foldout. Click the “+” symbol under Move Action and select Add Binding.
4There should now be a new entry under Move Action labeled <No Binding>. Double-click this entry to open the binding menu.
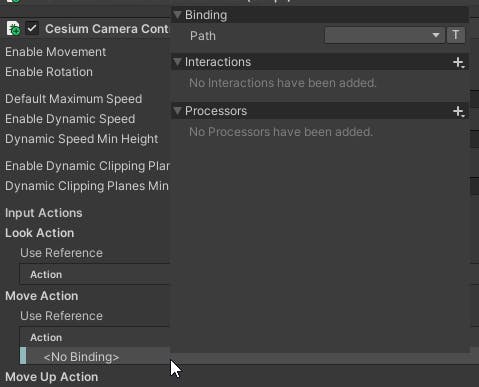
5Click the dropdown next to Path in the binding window. In the search bar, type “trackpad magic leap” to search and select the “trackpad [Magic Leap Controller (OpenXR)]” entry.

6Follow the instructions in the previous step to build and run your project on the device. You should now be able to move around the scene using the trackpad on the Magic Leap controller.
Visit the community forum with any questions or feedback you have while developing for the Magic Leap 2 headset.
What are you creating with Cesium for Unity? Share your Magic Leap 2 creations with us on LinkedIn or by tweeting @CesiumJS on X.