Vector tiles raster overlay in Cesium for Unreal
This tutorial guides you through streaming vector data into your Cesium for Unreal projects using the Vector Tiles Raster Overlay.
Prerequisites
- Unreal Engine 5.5+ and Cesium for Unreal v.2.27.0+
- Know how to set up a basic Cesium for Unreal application. Check out our Cesium for Unreal Quickstart guide for instructions on starting with the Cesium for Unreal plugin.
- A Cesium ion account to tile and stream vector data into Unreal Engine. Sign up for a free Cesium ion account if you don’t already have one.
- Open your Unreal project.
- From the Cesium menu, open the Cesium ion panel.
- Sign in to your Cesium ion account or paste your access token.
NOTE You’ll need a valid Cesium ion access token to stream your own datasets into Unreal Engine. Tokens are managed through your Cesium ion account.
If you are working from the Cesium for Unreal Samples project, you can begin working from the sample level 01_CesiumWorld.
Otherwise:
- Create a new Unreal level.
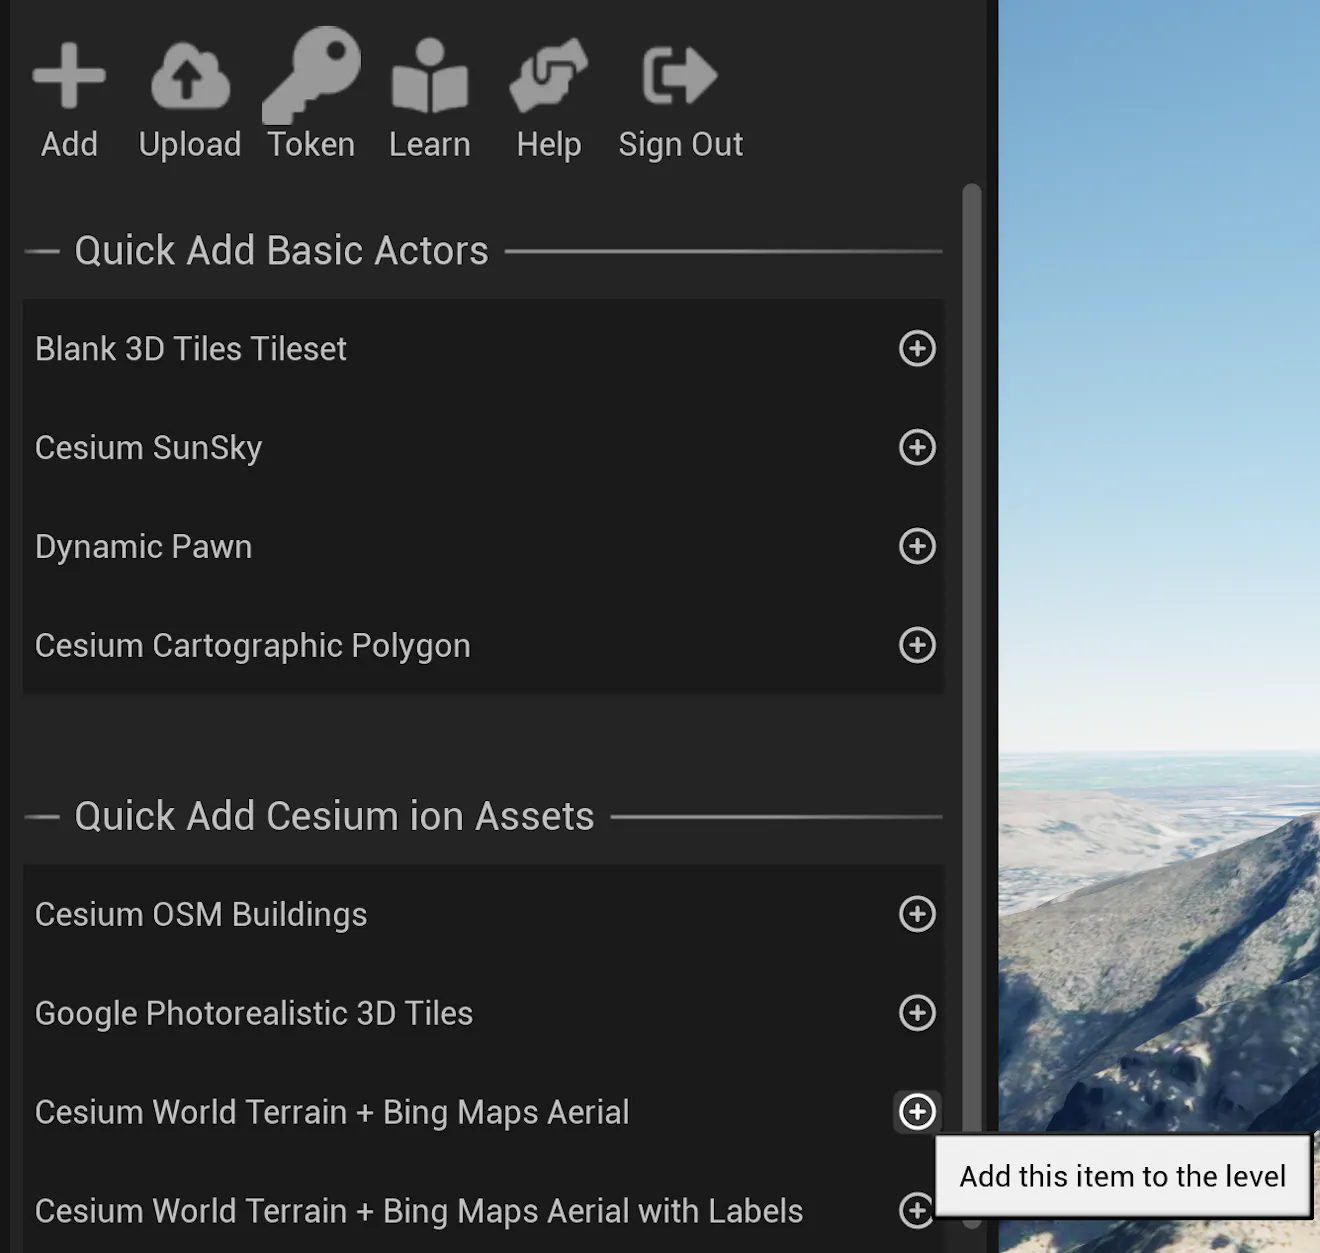
- From the Cesium ion panel, add Cesium World Terrain + Bing Maps Aerial and Cesium SunSky
To use the Vector Tiles Raster Overlay, we will first need a vector dataset to work from. Cesium ion can create a Vector 3D Tiles tileset from a wide variety of vector formats. We will use a publicly-available GeoJSON dataset for this example.
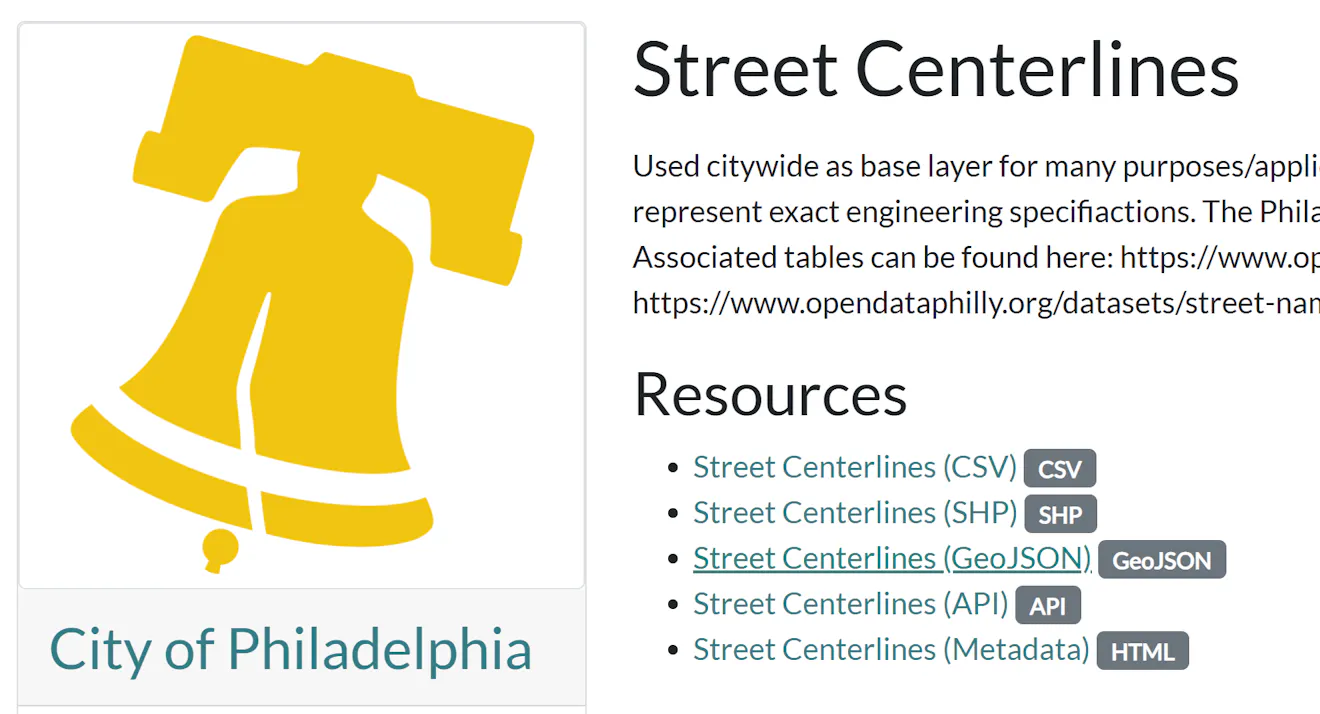
Download the Street Centerlines (GeoJSON) resource from OpenDataPhilly.
Navigate to the Assets page of your Cesium ion account and click the Add data button.
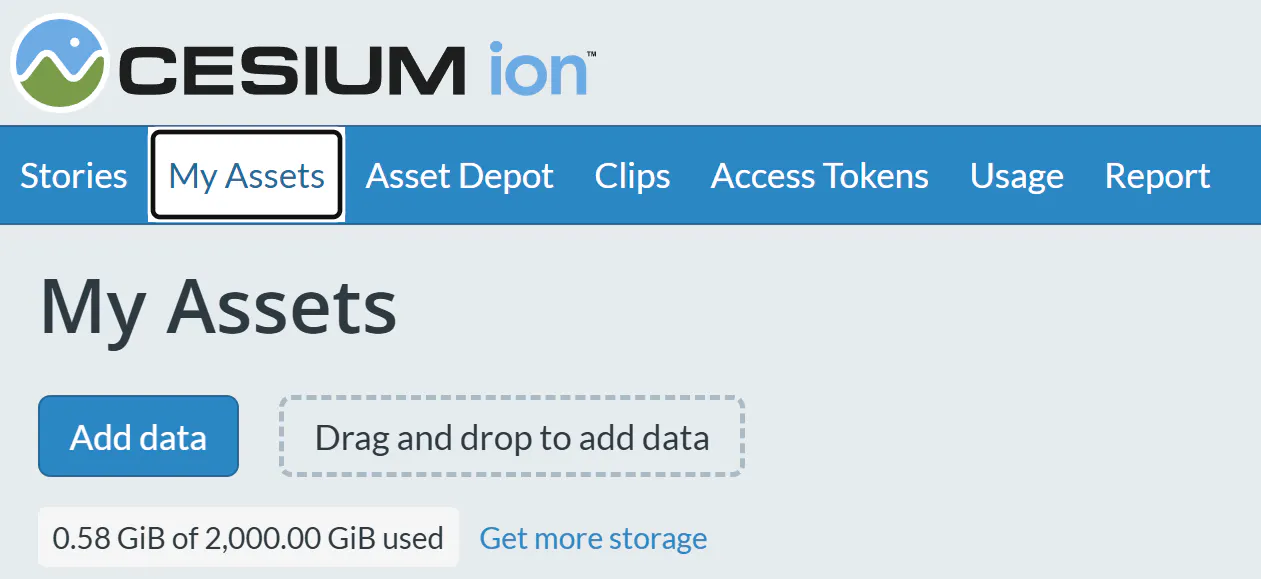
Click Add files... and select the GeoJSON file you just downloaded. Under What kind of data is this? select GeoJSON (tile as 3D Tiles).
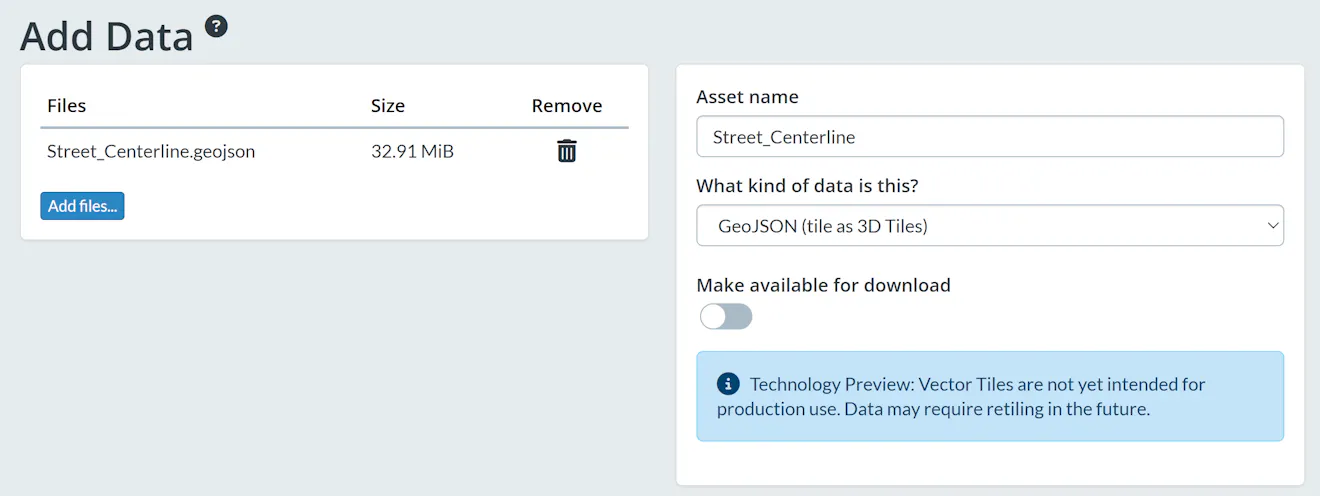
Click Upload and wait for the file to complete its upload and tiling. When it finishes, copy the ID of the asset and save it for later.
To work with the tileset we just uploaded, we will need to move the level to the location of the data on the globe. For this dataset, the location is the city of Philadelphia.
Open the CesiumGeoreference in your level and set the coordinates to Latitude 39.95, Longitude -75.16
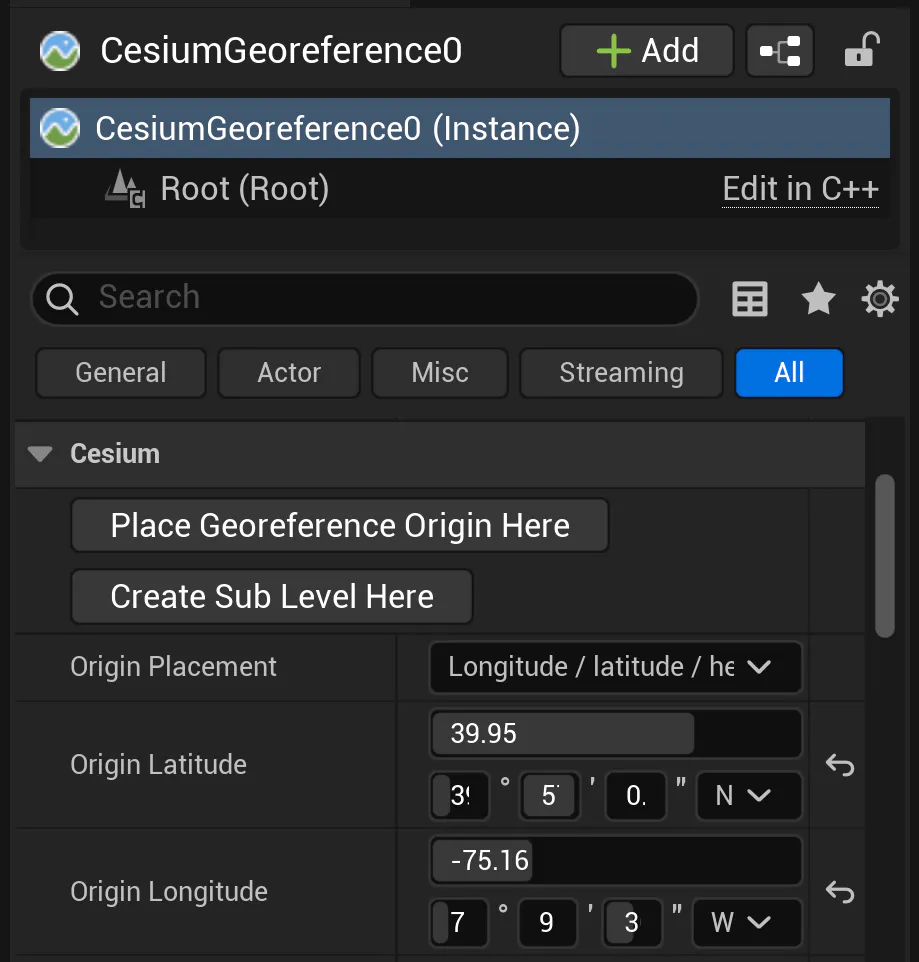
The center of your level should now be above Center City, Philadelphia.
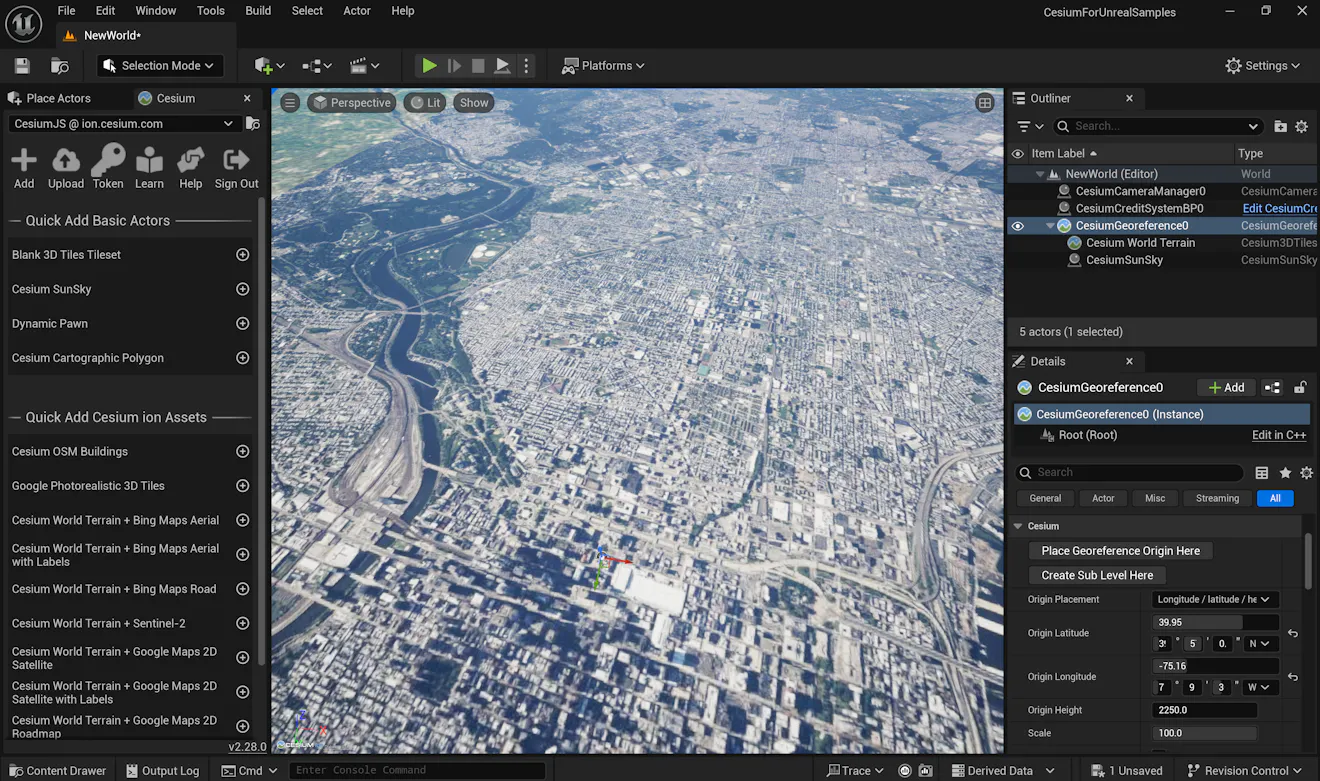
We will now add our vector data to the scene. Select the Cesium World Terrain tileset and use the Add button to add a Cesium Vector Tiles Raster Overlay.
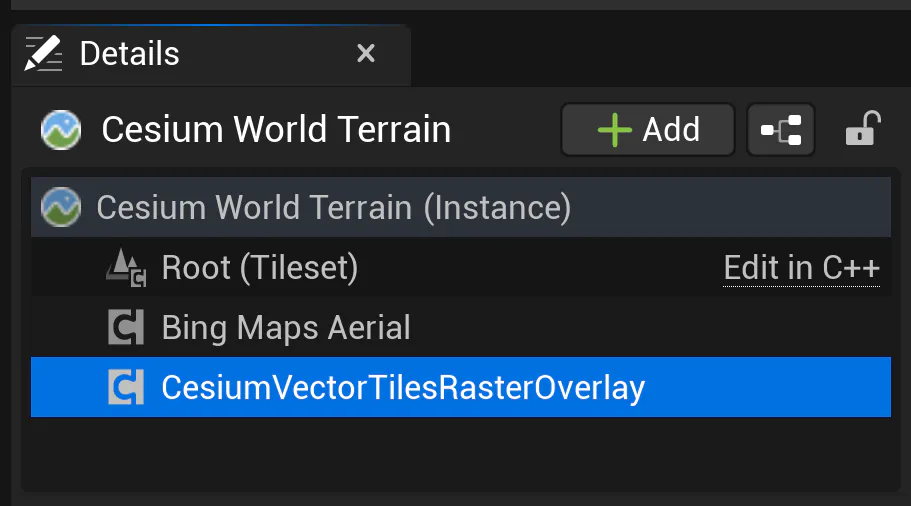
Because the tileset already has a raster overlay attached, we will need to change the settings on the Vector Tiles Raster Overlay to display above the Bing Maps Raster Overlay. Select the Cesium Vector Tiles Raster Overlay and change the Material Layer Key from Overlay0 to Overlay1.
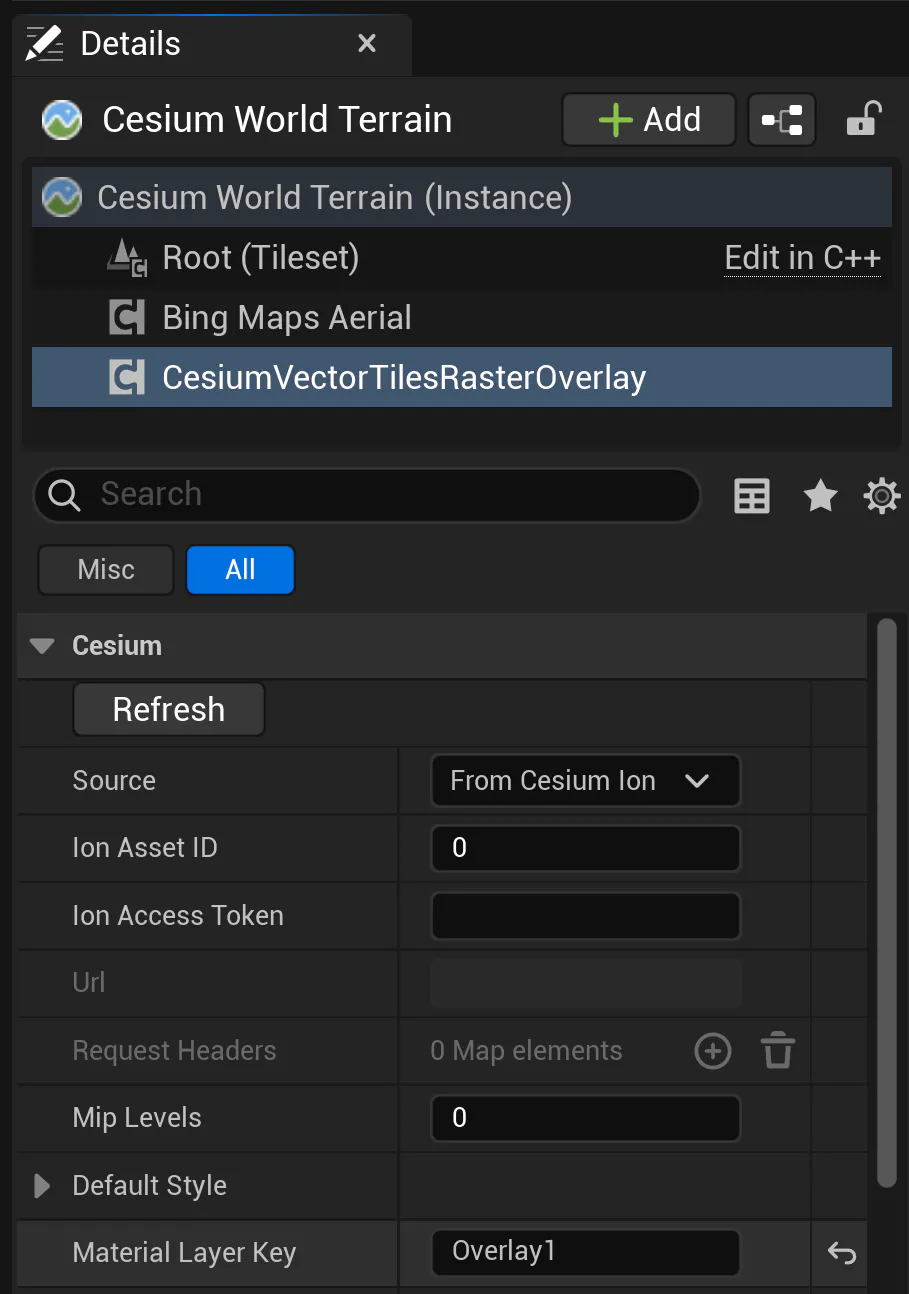
Finally, paste the ID of your uploaded asset into the Ion Asset ID field to see your vector data overlaid onto the Cesium World Terrain tileset.
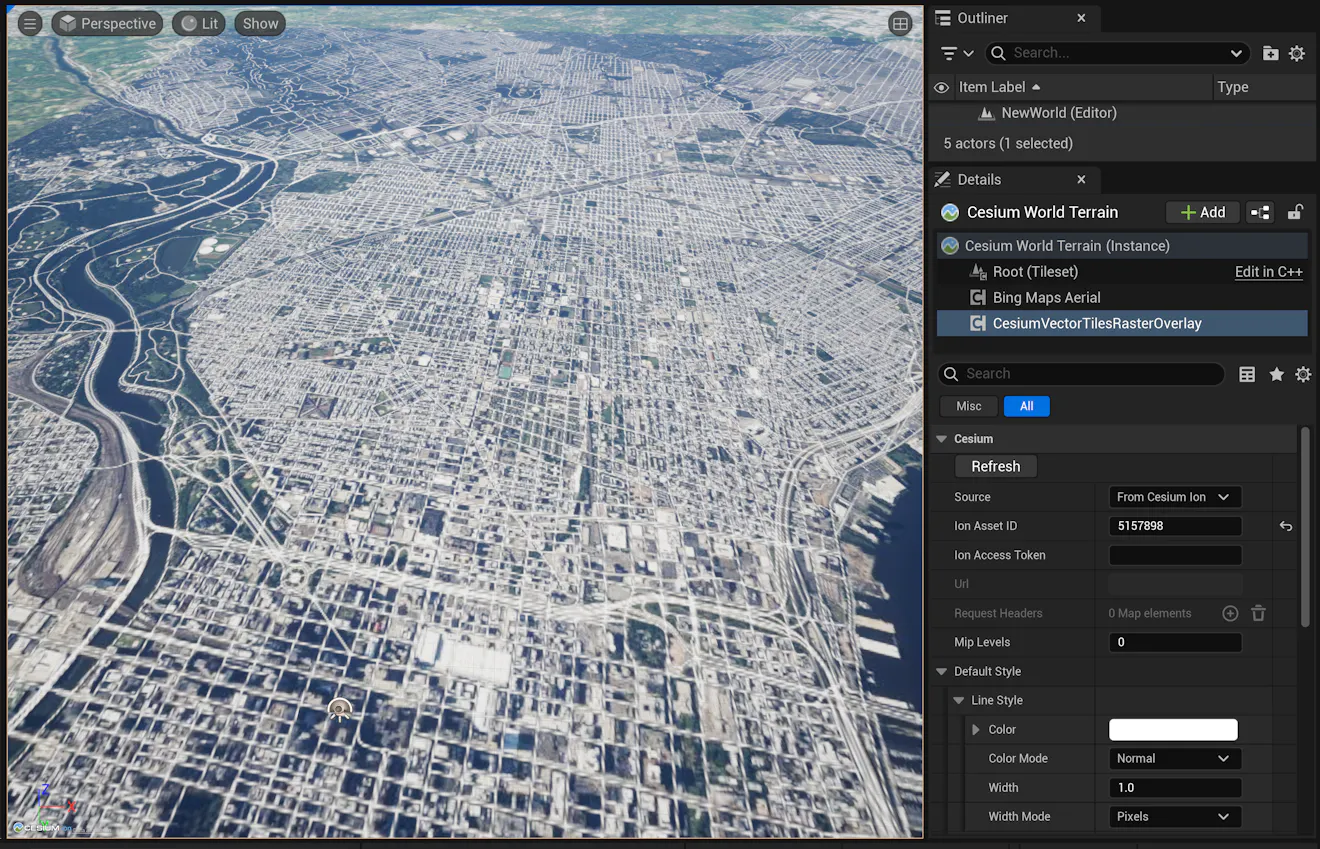
Because we have not changed the styling, the lines are currently shown as single pixel white lines. This is very difficult to see overlaid onto the grey concrete of Philadelphia!
This styling can be customized in the Default Style property on the Cesium Vector Tiles Raster Overlay.
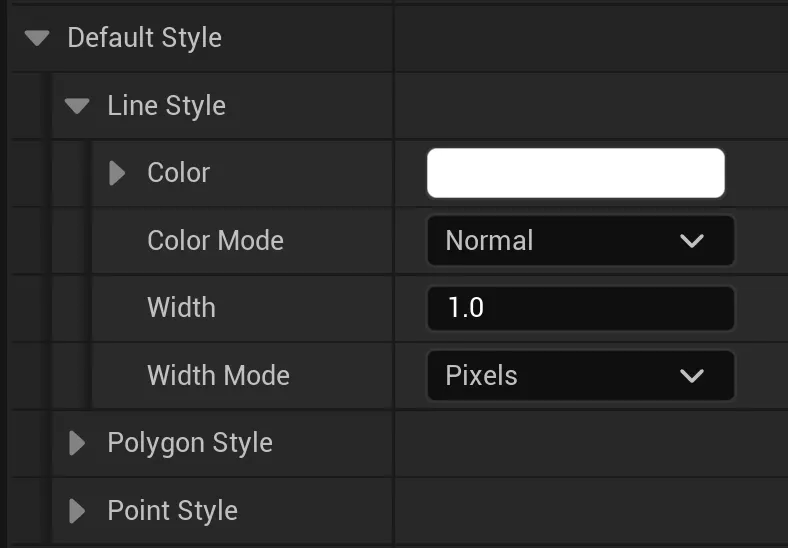
Lines, Polygons, and Points can each have their own distinct styling. For lines, the options are:
- Color: this is the color the lines will display.
- Color Mode: if set to Normal, the value of Color will be used directly. If set to Random, each component of Color will be treated as a maximum for the random color value generated. For example, to generate only random shades of red, set the Color Mode to Random and the Color to R: 255 G: 0 B: 0.
- Width: this is how thick the lines will display. The meaning of this number is informed by the Width Mode.
- Width Mode: if set to Pixels, the Width specifies how many pixels wide the lines should be on the screen, no matter how close or far you are from them. If set to Meters, the Width specifies how large the lines should be in real-world terms. If you move closer, the lines will grow larger, and if you move farther away, the lines will grow smaller or disappear altogether.
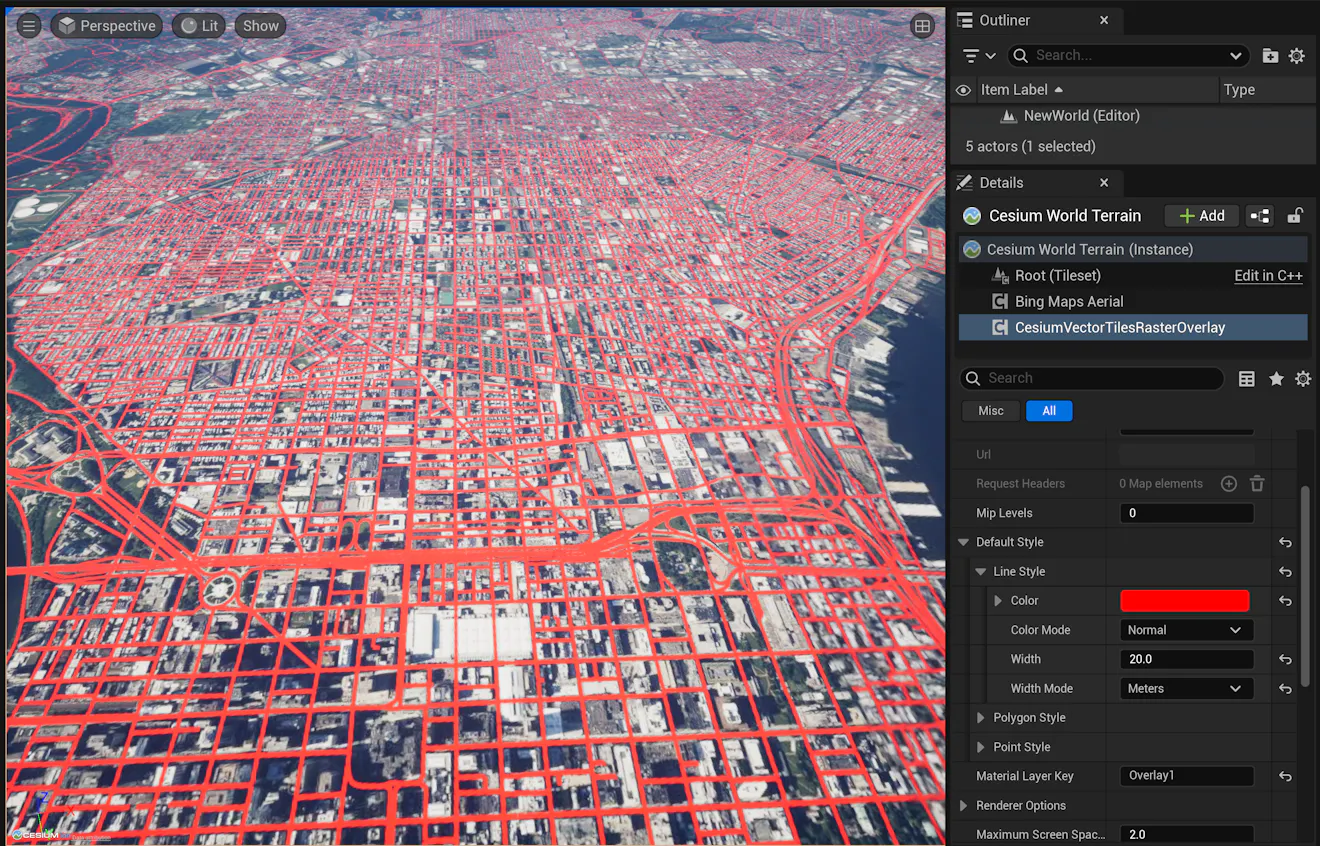
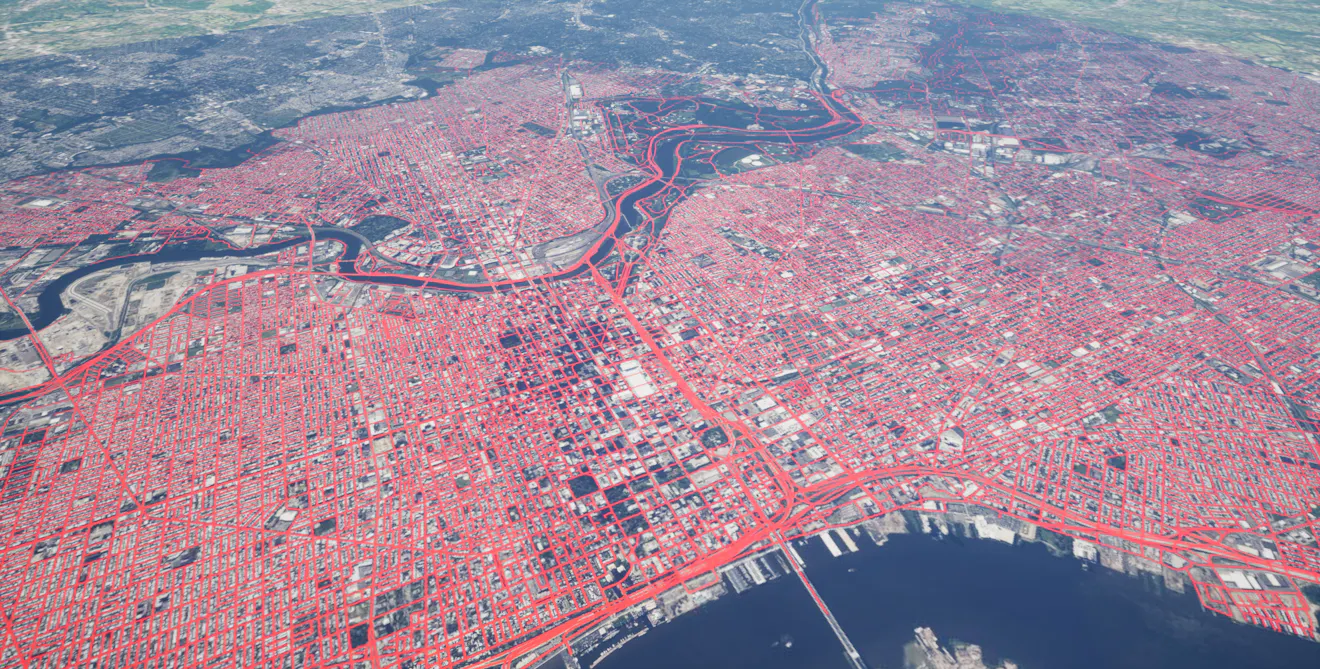
With the Color set to red, the Width set to 20.0, and the Width Mode set to Meters, it is now easy to see Philadelphia's street grid in front of you: