Uploading Data with the Asset Importer
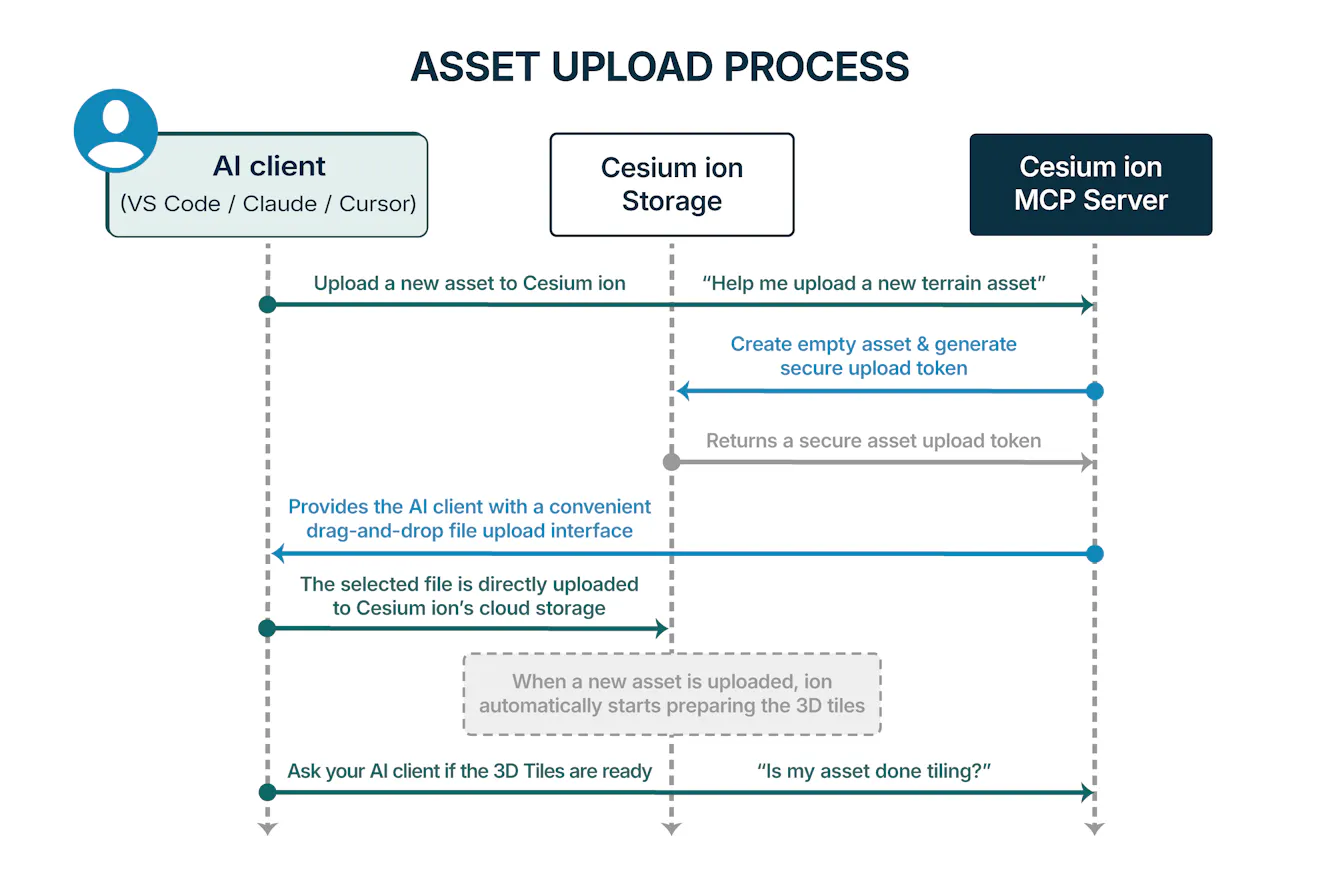
In this tutorial you'll upload your own data to Cesium ion from inside an AI chat. When you ask your assistant to create a new asset, the MCP server opens an interactive importer panel right in the conversation. You drop your files into it, they upload directly to ion's cloud storage, and the assistant monitors the tiling pipeline until your asset is ready to stream.
- An AI client connected to the ion MCP server. See Connect your AI client.
- A client that supports MCP Apps (interactive tool panels). In clients without MCP Apps, use the ion dashboard uploader or the REST API instead.
- Some source data to upload. Any dataset from the existing upload and tile tutorials works: a CityGML model, a GeoTIFF, a photogrammetry capture, a point cloud.
The importer needs to know what kind of asset to create so ion runs the right tiling pipeline.
- Name — the display name for the new asset
- Type — what ion should produce:
3DTILES,IMAGERY, orTERRAIN - Source type — what you're uploading, e.g.
CITYGML,3D_CAPTURE(photogrammetry),3D_MODEL,POINT_CLOUD,RASTER_IMAGERY,RASTER_TERRAIN - Description (optional) — Markdown-formatted notes
Not sure which combination fits your data? Just describe it. Say something like, I have a LAS point cloud of a quarry and the assistant will pick 3DTILES + POINT_CLOUD for you. The Tiler Data Types and Formats guide lists what ion accepts for each source type.
Ask your AI for the upload:
Create a new Cesium ion asset called "Reichstag" from CityGML, tiled as 3D Tiles.
The assistant calls launch_ion_asset_importer. Two things happen:
- A new asset is created in your ion account with status
AWAITING_FILES. - An importer panel opens inside the chat, ready to receive files.
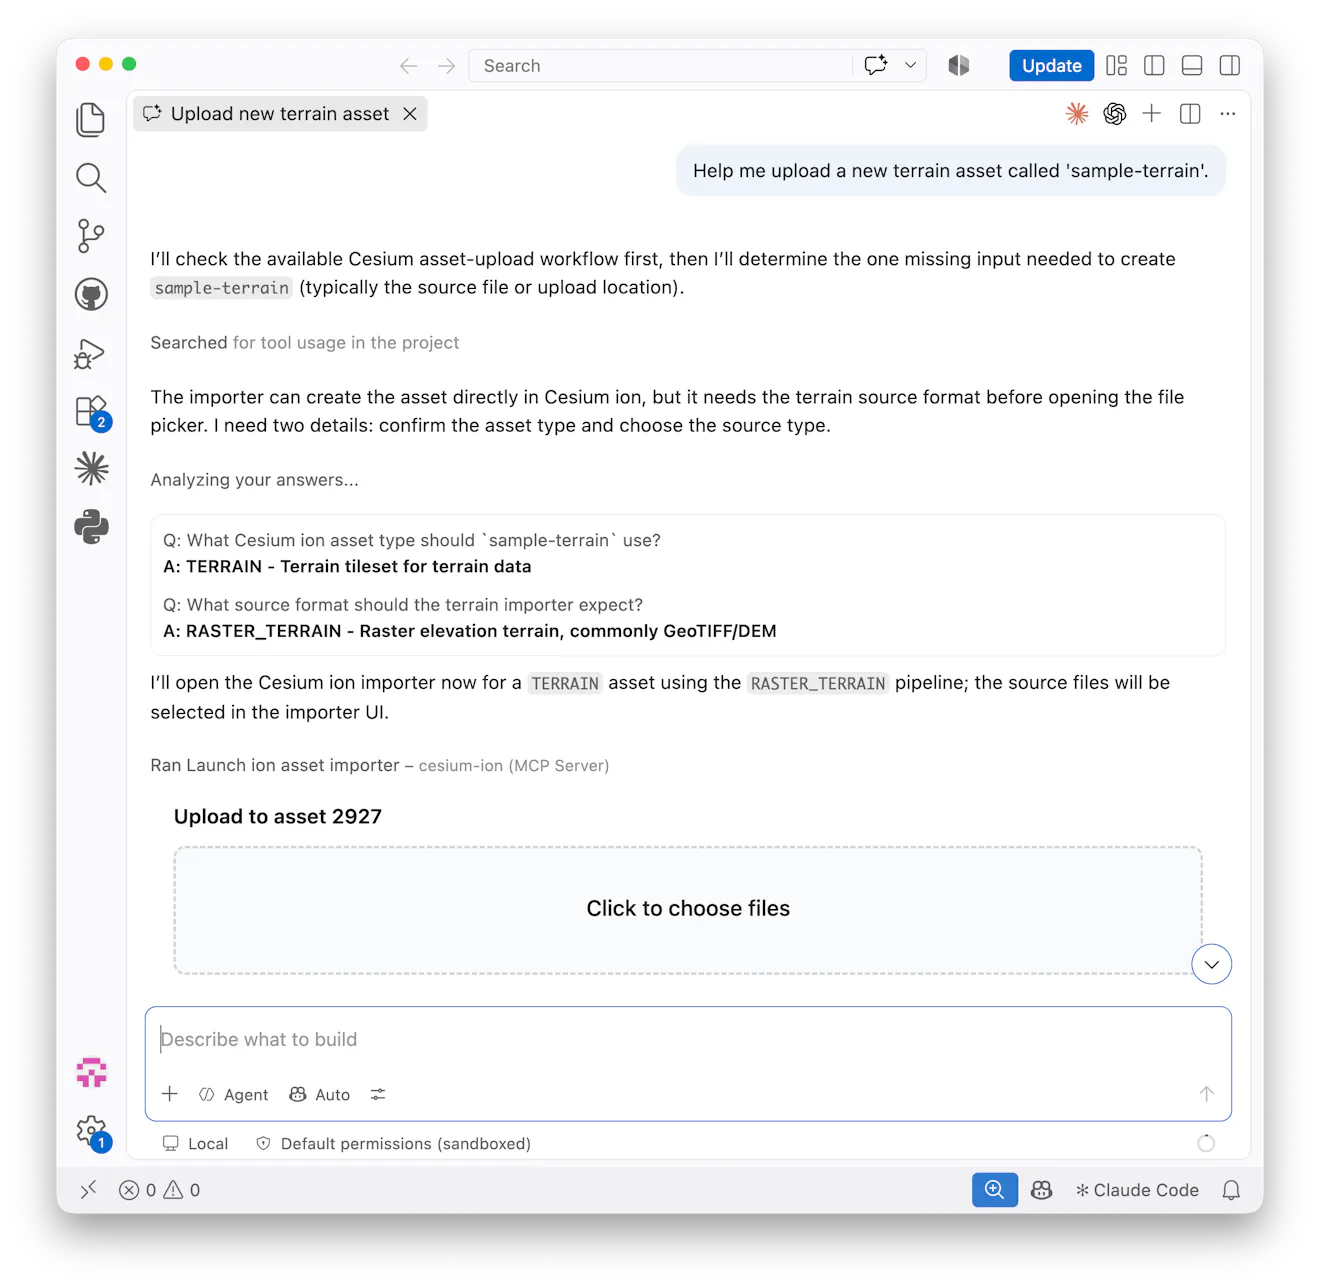
File selection happens entirely inside the importer panel. The assistant never sees your file paths or file contents—it only knows the asset's name, type, and ID. This is by design: your data goes straight from your browser to ion's storage.
Drag your source files (or folder) into the drop zone. The importer uploads each file directly to ion's cloud storage and shows per-file progress. When everything has uploaded, it notifies ion that the source data is complete, and ion queues the asset for tiling.
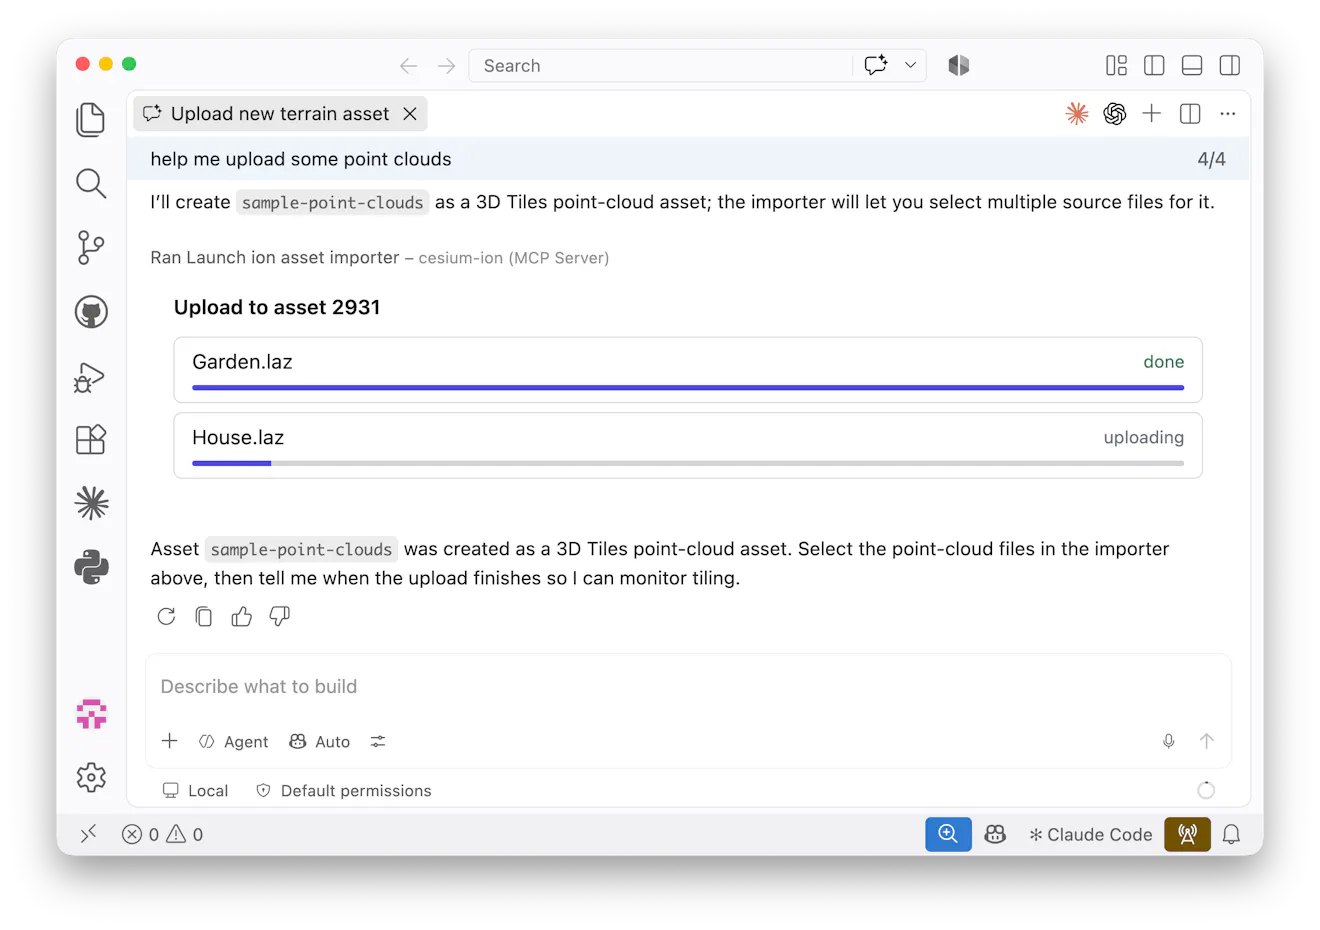
Each file uploads in a single request, so keep individual files under 5 GB; split larger files before uploading if your source format allows it. Datasets that are already split into many files, like most point clouds and photogrammetry captures, rarely run into this. Please keep the chat open until the importer reports completion.
Once the importer reports the upload is done, tell the assistant:
The upload is finished.
Wait for the asset and tell me when tiling completes.
The assistant calls wait_for_asset, which polls the asset until it reaches a terminal status (COMPLETE, ERROR, or DATA_ERROR) and reports the result. Small assets tile in minutes; large photogrammetry or terrain datasets can take much longer, and the assistant will tell you if it stopped waiting before tiling finished (you can always ask it to check again later).
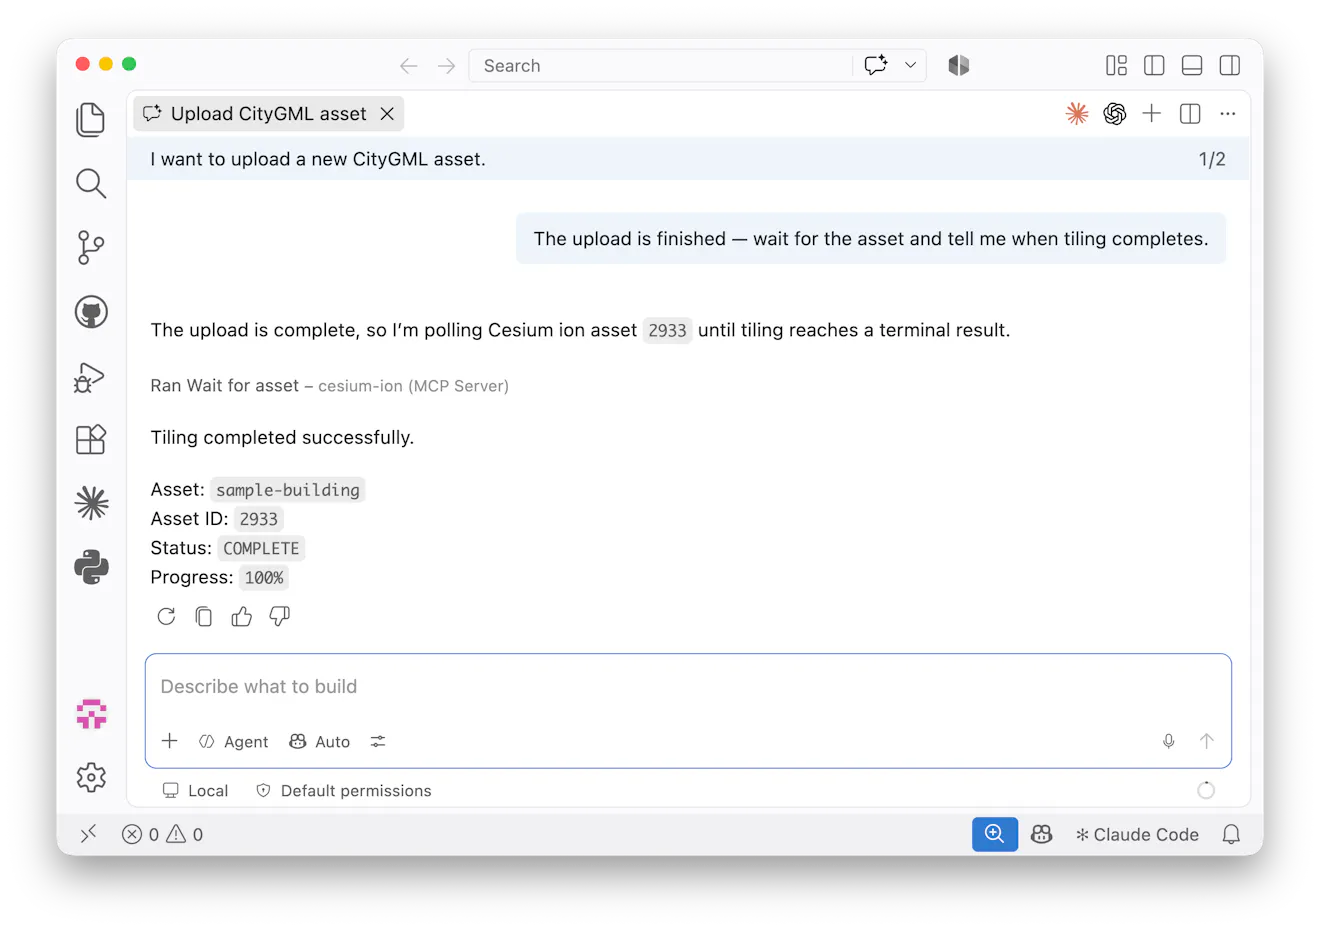
Your data is now a streamable asset. Verify it:
Show me the details of the Reichstag asset. Where is its tileset located?
Or open it in the ion dashboard. Click the asset to see it on the 3D preview globe. From here you can use it anywhere ion assets go: CesiumJS, Cesium Stories, or the engine integrations.
If wait_for_asset reports ERROR or DATA_ERROR, the source data couldn't be processed. Common causes are a mismatched source type, corrupt archives, or missing files (e.g., a .shp without its sidecars). Ask the assistant for the asset details to see the error, then fix the source data and upload again as a new asset. The Tiler Data Types and Formats guide covers format-specific requirements. For anything that still doesn't make sense, email support@cesium.com with the asset ID.
Your asset is live. To stream it from an application, mint an access token in the ion dashboard: see the Access Tokens Guide for instructions. Working with Bentley data instead? See Importing iModels from Bentley iTwin for a zero-upload path into ion.