WebODM
WebODM is an open source tool for generating maps, point clouds, terrain, and 3D models from aerial images. The Cesium ion WebODM plugin enables seamless integration to upload processed WebODM tasks to your Cesium ion account. Using Cesium ion, extremely large models can be streamed to any device using Cesium clients to load 3D Tiles.
- WebODM version 2.5.0 or later
- Cesium ion token with assets:list, assets:read, assets:write permissions
- Internet connection
The updated plugin is compatible only with WebODM version 2.5.0 or later.
The first step is to create a Cesium ion access token. This token will allow WebODM to upload data to your ion account where it can be tiled and hosted.
1Login or create an account on Cesium ion, then click on Access Tokens in the top navbar.
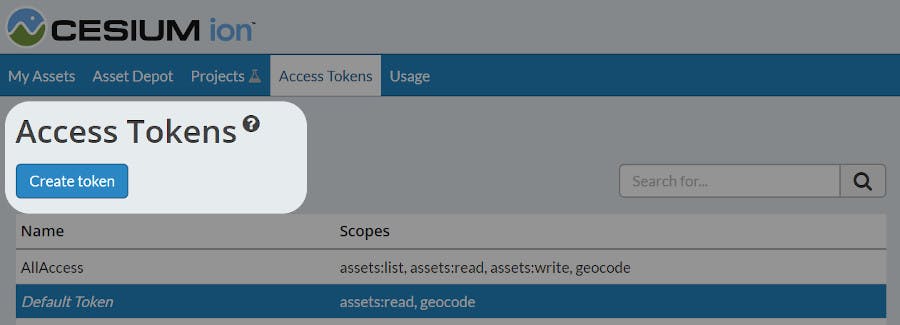
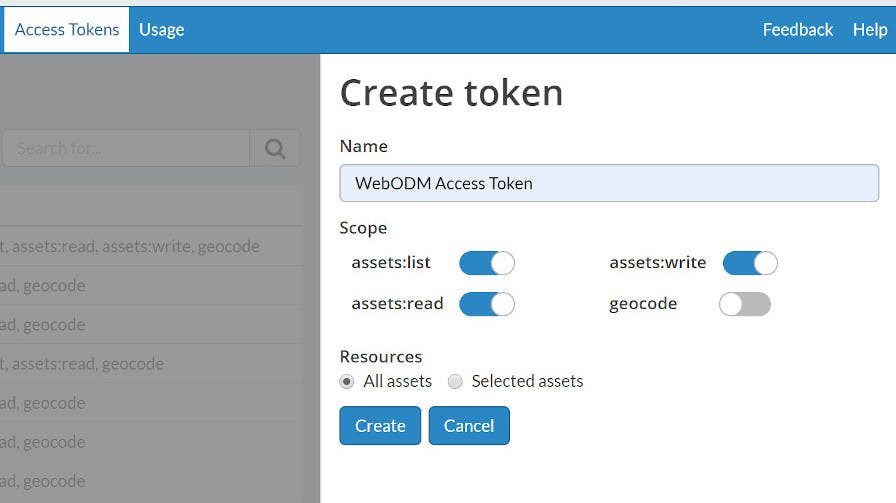
2Click the Create Token button to create a new token. Give your new token read, write, and list permissions as shown below.
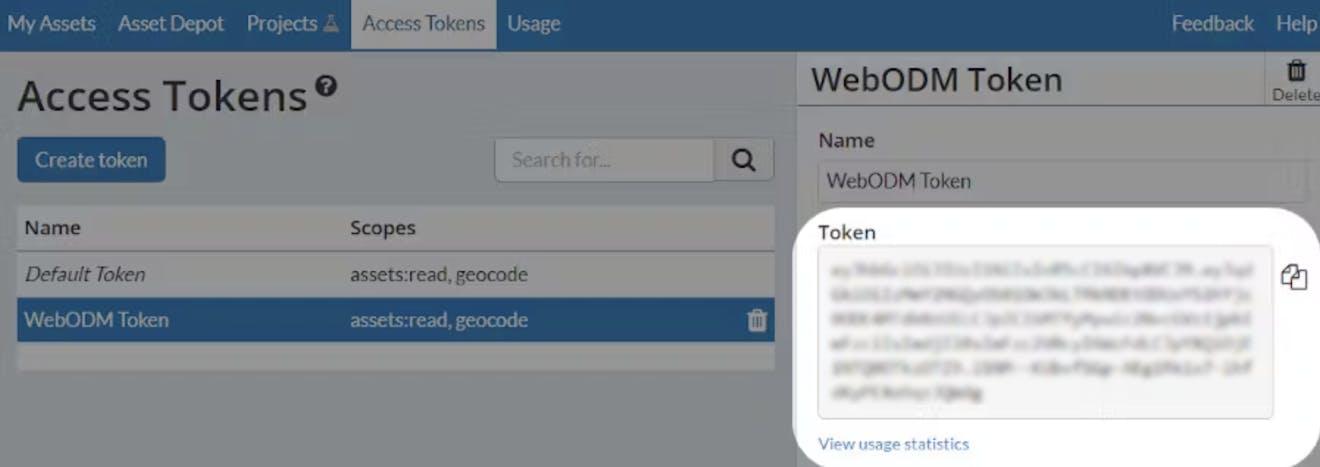
3Click Create and then copy your newly created token from the panel on the right.
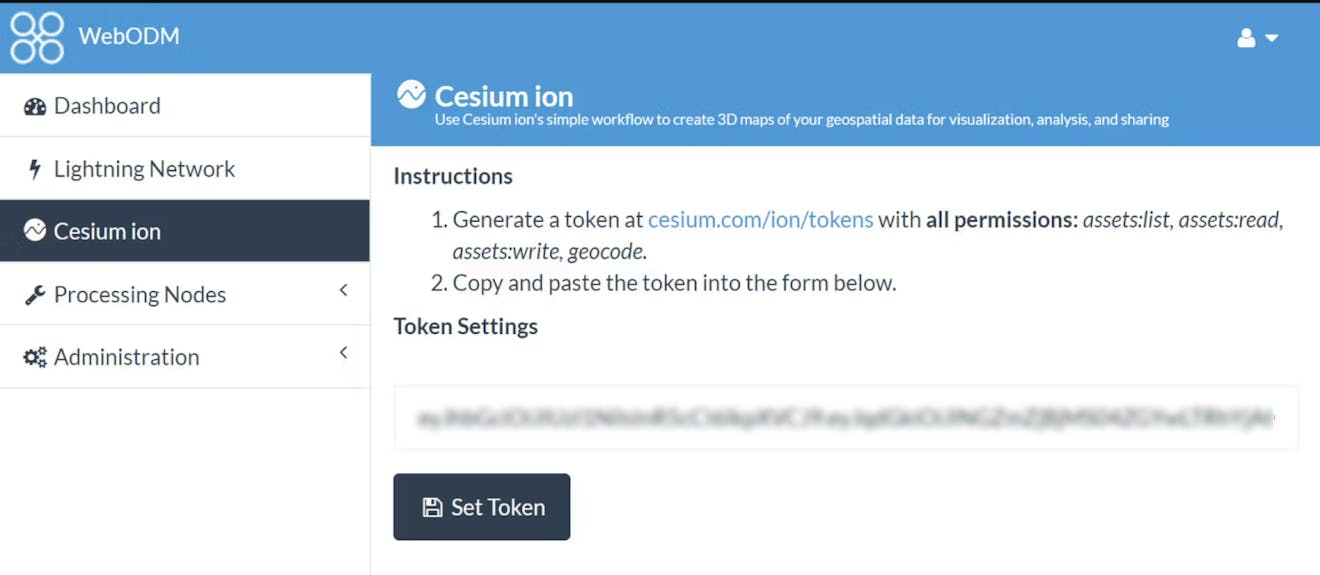
4Then go into your WebODM dashboard. Go to Administration -> Plugins and enable Cesium ion.
5Select the left Cesium ion tab.

6Paste your token in the input field and click Set Token.
You are now ready to start tiling your WebODM assets in the cloud with Cesium ion!
1Create a new project in the WebODM dashboard.
2Upload your images.
3Edit the WebODM task options and make sure to enable texturing-single-material.
4Start the WebODM processing. This can take a while to complete.
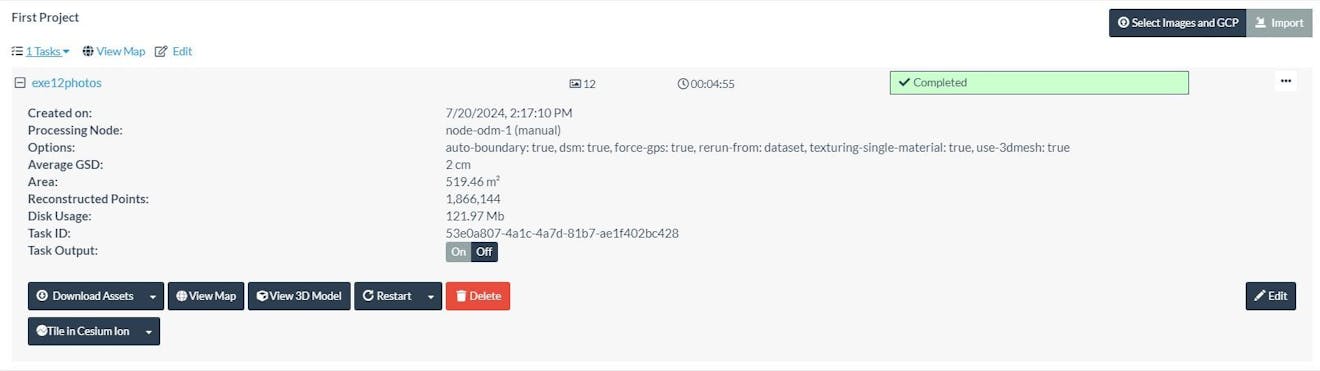
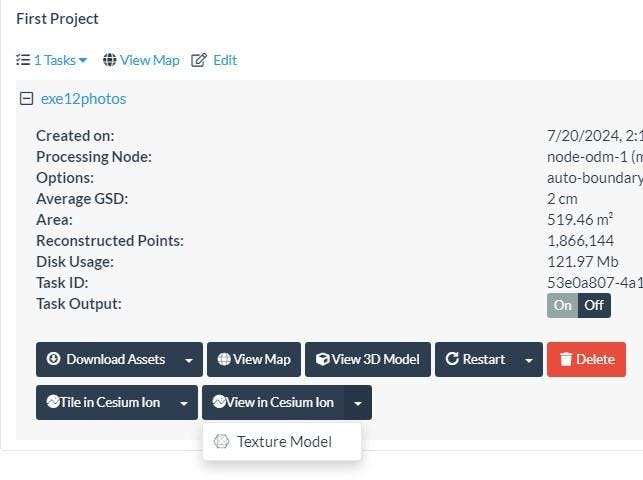
5Once finished, press the Tile in Cesium ion dropdown button for a list of available asset uploads.
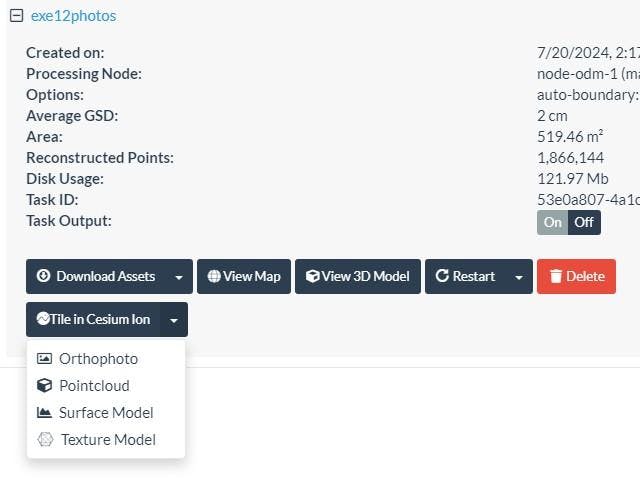
6Click on a dropdown item to show the popup dialogue where you can rename the asset, add a description/attribute, or enable a Cesium ion option before uploading.
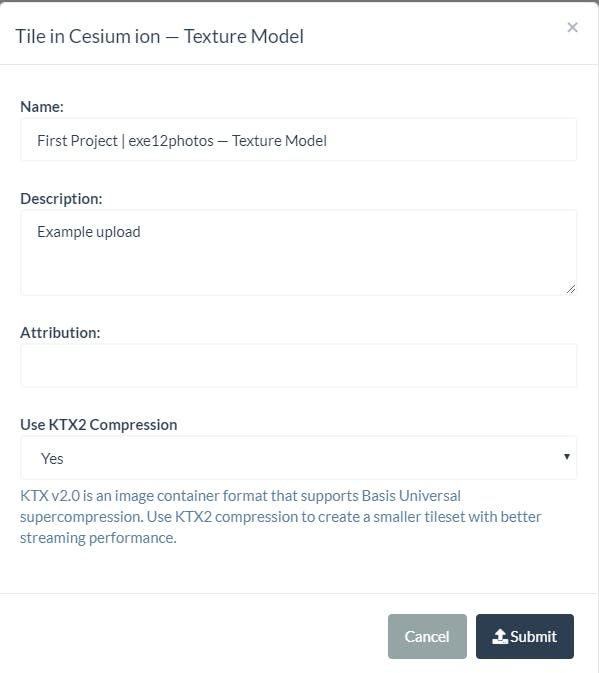
7Click Submit to start the upload to your Cesium ion account.
You can view the progress of the upload by clicking the View Ion Tasks button.
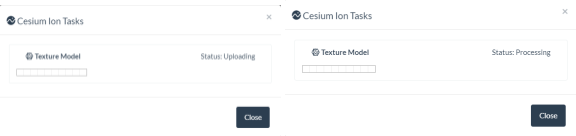
There are 2 phases to a Cesium task: uploading and processing. Uploading is the transfer of processed WebODM data to Cesium ion. Processing is the tiling and rendering Cesium ion does to generate streamable models.
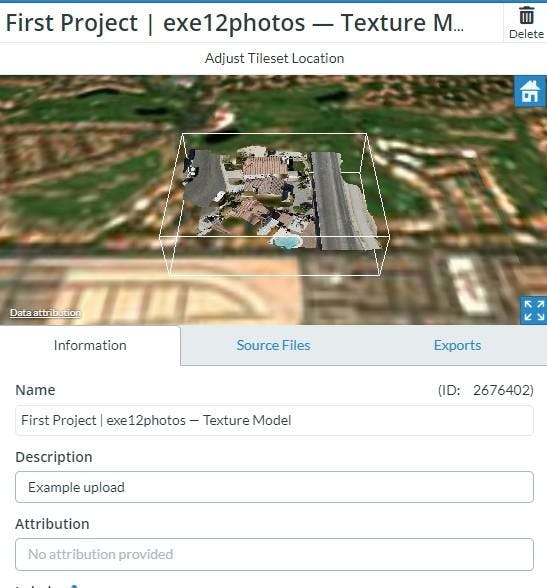
8Once the job is complete, you can click the View in Cesium ion dropdown button to open a new browser tab to view your Cesium ion assets.
Cesium upgraded the streaming pipeline to automatically use the 3D Tiles 1.1 tileset version. The new standardized tileset version comes with KTX2, a texture compression format option to create a smaller tileset for better streaming performance.
- Issue: Texture model uploads to Cesium ion but fails to process/render.
- Solution: Ensure that you have enabled texturing-single-material before WebODM processing on a new project task, as WebODM stores previously processed textured models in the same odm_textured data folder. (Cesium ion accepts only single textured materials for a 3D_CAPTURE.)
Now that you’ve created a 3D Tileset of your data, you can build on this example to fuse it with other datasets or share it on the web. The CesiumJS quickstart is a good next step for learning how to embed your data on a web page with CesiumJS.