Importing iModels from Bentley iTwin
If your organization designs infrastructure in Bentley Infrastructure Cloud, the ion MCP server can import a mesh export of an iModel directly into Cesium ion as 3D Tiles, no manual export, download, or re-upload. Once it's in ion, you can also ask your assistant to inspect the individual BIM elements that make it up. In this tutorial you'll import an iModel, explore its elements, and use it like any other 3D Tiles asset. Learn more about how Cesium ion interacts with BIM/CAD data.
- An AI client connected to the ion MCP server. See Connect your AI client
- A Bentley Infrastructure Cloud account with an iModel you can access
- Your ion account linked to that Bentley account (a one-time step, separate from signing in to ion)
- Permissions: you must be an owner of the iTwin that contains the iModel, and your account must belong to the same organization as the iTwin
Skip this step if you have already linked your Cesium ion account to Bentley.
Go to the ion dashboard's Add iModel page (choose Bentley iModel as the data type). If you haven't linked a Bentley account yet, you'll see a prompt there to sign in with Bentley. This is a one-time step, and it's separate from your regular ion sign-in.
Once linked, search for your iModel on the Bentley Infrastructure Cloud portal. First navigate to the iTwin (project) where your iModel is located and then pick out the desired iModel.
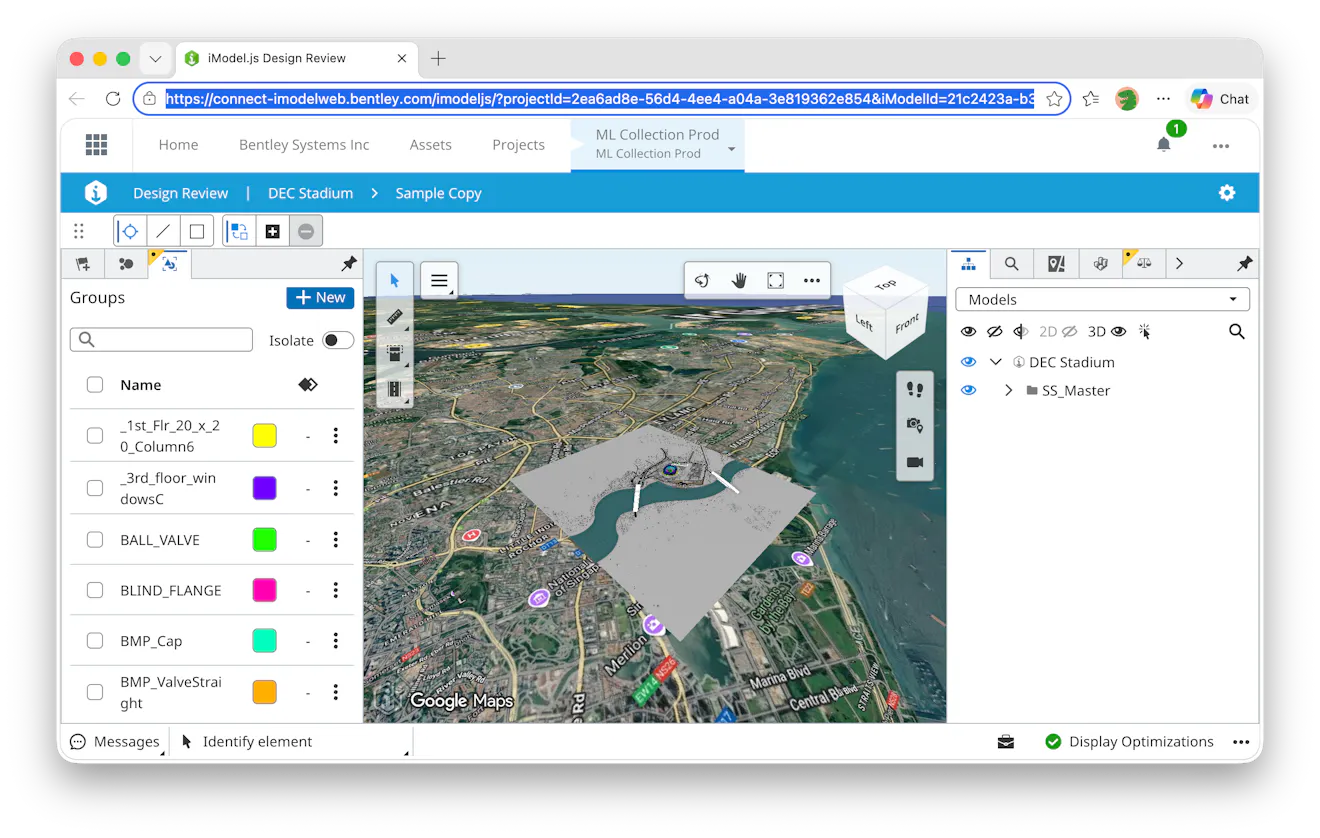
Pick out the iModelId of your iModel from the address bar of your browser. It should look something like this:

Look for the string after iModelId=.
Copy the iModelId (in this example, c34bd598-19e4-49e1-96dd-dc1c045c54d9). You will need it for the next steps.
Ask the assistant using the iModelId you just found:
Import the iModel c34bd598-… into Cesium ion as an asset named "Coastal bridge - design model".
The assistant calls import_imodel, which creates a new ion asset and triggers a fresh mesh export from Bentley Infrastructure Cloud. No pre-existing export is required. ion creates one as part of the import. The response includes the new asset's ID.
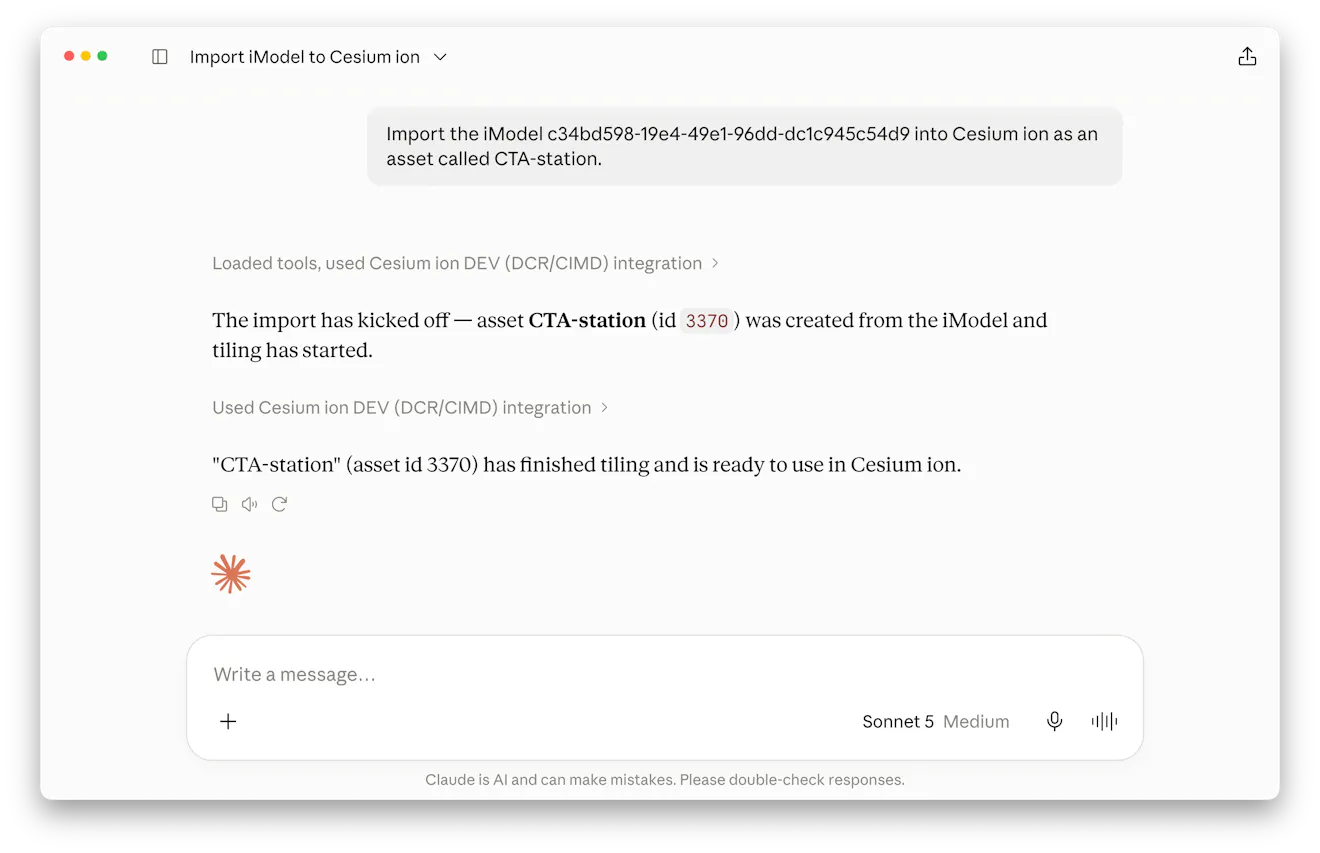
If the import is rejected, check the prerequisites above. The most common causes are not being an owner of the iTwin, your ion sign-in belonging to a different organization than the iTwin, or not having linked a Bentley account yet.
Like any tiled asset, the iModel takes time to process:
Wait for the new asset and let me know when it's done.
The assistant polls with wait_for_asset until the asset reaches COMPLETE (or reports an error status).
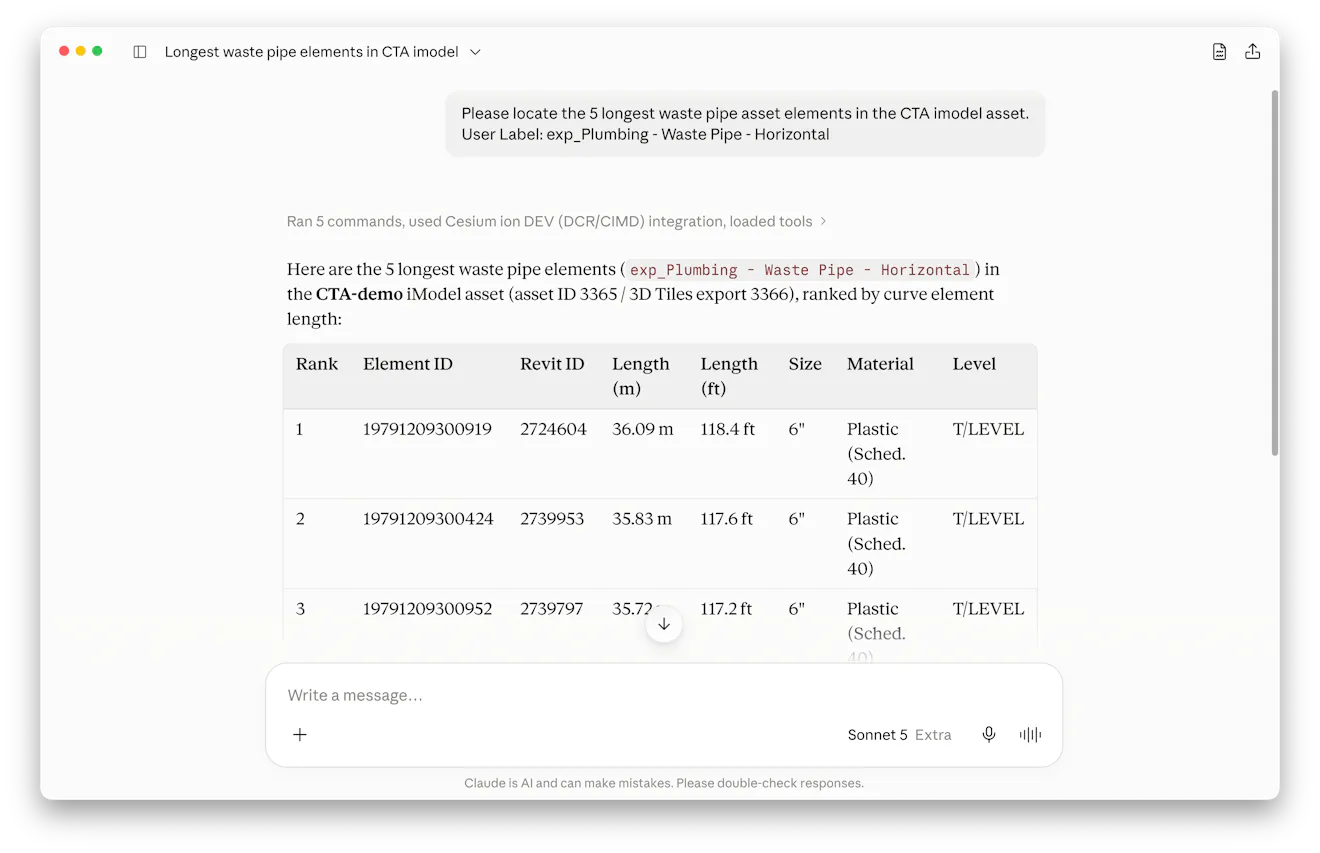
Once the asset is tiled, you can ask about the individual elements that make it up, such as pipes, beams, or panels, each with their own properties:
How many elements does the bridge asset have?
Show me one with "Height" over 10.
The assistant chains list_asset_elements and get_asset_element, using the same SQL-style filtering you'd write by hand, for example Height >= 10. You can also search element properties directly:
Search the bridge asset's elements for anything mentioning "expansion joint."
That uses search_elements, which runs a full-text search across indexed element properties.
Once complete, the iModel is a standard 3D Tiles asset in your account:
Get the tileset info for the bridge asset.
Confirm it's georeferenced where I expect.
Open it on the preview globe in the ion dashboard, combine it with Cesium World Terrain, stream it into CesiumJS or Cesium for Unreal/Unity, or present it in a Cesium Story alongside your other geospatial context.
Give your stakeholders access with a properly scoped token: see the access tokens guide for instructions. Or learn the rest of the asset workflows in Managing assets with AI. Developers can find every parameter for these tools in the Tool reference.