Create 3D Reality Models with Cesium ion
Cesium ion allows you to reconstruct a 3D reality model from a collection of photos. This guide explains how.
This feature is available as a tech preview. When the production release is made available, it is possible you will need to retile your data. During this tech preview, you do not have access to reporting on your usage of this service.
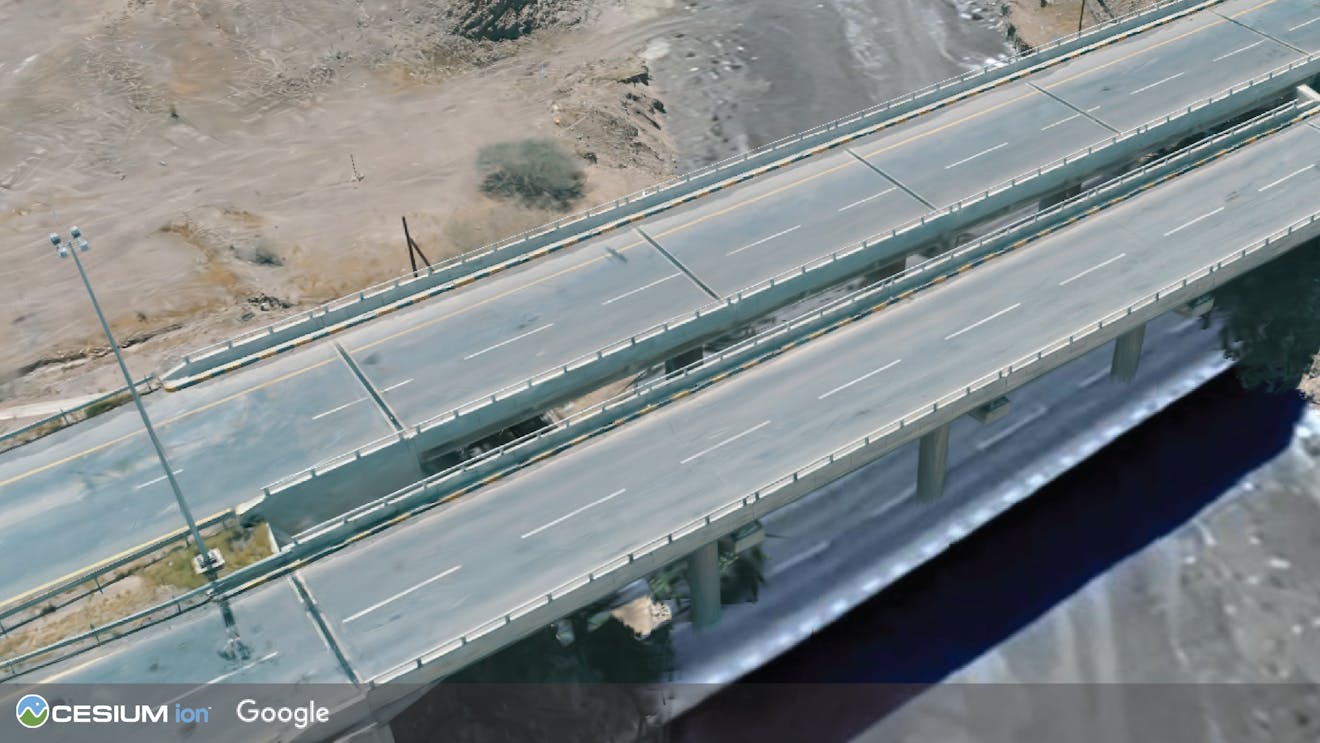
3D Tiles Gaussian splats of a bridge, reconstructed from photos by Cesium ion and shown with Google Photorealistic 3D Tiles.
You need a Cesium ion account to take this tutorial. Sign up or log in to Cesium ion.
Cesium ion is an open platform for tiling and hosting. It will serve your reality models as 3D Tiles to any compatible client, like CesiumJS.
Cesium 3D model reconstruction is not yet available for Cesium ion Self-Hosted.
Here is a sample photo collection you can use to try out reconstruction: Bridge.zip.
To generate a 3D reality model from photos,
- On the My Assets tab of Cesium ion, press Add Data to upload your photos (multiple photos or a file archive).
- If desired, edit the name for your asset.
- Select Photos (for 3D reconstruction).
- Select the options you want to apply:
- Choose the desired output quality.
- Select whether you want Gaussian splats and point cloud assets in addition to the default 3D mesh output.
- If the photos were taken indoors or with a low-quality GPS signal, turn off the Use embedded GPS coordinates to georeference the asset option.
- Push Upload to begin the import and reconstruction.
Cesium ion will then:
- Import the data (uploaded from your file system or whatever location you specified).
- Perform the reconstruction into a 3D mesh and tile the mesh into 3D Tiles and other data formats you selected.
Each output format will be a separate asset in My Assets. The original photos will be available as the source files for the 3D mesh.
Reconstruction can take considerable time, depending on the number and nature of your input photos and on how many output formats you choose. The sample data set will take about 50 minutes to process.

The Cesium ion user interface for importing a photo collection.
If you’ve used other 3D model reconstruction software, you might be used to more options to tune the reconstruction process. Our software should do a good job constructing a 3D model without any fine-tuning. If you are not satisfied with the reconstruction, let us know on the community forum.
The easiest way to visualize and share your reality data is using Cesium Stories.
- In the Cesium ion Stories tab, click New Story.
- Under Assets, click the Add asset button and choose your asset.
- Click the zoom button (magnifying glass) to go to your asset in the scene. Adjust the view to your liking.
- Click Capture view to save the view.
- Click Share and give your story a name.
You can share your data in an interactive scene! Learn more about Stories with this tutorial.
Use your asset in a custom app
- When you click on an asset in My Assets, you’ll see a preview panel on the right side of the screen.
- The preview panel displays the asset ID, which you’ll need for loading this asset in CesiumJS or other engines.
- At the bottom of this panel, you’ll find a code snippet for loading this asset in CesiumJS.
- Click Open complete code example to see your asset in Sandcastle.
- To learn how to upload your existing reality data, see the Tiling Photogrammetry Models or Tiling Point Clouds guides.
- See Analyze 3D Reality Models with Cesium ion to learn how to apply classification segmentation to your reality data.
- Check out this tutorial on how to use Cesium Stories to share your 3D reality data without writing code.