Introduction to Particle Systems
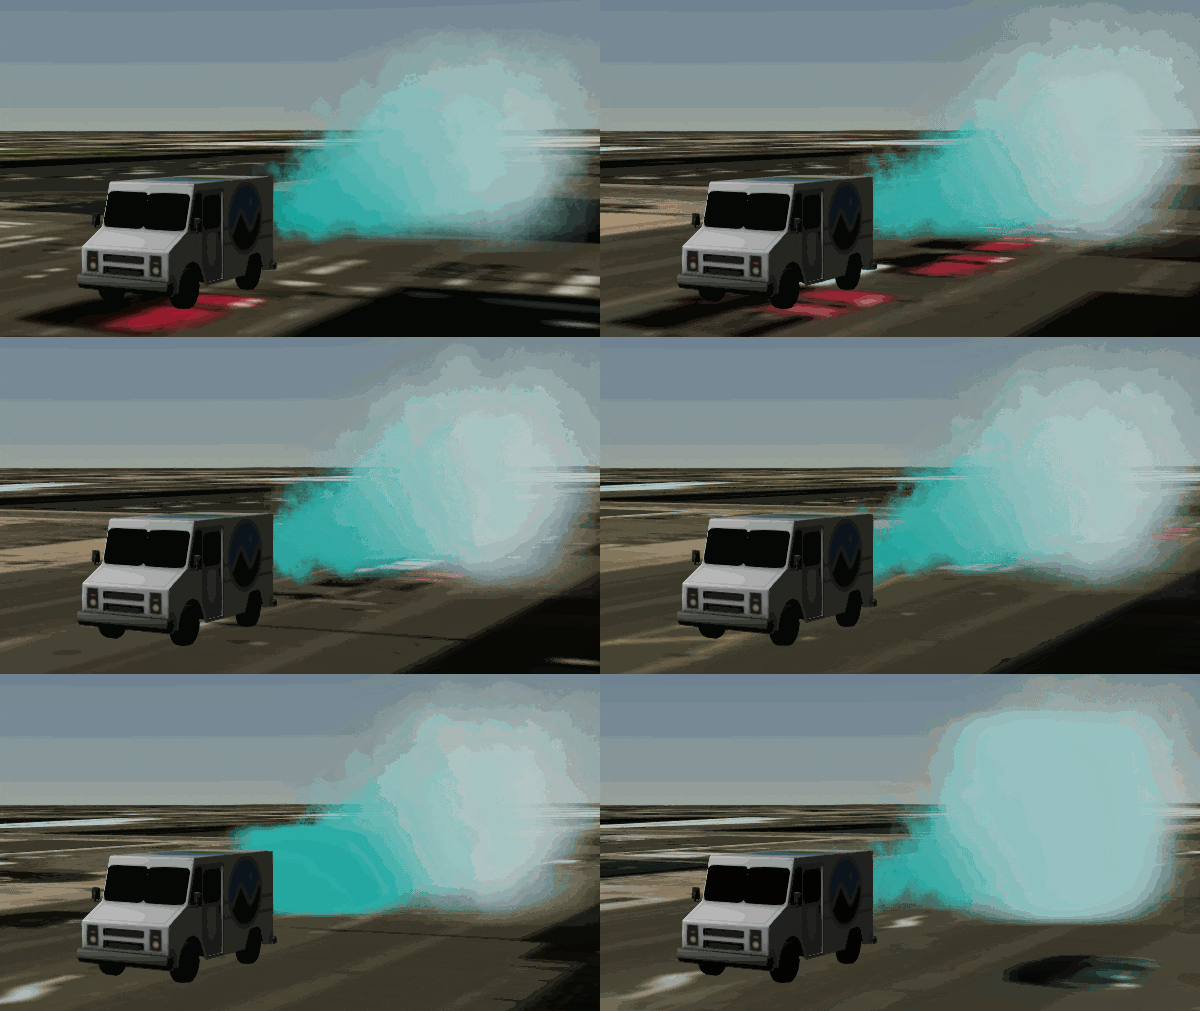
Particle systems are a graphical technique that simulates complex physically-based effects. Particle systems are collections of small images that when viewed together form a more complex “fuzzy” object, such as fire, smoke, weather, or fireworks. These complex effects are controlled by specifying the behavior of individual particles using properties such as initial position, velocity, and lifespan.
Particle system effects are common in movies and video games. For example, to represent damage to a plane, a technical artist could use a particle system to represent an explosion on the plane’s engine and then render a different particle system representing a smoke trail from the plane as it crashes.
Take a look at the code for a basic particle system:
const particleSystem = viewer.scene.primitives.add(
  new Cesium.ParticleSystem({
    image: "../../SampleData/smoke.png",
    imageSize: new Cesium.Cartesian2(20, 20),
    startScale: 1.0,
    endScale: 4.0,
    particleLife: 1.0,
    speed: 5.0,
    emitter: new Cesium.CircleEmitter(0.5),
    emissionRate: 5.0,
    modelMatrix: entity.computeModelMatrix(
      viewer.clock.startTime,
      new Cesium.Matrix4()
    ),
    lifetime: 16.0,
  })
);
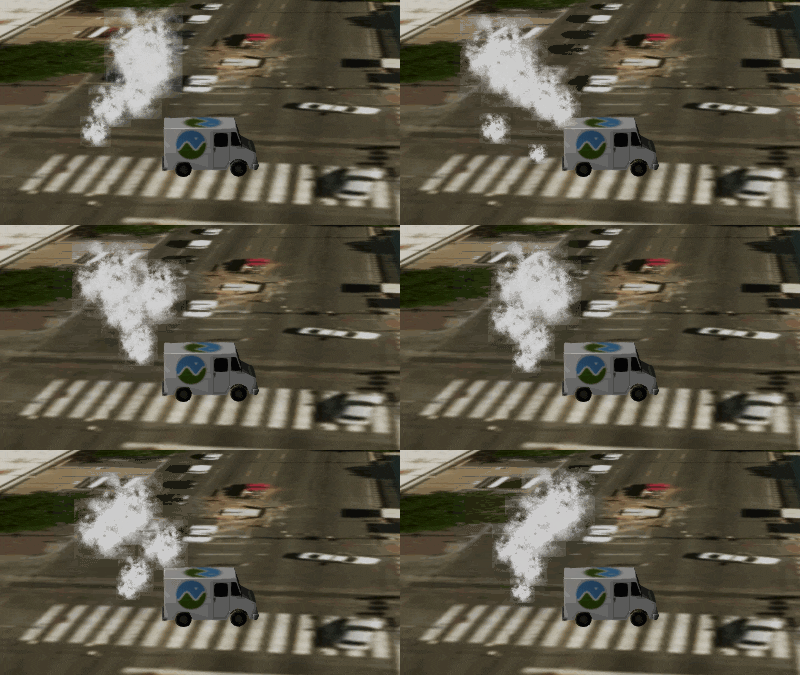
The above code creates a ParticleSystem, an object parameterized to control the appearance and behavior of individual Particle objects over time. Particles, which are born from a ParticleEmitter, have a position and type, live for a set amount of time, and then die.
Some of these properties are dynamic. Notice that instead of using the available single color property scale, there is a startScale and endScale. These allow you to specify that the particle size transitions between the start and end scale over the course of the particle’s life. startColor and endColor work similarly.
Other ways of affecting the visual output include maximum and minimum attributes. For every variable with a maximum and minimum input, the actual value for that variable on the particle will be randomly assigned to be between the maximum and minimum input and stay statically at that value for the entire life of the particle. For example, use minimumSpeed and maximumSpeed as bounds for the randomly chosen speed of each particle. Attributes that allow for changes like this include imageSize, speed, life, and particleLife.
When a particle is born, its initial position and velocity vector are controlled by the ParticleEmitter. The emitter will spawn some number of particles per second, specified by the emissionRate parameter, initialized with a random velocity dependent on the emitter type.
Cesium has various ParticleEmitter’s that you can use out of the box.
const particleSystem = viewer.scene.primitives.add(
  new Cesium.ParticleSystem({
    image: "../../SampleData/smoke.png",
    imageSize: new Cesium.Cartesian2(20, 20),
    startScale: 1.0,
    endScale: 4.0,
    particleLife: 1.0,
    speed: 5.0,
    emitter: new Cesium.BoxEmitter(new Cesium.Cartesian3(0.5, 0.5, 0.5)),
    emissionRate: 5.0,
    modelMatrix: entity.computeModelMatrix(
      viewer.clock.startTime,
      new Cesium.Matrix4()
    ),
    lifetime: 16.0,
  })
);
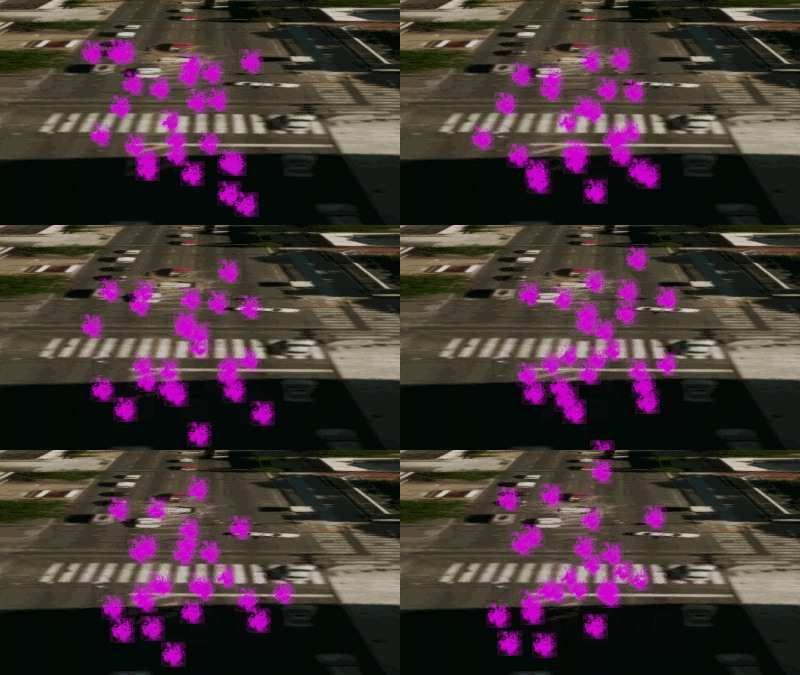
const particleSystem = scene.primitives.add(
  new Cesium.ParticleSystem({
    image: "../../SampleData/smoke.png",
    color: Cesium.Color.MAGENTA,
    emissionRate: 5.0,
    emitter: new Cesium.CircleEmitter(5.0),
    imageSize: new Cesium.Cartesian2(25.0, 25.0),
    modelMatrix: entity.computeModelMatrix(
      viewer.clock.startTime,
      new Cesium.Matrix4()
    ),
    lifetime: 16.0,
  })
);
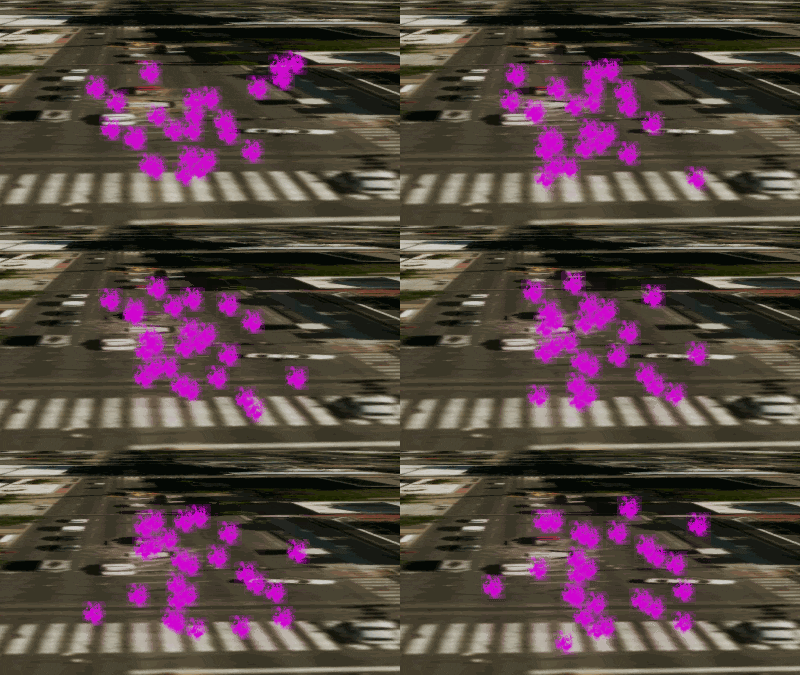
If no emitter is specified, a CircleEmitter is created by default.
ConeEmitter
ConeEmitter initializes particles at the tip of a cone and directs them at random angles out of the cone. It takes a single float parameter specifying the angle of the cone. The cone is oriented along the up axis of the emitter.
const particleSystem = scene.primitives.add(
  new Cesium.ParticleSystem({
    image: "../../SampleData/smoke.png",
    color: Cesium.Color.MAGENTA,
    emissionRate: 5.0,
    emitter: new Cesium.ConeEmitter(Cesium.Math.toRadians(30.0)),
    imageSize: new Cesium.Cartesian2(25.0, 25.0),
    modelMatrix: entity.computeModelMatrix(
      viewer.clock.startTime,
      new Cesium.Matrix4()
    ),
    lifetime: 16.0,
  })
);
const particleSystem = scene.primitives.add(
  new Cesium.ParticleSystem({
    image: "../../SampleData/smoke.png",
    color: Cesium.Color.MAGENTA,
    emissionRate: 5.0,
    emitter: new Cesium.SphereEmitter(5.0),
    imageSize: new Cesium.Cartesian2(25.0, 25.0),
    modelMatrix: entity.computeModelMatrix(
      viewer.clock.startTime,
      new Cesium.Matrix4()
    ),
    lifetime: 16.0,
  })
);
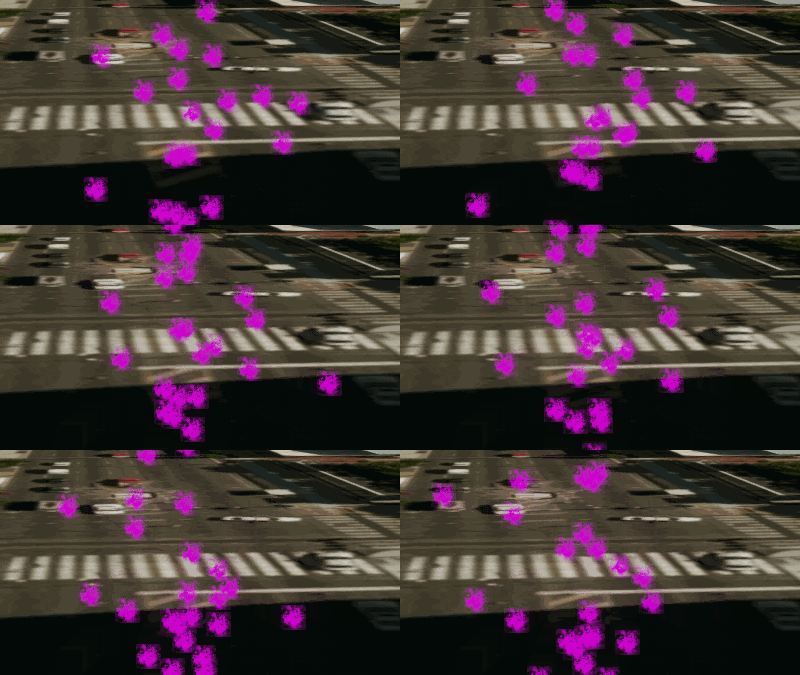
Particle emission rate
emissionRate controls how many particles are emitted per second, which changes the density of particles in the system.
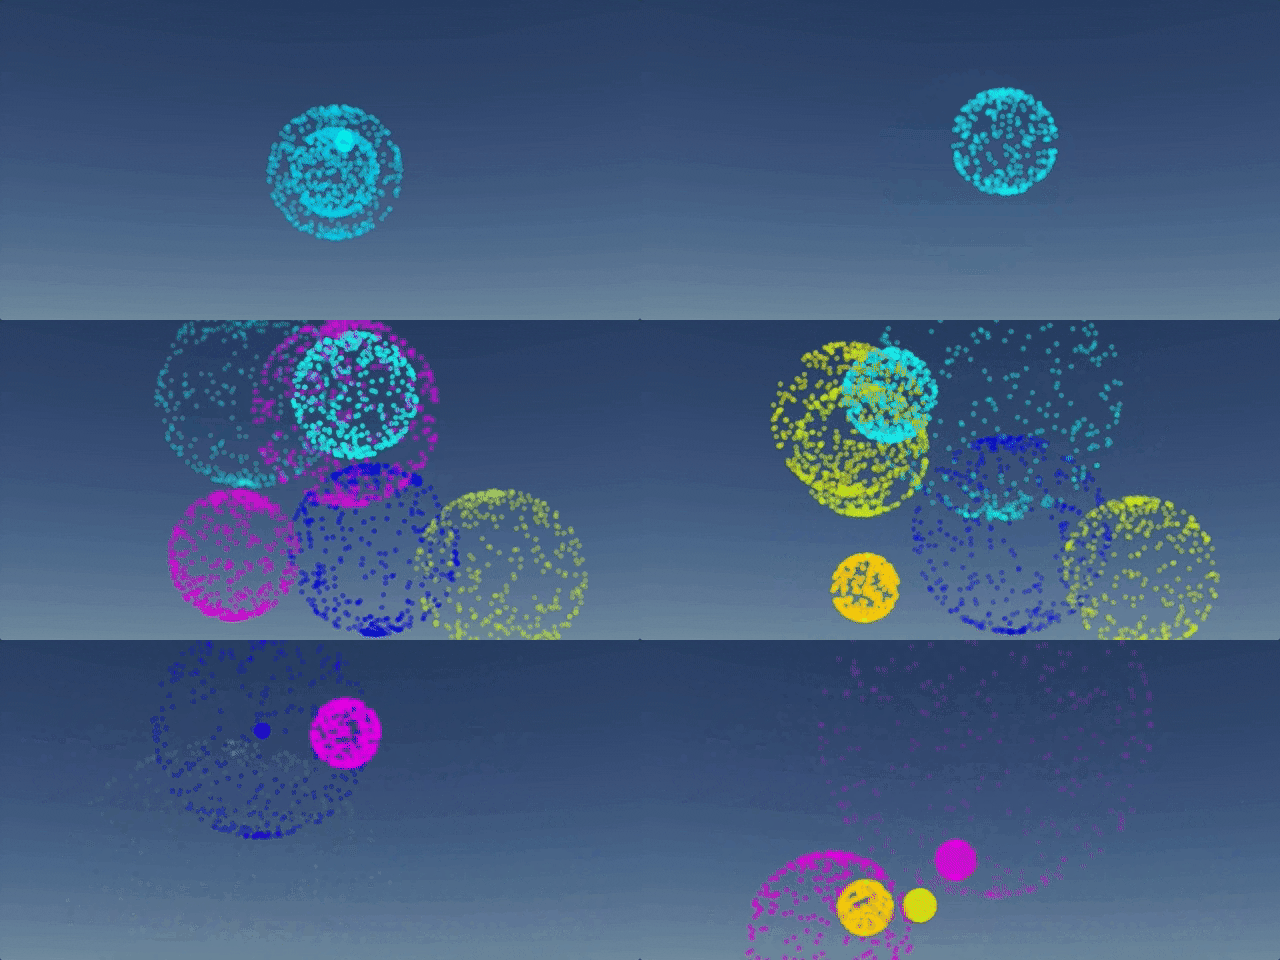
Specify an array of burst objects to emit bursts of particles at specified times (as demonstrated in the animations above). This adds variety or explosions to your particle system.
Add this property to your particleSystem.
bursts: [
  new Cesium.ParticleBurst({ time: 5.0, minimum: 300, maximum: 500 }),
  new Cesium.ParticleBurst({ time: 10.0, minimum: 50, maximum: 100 }),
  new Cesium.ParticleBurst({ time: 15.0, minimum: 200, maximum: 300 }),
]
lifetime: 16.0,
loop: false,
Setting particleLife to 5.0 will set every particle in the system to have that value for particleLife. To randomize the output for each particle, use the variables minimumParticleLife and maximumParticleLife.
minimumParticleLife: 5.0,
maximumParticleLife: 10.0
startColor: Cesium.Color.LIGHTSEAGREEN.withAlpha(0.7),
endColor: Cesium.Color.WHITE.withAlpha(0.0),
minimumImageSize: new Cesium.Cartesian2(30.0, 30.0),
maximumImageSize: new Cesium.Cartesian2(60.0, 60.0),
The size of a particle can be modulated over its lifetime with the startScale and endScale properties to make particles grow or shrink over time.
startScale: 1.0,
endScale: 4.0,
minimumSpeed: 5.0,
maximumSpeed: 10.0,
Particle systems can be further customized by applying an update function. This acts as a manual updater for each particle for effects such as gravity, wind, or color changes.
Particle systems have an updateCallback that modifies properties of the particle during the simulation. This function takes a particle and a simulation time step. Most physically-based effects will modify the velocity vector to change direction or speed. Here’s an example that will make particles react to gravity:
const gravityVector = new Cesium.Cartesian3();
const gravity = -(9.8 * 9.8);
function applyGravity(p, dt) {
  // Compute a local up vector for each particle in geocentric space.
  const position = p.position;

  Cesium.Cartesian3.normalize(position, gravityVector);
  Cesium.Cartesian3.multiplyByScalar(
    gravityVector,
    gravity * dt,
    gravityVector
  );

  p.velocity = Cesium.Cartesian3.add(p.velocity, gravityVector, p.velocity);
}
This function computes a gravity vector and uses the acceleration of gravity to alter the velocity of the particle.
Set the force as the particle system’s updateFunction:
updateCallback: applyGravity
Particle systems are positioned using two Matrix4 transformation matrices:
modelMatrix: transforms the particle system from model to world coordinates.emitterModelMatrix: transforms the particle system emitter within the particle system’s local coordinate system.
You can use just one of these transformation matrices and leave the other as an identity matrix, but we provide both for convenience. To practice creating the matrices, let’s position our particle emitter relative to another entity.
Create an entity for our particle system to accent. Open the Hello World Sandcastle example and add the following code to add a milk truck model to the viewer:
const entity = viewer.entities.add({
  model: {
    uri: "../../SampleData/models/CesiumMilkTruck/CesiumMilkTruck-kmc.glb",
  },
  position: Cesium.Cartesian3.fromDegrees(
    -75.15787310614596,
    39.97862668312678
  ),
});
viewer.trackedEntity = entity;
We want to add a smoke effect coming from the rear of the truck. Create a model matrix that will position and orient the particle system the same as the milk truck entity.
modelMatrix: entity.computeModelMatrix(time, new Cesium.Matrix4())
This places the particle system at the center of the truck. To position it at the back of the truck, we can create a matrix with a translation.
function computeEmitterModelMatrix() {
    hpr = Cesium.HeadingPitchRoll.fromDegrees(0.0, 0.0, 0.0, hpr);
    trs.translation = Cesium.Cartesian3.fromElements(-4.0, 0.0, 1.4, translation);
    trs.rotation = Cesium.Quaternion.fromHeadingPitchRoll(hpr, rotation);

    return Cesium.Matrix4.fromTranslationRotationScale(trs, emitterModelMatrix);
}
Now add the particle system.
const particleSystem = viewer.scene.primitives.add(
  new Cesium.ParticleSystem({
    image: "../../SampleData/smoke.png",

    startColor: Cesium.Color.LIGHTSEAGREEN.withAlpha(0.7),
    endColor: Cesium.Color.WHITE.withAlpha(0.0),

    startScale: 1.0,
    endScale: 4.0,

    particleLife: 1.0,

    minimumSpeed: 1.0,
    maximumSpeed: 4.0,

    imageSize: new Cesium.Cartesian2(25, 25),
    emissionRate: 5.0,
    lifetime: 16.0,

    modelMatrix: entity.computeModelMatrix(
      viewer.clock.startTime,
      new Cesium.Matrix4()
    ),
    emitterModelMatrix: computeEmitterModelMatrix(),
  })
);
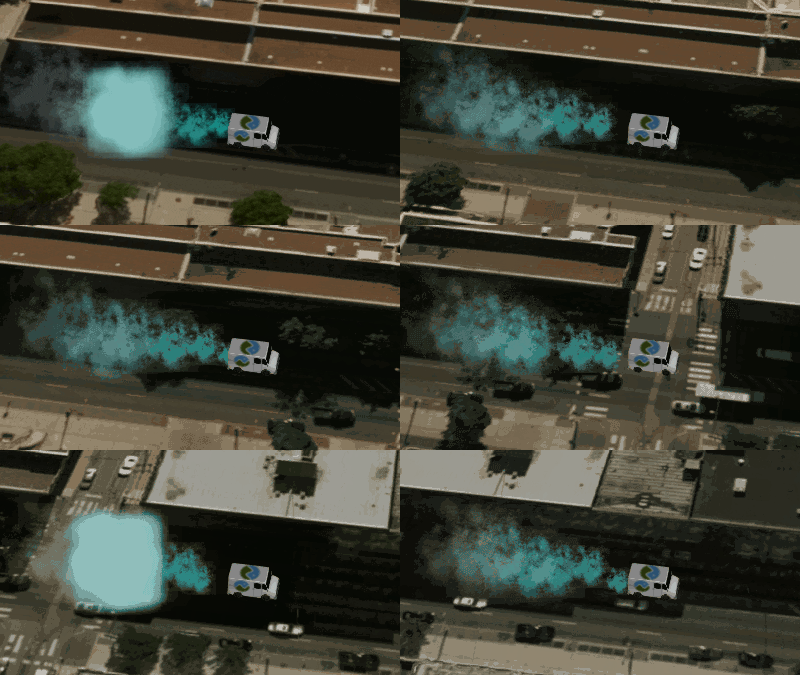
Also note that we can update the model or emitter matrices over time. For instance, if we wanted to animate the emitter position on the truck, we can modify the emitterModelMatrix while leaving the modelMatrix untouched.
See the complete code example here: Particle System demo.
For more example code see: