Tiling BIM, CAD, or other 3D Models
Cesium ion allows you to tile large models like BIM or CAD to visualize them in a geospatial context and share on the web.
If you have 3D models derived from a scan, like photogrammetry or LiDAR, see the photogrammetry guide.

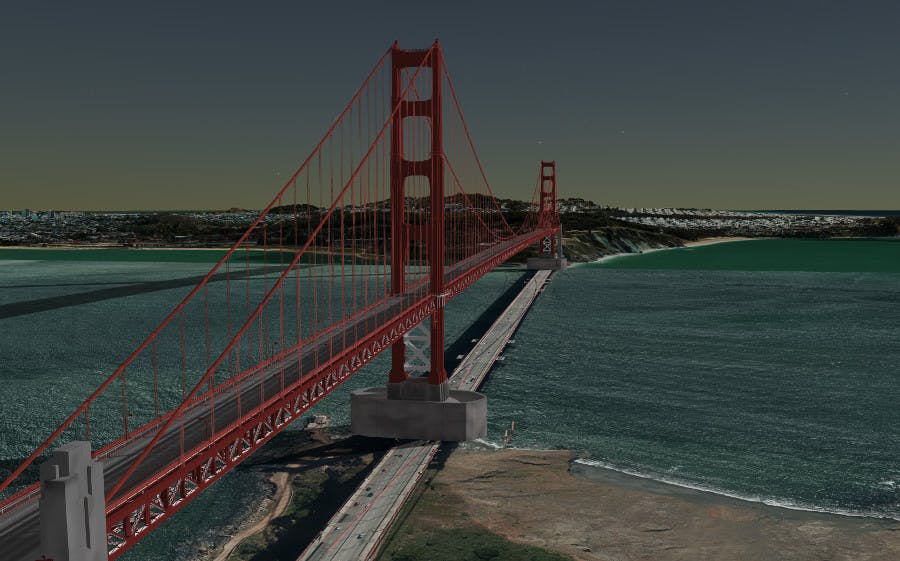
3D model of the Golden Gate Bridge visualized on top of accurate global 3D terrain and satellite imagery with CesiumJS.
You need a Cesium ion account to take this tutorial.
Cesium ion is an open platform for tiling and hosting. It will serve your models as 3D Tiles to any compatible client, like CesiumJS.
| Format | File extensions |
|---|---|
| Wavefront OBJ | .obj |
| Filmbox | .fbx |
| Digital Asset Exchange | .dae |
| glTF | .gltf |
| Binary glTF | .glb |
- Files may be zipped.
- Your model must use local coordinates (the geometry must be centered around the origin).
- Units are assumed to be in meters.
Cesium ion tiles your model into 3D Tiles when you upload it. Here’s a sample office model you can download to try this out.
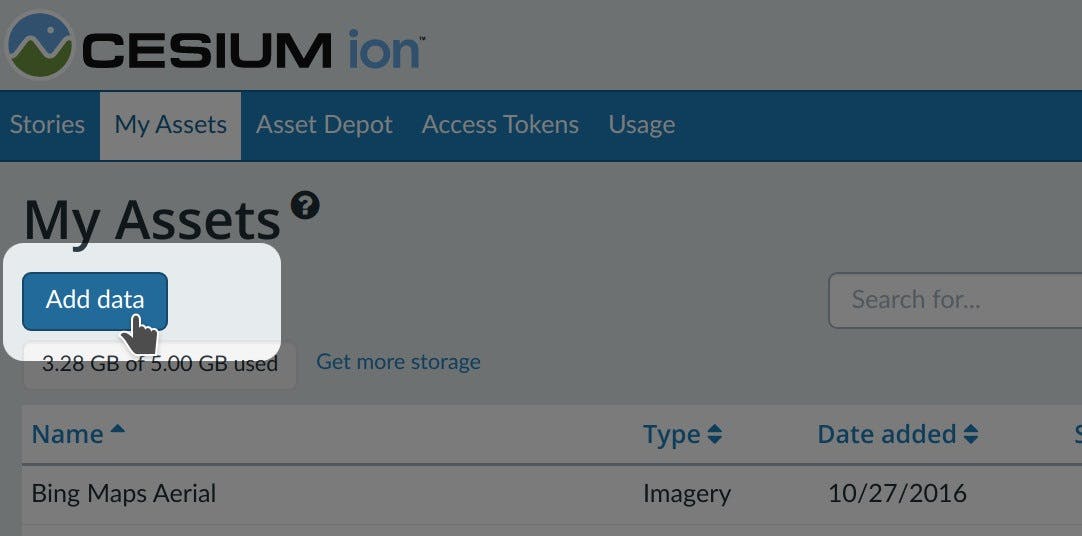
- On the My Assets tab of Cesium ion, press Add Data to upload your model.
- Select 3D Model (tile as 3D Tiles).

Press Add Data to upload and tile your 3D models.
There are a couple ways to place your model at a location on the globe.
- To geolocate by hand, click on the Adjust Tileset Location link above the asset preview in My Assets. See the location editor guide for more details.
- Automatically place your model at a precise location using the REST API.
- If the software you’re exporting your model has a Cesium ion integration, it can automatically place it at the correct location. See the list of Cesium ion integrations.
For small models, choose 3D Model (convert to glTF) to convert and host it as a glTF model. You can choose to apply compression such as Draco at this upload step.
Use this method for attaching models to time dynamic data in CesiumJS. See the build a flight tracker tutorial.
The easiest way to visualize and share your asset is using Cesium Stories.
- In the Stories tab, click New Story.
- Under Assets, click the Add asset button and choose your asset.
- Click on the zoom button (magnifying glass) to go to your asset in the scene. Adjust the view to your liking.
- Click on Capture view to save the view.
- Click Share and give your story a name.
You can now share your data in an interactive scene! Learn more about Stories with this tutorial.
Use your asset in a custom app
When you click on an asset in My Assets, you’ll see a preview panel on the right side of the screen.
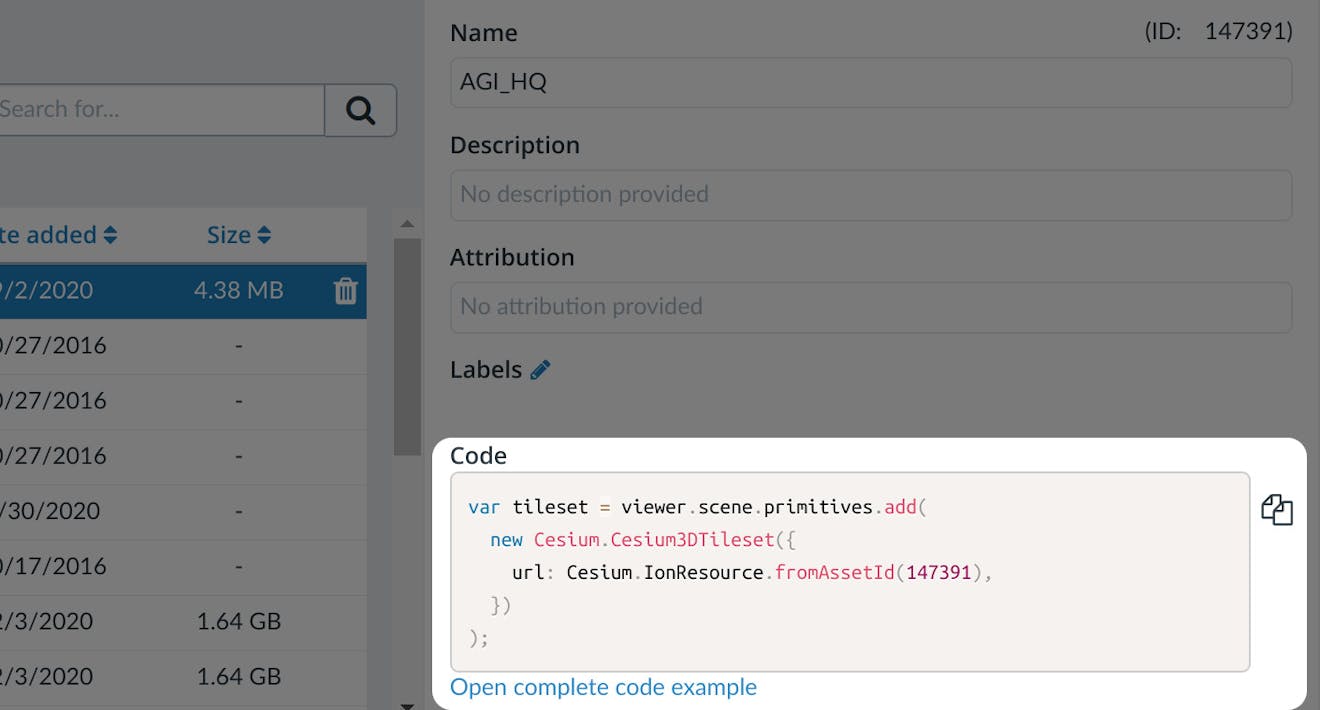
- The preview panel displays the asset ID, which you’ll need for loading this asset in CesiumJS or other engines.
- You’ll find a code snippet for loading this asset in CesiumJS at the bottom of this panel.
- Click Open complete code example to see your asset in Sandcastle.

You’ll find a code example for adding this asset to your CesiumJS app at the bottom of the asset preview window.
Learn how to set up a CesiumJS app with the quickstart guide.