Cesium for Omniverse: NVIDIA Omniverse USD Presenter
This is a guide to using NVIDIA Omniverse USD Presenter with Cesium for Omniverse and USD content to enable interactive viewing and annotating of 3D design projects in stunning, physically accurate photorealism.
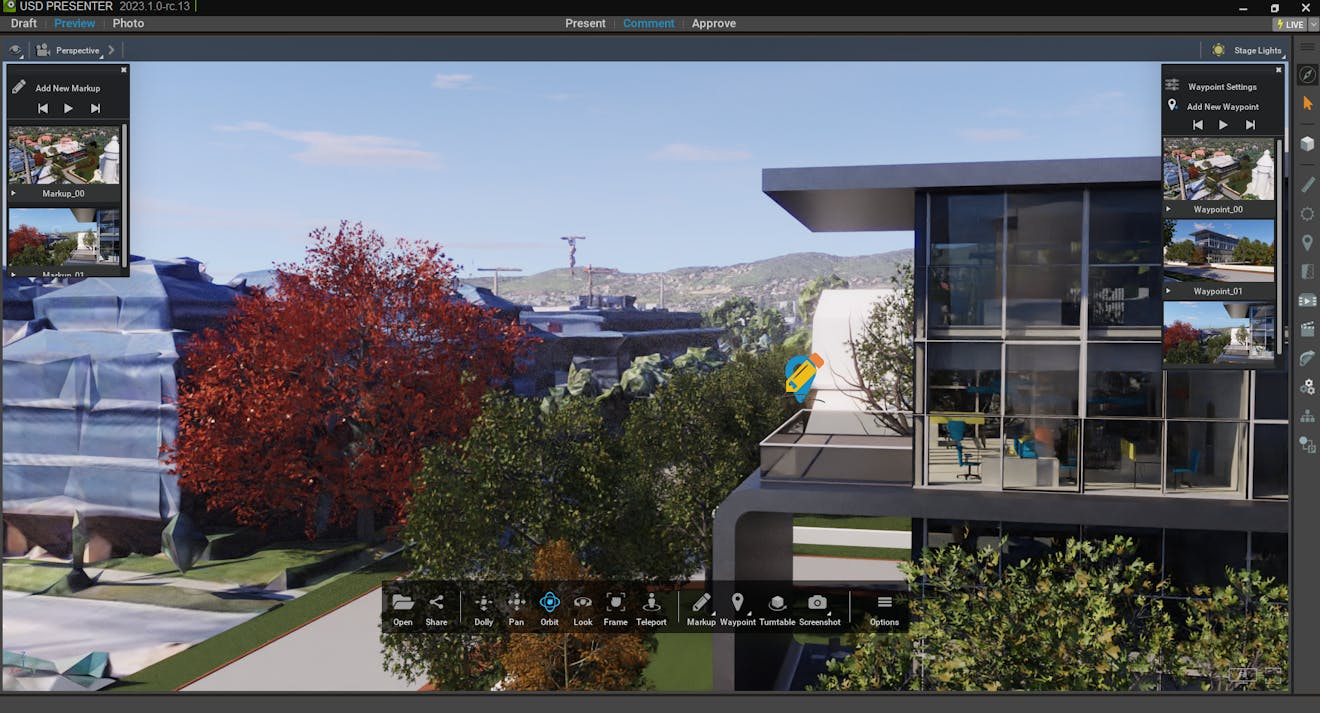
Architectural model with Photorealistic 3D Tiles displayed in NVIDIA Omniverse USD Presenter.
You’ll learn how to:
- Utilize tools within USD Presenter to perform useful review and presentation activities.
- USD Presenter configured with the Cesium for Omniverse extension as shown in Adding Cesium for Omniverse to Omniverse Applications.
- A USD file containing Cesium for Omniverse content along with an AEC design model, such as those produced during our AEC tutorials.
USD Presenter provides a variety of tools useful for review, analysis, and presentation of USD stages, particularly suited to the AEC industry. It provides a clean, user-friendly interface that provides nontechnical users the ability to interact with USD content.
As USD Presenter is not an authoring package, a recommended workflow is to produce a USD using USD Composer and then present this USD using USD Presenter. Live workflows using Omniverse Nucleus can also be utilized to perform on-the-fly changes to USD content during presentations.
Present is the default mode of USD Presenter. It provides several tools for easy navigation around a USD stage.
1Open USD Presenter with Cesium for Omniverse enabled.
2Click Yes on the Enable Fabric prompt.
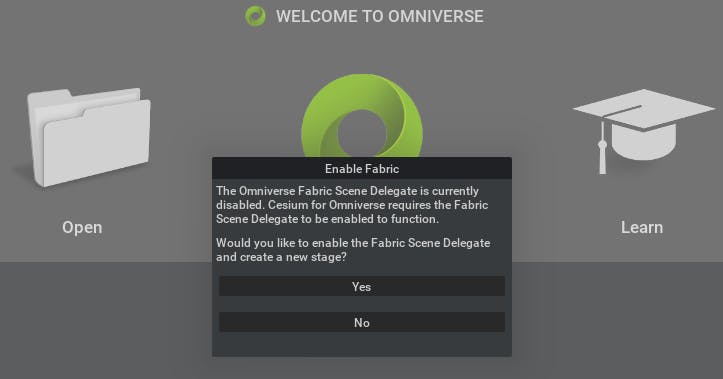
3Open a USD containing Cesium content. Tilesets will begin streaming into USD Presenter.
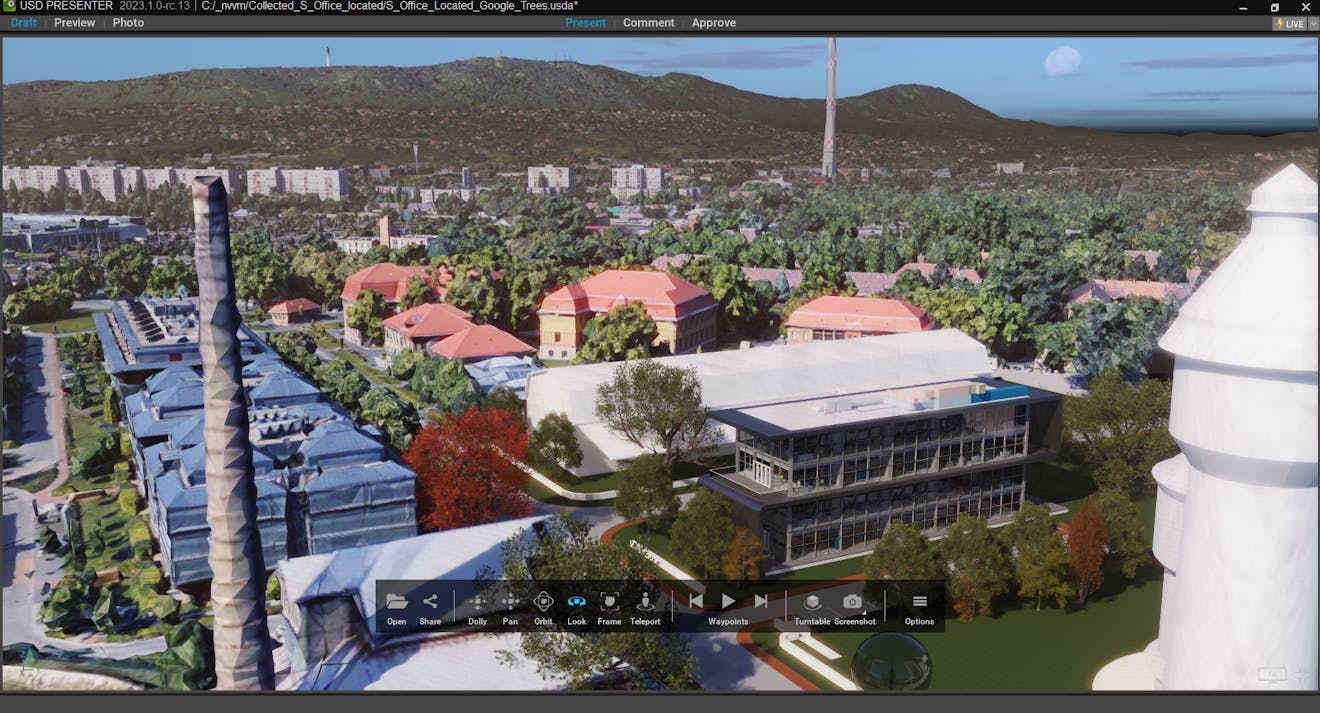
4The toolbar contains a number of useful modes for navigating around the stage.
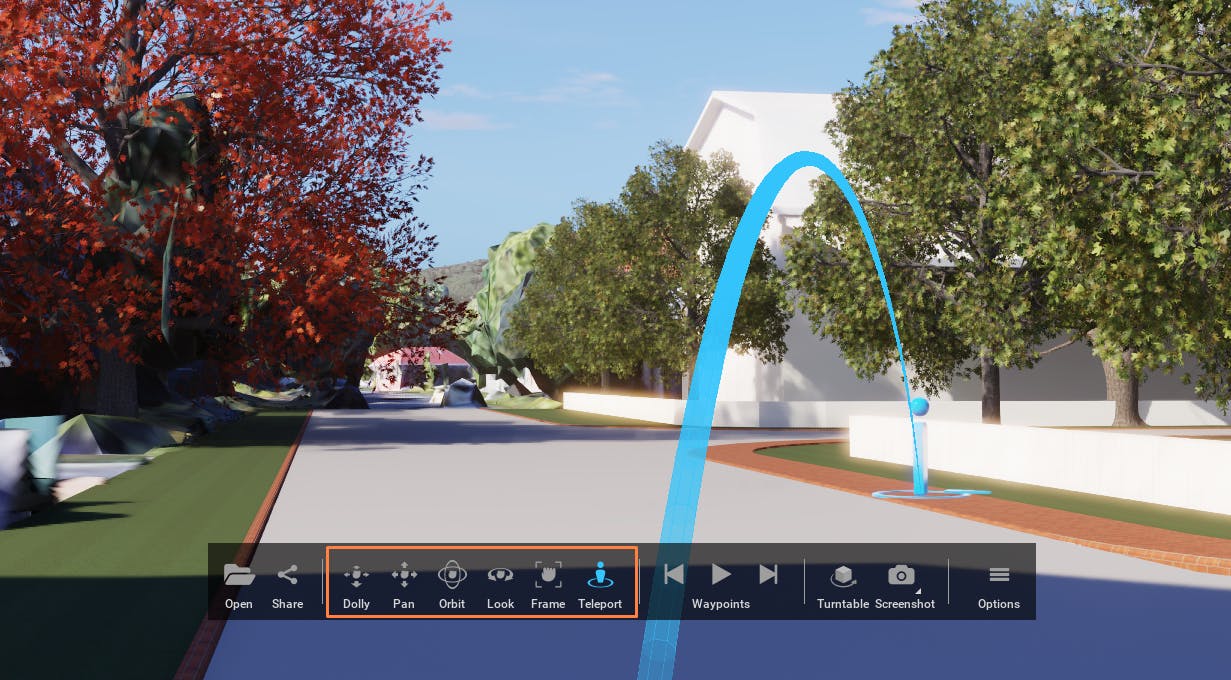
Teleporting onto tilesets is not currently supported. Physics support is on our roadmap and will be added to a future version of Cesium for Omniverse.
5Waypoints can be used to easily navigate between preset locations during a presentation. Waypoints can be created in USD Composer or the Comment mode of USD Presenter.

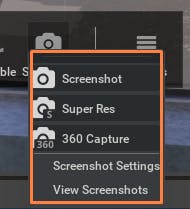
6Click the screenshot button to take a screenshot.

7Right-click on the screenshot button to access additional screenshot modes and settings and open the screenshot folder.
Comment mode provides a number of tools for reviewing and commenting on USDs.
1Click the Comment button at the top of the screen.

2The Markup tool provides the ability to draw and comment on a USD stage.
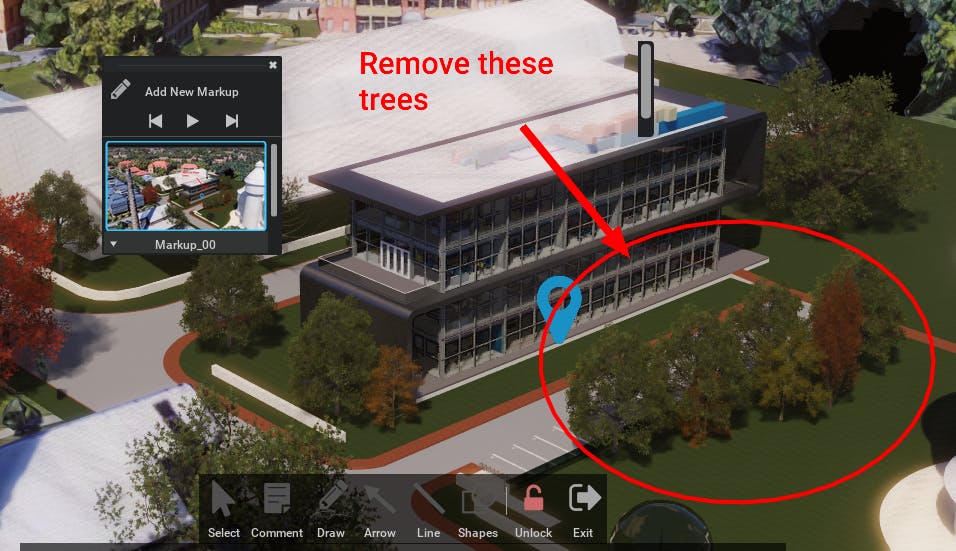
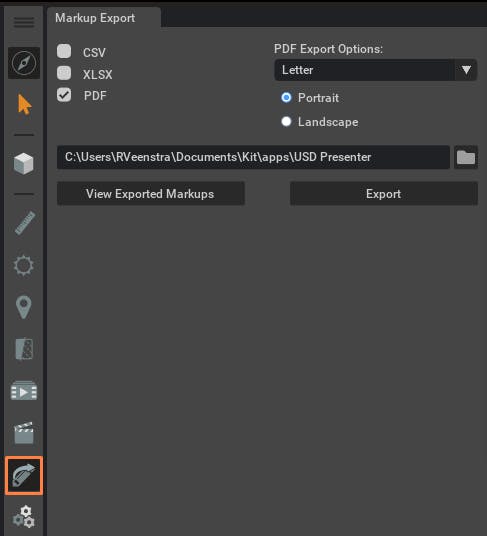
3Markups can be exported as PDF, CSV, and XLSX and shared with others.
4The Measure tool provides point-to-point, multipoint, angle, and area measurements.
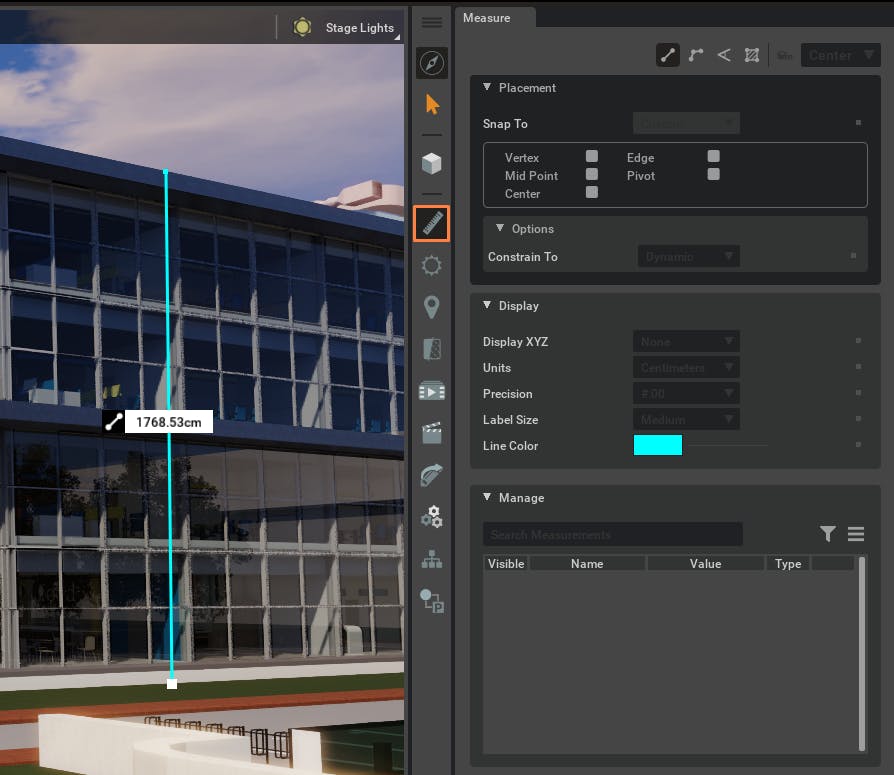
Measuring on tilesets is not currently supported. Physics support is on our roadmap and will be added to a future version of Cesium for Omniverse.
5The sun study tool is useful for reviewing shadow impacts of a proposed design. See Dynamic Skies and Sun Study to correctly configure your project's geospatial location for accurate shadows.

6The Section tool can be used to investigate the interiors of designs or view cross sections.
Approve or reject markups created in Comment mode.
1Click the Approve button at the top of the screen.

2Use the Markups section of the toolbar to cycle through markups and approve or reject them.

For more information on using USD Presenter, see NVIDIA’s USD Presenter Overview.