Creating Videos with Real-World Data from Cesium in Adobe After Effects
With Cesium ion's new clipping feature, users can download portions of 3D data for offline and non-streaming purposes, either as a glTF model or as 3D Tiles. Clipping to 3D Tiles is ideal for streaming to Cesium runtimes, while glTF unlocks additional workflows to create with 3D geospatial data. In the past, we’ve shown how 3D geospatial data can be easily used in 3D engines and games like Fortnite, as well as 3D creation tools like Blender. There is still a wide spectrum of other possibilities, including offline applications, cinematic renders, and even video editors.
Clipping to glTF enables use cases whose requirements otherwise conflict with 3D Tiles. For instance, cinematic rendering requires the highest levels of detail to be loaded before the camera moves, and to remain unchanged throughout the render. This is often at odds with the incremental nature of 3D Tiles. However, this can be easily resolved by creating a clip of the area as a glTF, which will merge tiles at the highest level of detail into the single model. The unified model can then be brought into video editors that support glTF, such as Adobe After Effects.
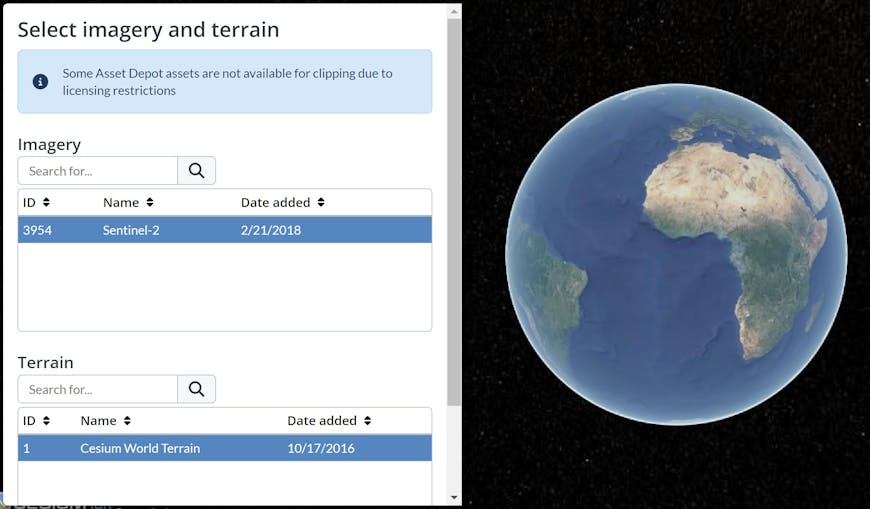
To demonstrate this workflow, we’ll create a clip of the Augustine Volcano in Alaska, United States. Then, we’ll import it into After Effects to create educational footage. Starting from the Clips tab in Cesium ion, select the imagery and terrain that you want to clip from your assets. Here, we’re creating a clip from Cesium World Terrain and Sentinel-2 imagery, which are both available on the Asset Depot.
Then, navigate to Augustine Volcano in Alaska using the built-in geocoder.

Click on the terrain to place one corner of the selection, and click again to place the other. You will see a rectangular region that highlights all of the data that falls within it.
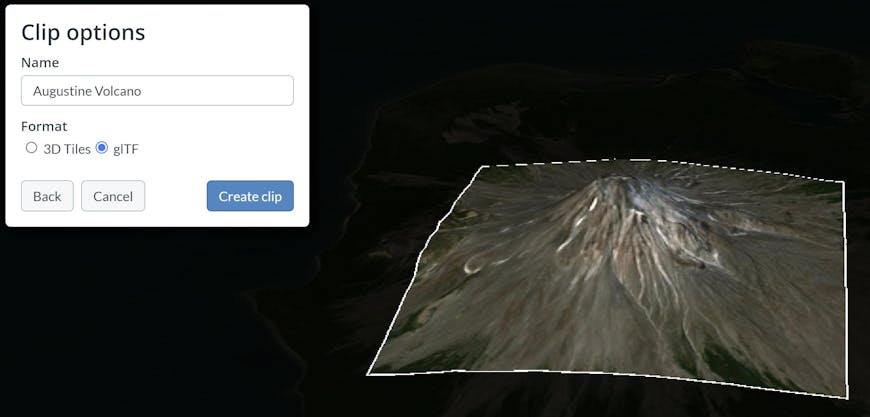
You can also resize the selection by clicking and dragging any of the four corner handles. Once you’re happy with your selection, continue to the next page, where you will have the option to download the data as a glTF.
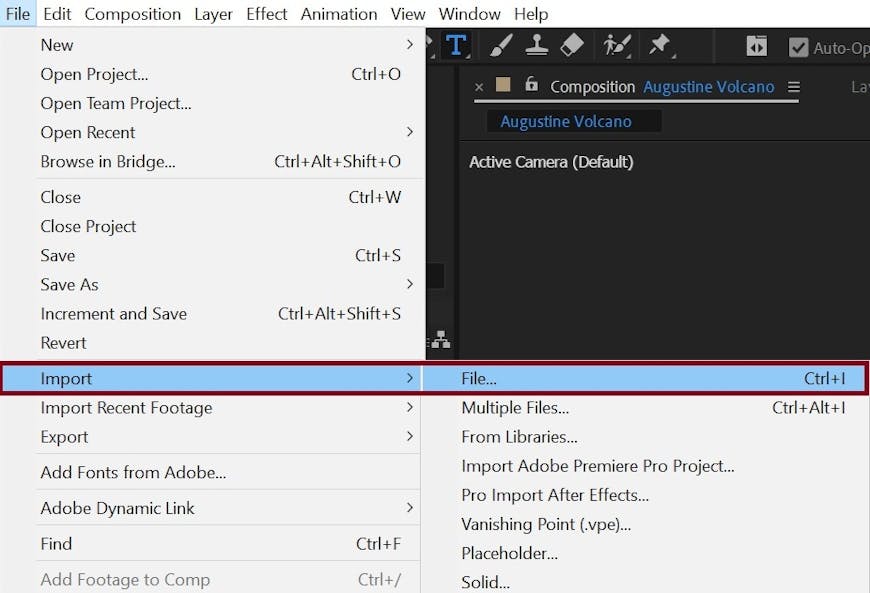
Now you can import the clipped data into After Effects (version 23.0 or later). Go to File > Import > File or hit Ctrl + I to open the import dialogue and select the model.
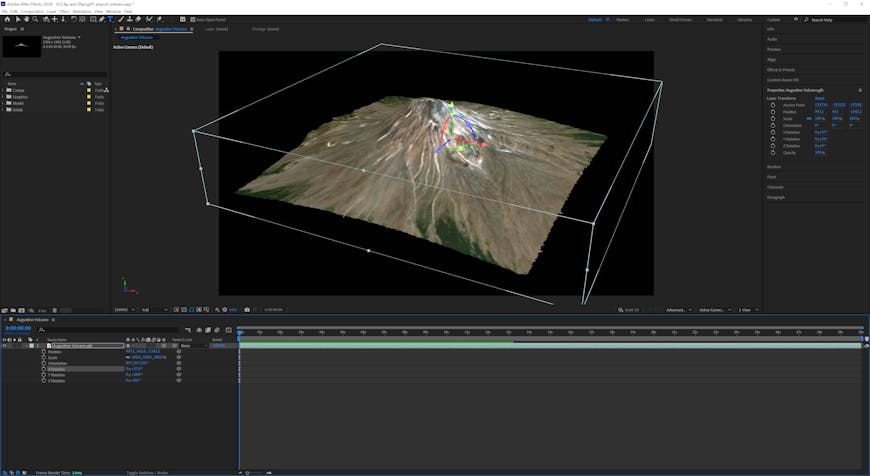
Then, you can add the glTF to a composition!
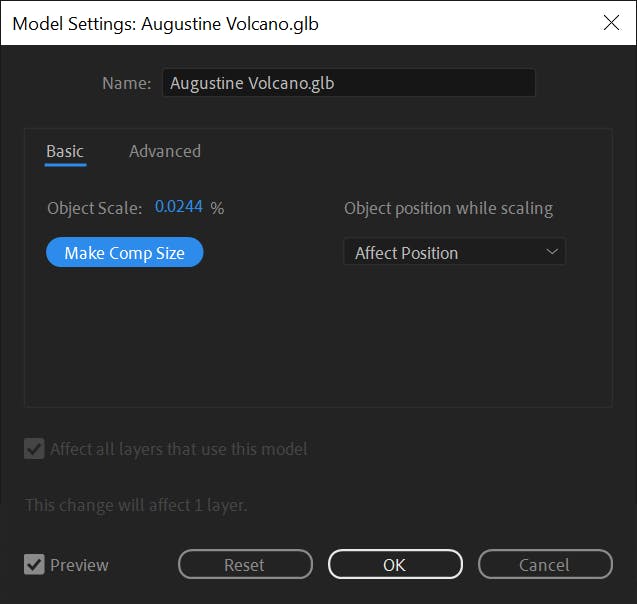
If your clip covers a large geographical area, we recommend using the Make Comp Size option when adding the clip.
Now that your model is in After Effects, you can combine it with additional 3D models, images, video, titles, effects, and audio in your composition to create a dynamic visualization. In this example, we showcase some facts about Augustine Volcano using animated 3D text and camera movement.


The creative possibilities for 3D geospatial data go as far as the glTF ecosystem extends. We hope that clips in Cesium ion enable you to bring geospatial data into your favorite tools with creative flexibility, freedom, and ease-of-use.
If you haven’t already tried out the clipping feature, sign up for a free Cesium ion account and check out the Clips page to get started!