Getting Started with 3D Tiles for Godot
This is a guest post by Nef Gonzalez Campos and Brent Elmer of Battle Road. Battle Road built the 3D Tiles for Godot plugin with support from a Cesium Ecosystem Grant.
At Battle Road, we reap the benefits of open source software through technologies we love and use every day. Some of our favorites include Godot, Kubernetes, Nakama, and, of course, Cesium. That’s why we’re excited to be giving back with the 3D Tiles for Godot plugin, bringing the innovative capabilities of 3D Tiles to the Godot game engine.
This Godot implementation joins the family of Cesium Native offerings already available for other 3D creation engines: Cesium for Unreal, Cesium for Unity, and Cesium for Omniverse.
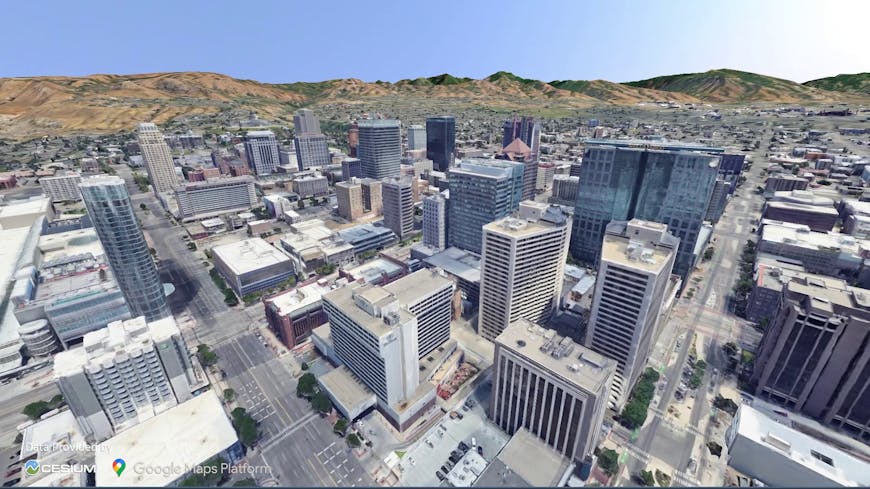
Salt Lake City, Utah, USA, visualized with Google Photorealistic 3D Tiles via 3D Tiles for Godot. Courtesy Battle Road.
Getting a project up and running with the plugin is simple.
To begin, you need a stable release of Godot 4.1 or newer. Next, head to either the Godot Asset Library or the 3D Tiles for Godot GitHub repository Releases section to find the newest version of the plugin.
Download the binaries and follow the README starting from the Setting Up a Project section.
After importing everything to the project and signing into Cesium ion, you are ready to start adding and fetching your geospatial data and imagery! If you run into issues along the way, we invite you to open an issue in the GitHub repo.
For questions about the plugin, connect with us in the 3D Tiles for Godot category on the Cesium community forum.