Visualizing iTwin Design Options in CesiumJS
In the previous tutorial, you created an iTwin of a proposed rail bridge and visualized it in CesiumJS using a reality model for context. In this tutorial, you’ll add an alternative design option to the same iTwin and build a simple user interface to switch between the two options in your CesiumJS app.

You’ll learn how to:
- Add a second design option to the iTwin using the iTwin CLI.
- Use changesets to load 3D Tiles for different versions of the iTwin.
- Toggle between multiple design options.
If you’d like to see the final result first, here’s the completed code. Otherwise, continue through the tutorial.
This tutorial uses iTwin Platform APIs that are currently in Technology Preview. These APIs are intended for testing and evaluation purposes only, not for use in production environments.
- Completed code from the previous tutorial: Visualizing iTwin Design Data in CesiumJS
- A Cesium ion account
- A Bentley developer account
- iTwin CLI installed
- Node.js + npm installed
- Git installed
Each time you update an iModel, a new changeset is created. By default, your app will load the latest changeset. To preserve the current design as "Option A," you’ll lock it to the current changeset before uploading the new design.
1Using the iTwin CLI, get the latest changeset ID.
itp imodel changeset list --top 1 --order-by desc
If your iTwin CLI does not have an iModel ID or iTwin ID saved from the previous tutorials, you can use the following command to save them:
itp context set --itwin-id "your-itwin-id --imodel-id "your-imodel-id"
2Update the creation of railDesignOptionA to include changesetId: "your-changeset-id".
const railDesignOptionA = await Cesium.ITwinData.createTilesetFromIModelId({iModelId: "your-imodel-id", changesetId: "your-changeset-id"});
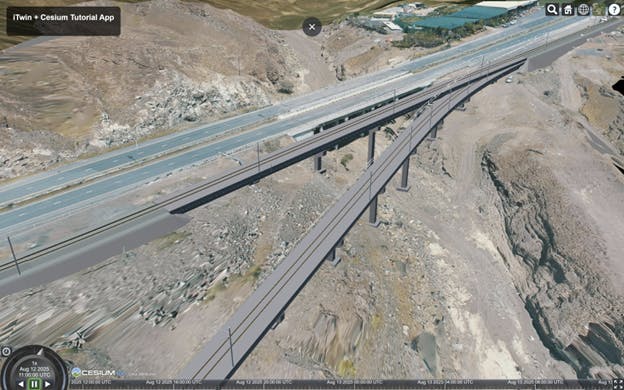
3Open the app in your browser to confirm the design still appears as expected.
4From DesignModel.zip downloaded in Visualizing iTwin Design Data in CesiumJS, find and upload the Option B design located in OptionB\Bridge.dgn using the iTwin CLI. This will create a new changeset containing the latest design.
itp imodel populate --file "c:\path\to\OptionB\Bridge.dgn"
5Preview the updated design in Cesium Sandcastle.
itp imodel view cesium-sandcastle

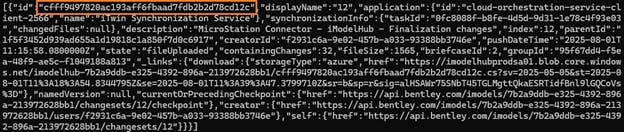
6Get the new changeset ID.
itp imodel changeset list --top 1 --order-by desc
7Add a second tileset for the new design to your app.
const railDesignOptionB = await Cesium.ITwinData.createTilesetFromIModelId( {iModelId: "your-imodel-id", changesetId:"your-changeset-id"} );

viewer.scene.primitives.add(railDesignOptionB);
8Open the app in your browser. You should now see both design options loaded at the same time. Next, you’ll add a UI to toggle between them.
1In src/main.js, add the following code at the end of the main function. This code will create two radio buttons for toggling between the two designs.
  function createDesignOptionRadioButtons() {
    const tutorialInterface = document.getElementById("tutorialInterface");
    const container = document.createElement("div");

    function createRadioButton(id, labelText, checked) {
      const label = document.createElement("label");
      const input = document.createElement("input");
      input.type = "radio";
      input.name = "designOption";
      input.id = id;
      input.checked = checked;
      label.htmlFor = id;
      label.appendChild(input);
      label.appendChild(document.createTextNode(labelText));
      return input;
    }

    const radioBtnOptionA = createRadioButton("designOptionA", "Design Option A", true);
    const radioBtnOptionB = createRadioButton("designOptionB", "Design Option B", false);

    container.appendChild(radioBtnOptionA.parentNode); // label is parent of input
    container.appendChild(document.createElement("br"));
    container.appendChild(radioBtnOptionB.parentNode);

    tutorialInterface.appendChild(container);

    function updateVisibility() {
      railDesignOptionA.show = radioBtnOptionA.checked;
      railDesignOptionB.show = radioBtnOptionB.checked;
    }

    radioBtnOptionA.addEventListener("change", updateVisibility);
    radioBtnOptionB.addEventListener("change", updateVisibility);

    // Initialize visibility
    updateVisibility();
  }

  createDesignOptionRadioButtons();
2Open the app in your browser. You should now be able to toggle between the two design options using the radio buttons.
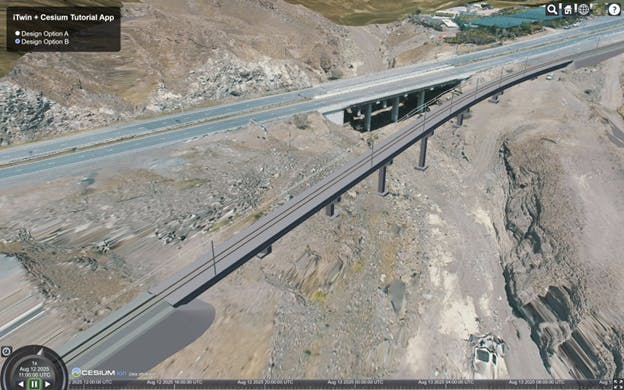
You’ve successfully visualized multiple design options within real-world context using the iTwin Platform and CesiumJS and created a simple user interface for switching between them.
We’d love your feedback to help shape future tutorials. Connect with us on the community forum.
You might also be interested in: