Style by Properties
Some 3D Tiles datasets support property tables, property textures, and property attributes, which can contain metadata such as heights, classifications, and other values. This tutorial will show you how to conditionally style your tilesets based on this metadata using custom materials in Omniverse.

You’ll learn how to:
- Create and assign a custom material to a tileset.
- Style the tileset based on property table metadata.
- Know how to set up a basic Cesium for Omniverse stage in NVIDIA Omniverse USD Composer. Check out our Cesium for Omniverse Quickstart guide for instructions on starting with the Cesium for Omniverse extension.
- Cesium for Omniverse 0.14.0 or later.
1Create a new stage in USD Composer.
2Using the Cesium window, add Cesium World Terrain + Bing Maps Aerial Imagery and Cesium OSM Buildings to the stage.
3Configure the CesiumGeoreference to use the following coordinates:
- Latitude: 39.95264
- Longitude: -75.1652
- Height: 0.0
4The stage should now be located at Philadelphia, with Cesium OSM Buildings situated on Cesium World Terrain.
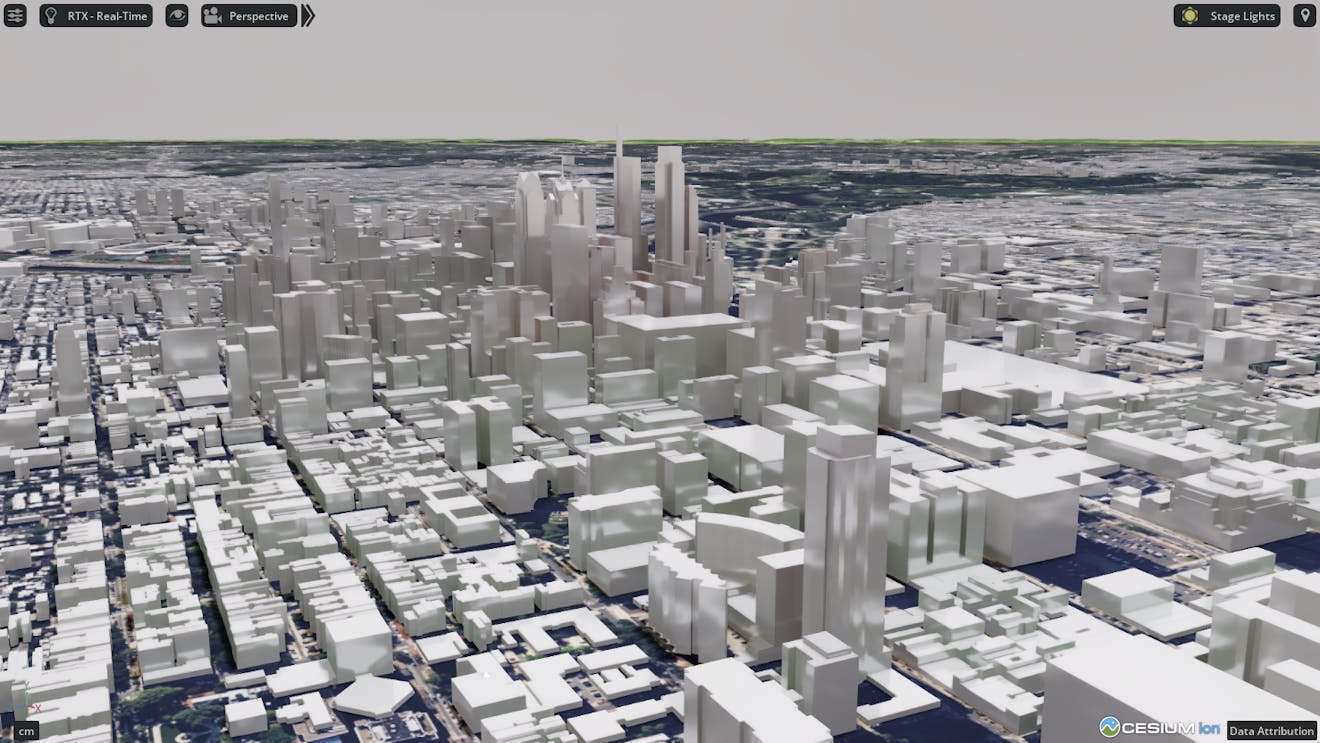
In this step we’ll create a custom material that shades Cesium OSM Buildings with different colors based on the cesium#estimatedHeight value in the tileset’s property table.
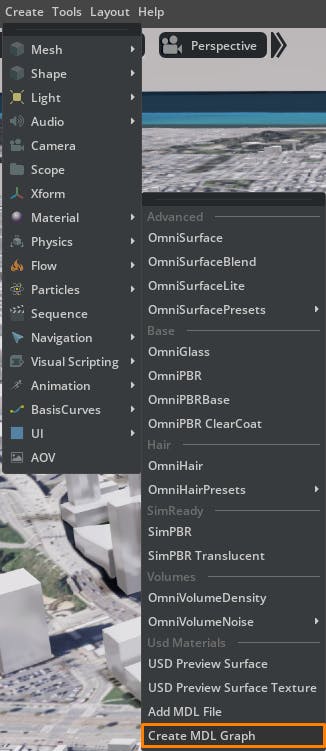
1Click Create > Material > Create MDL Graph to create a new material in the stage.
2The USD Composer Material Graph should open with the new material. If it doesn’t appear, find the material in the stage and click Open in MDL Material Graph.
3Cesium for Omniverse provides several material nodes for working with tilesets. These can be found in the Cesium section of the Material Graph node list.
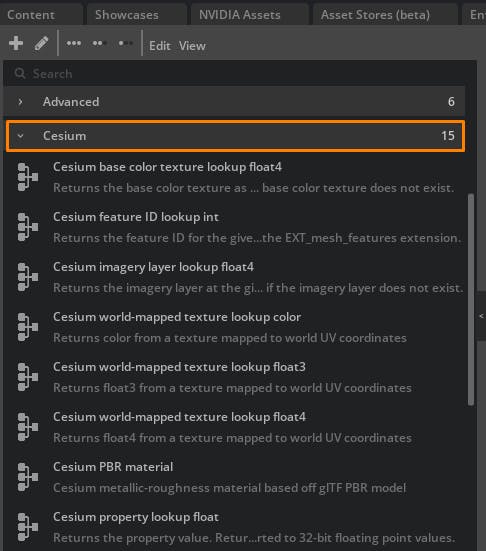
4Select a Cesium PBR material node from the list and drag it into the material graph. Connect out to mdl:displacement, mdl:surface, and mdl:volume inputs of the Material node.
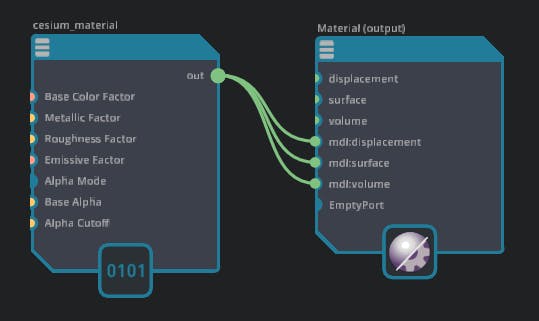
The Cesium PBR material is the default used by Cesium for Omniverse and is recommended if you want to maintain visual consistency with other tilesets. Other material types such as OmniPBR can also be used.
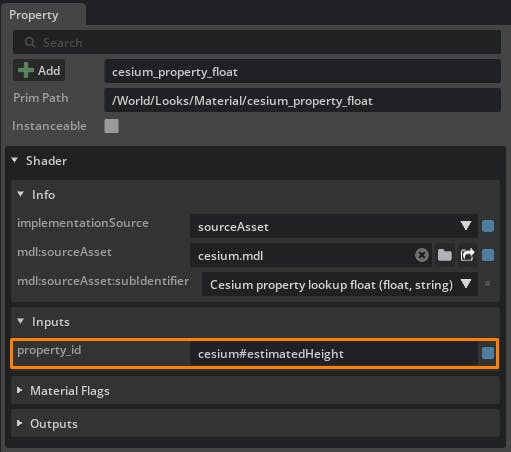
5Select a Cesium property lookup float node from the list and drag it into the material graph. Select the node and set property_id to cesium#estimatedHeight. This node will read the corresponding property table value from the tileset and provide it to the material as a float. Do not connect this node to any others yet.
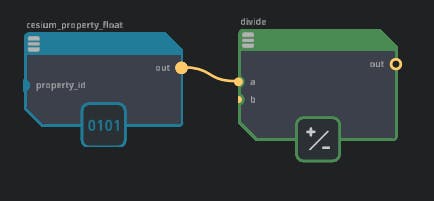
6Drag a Divide float node into the graph, and connect the cesium_property_float output to the a input of divide. The divide node will be used to resample cesium#estimatedHeight to a 0.0 to 1.0 range, which we’ll use to perform linear interpolation between two colors.
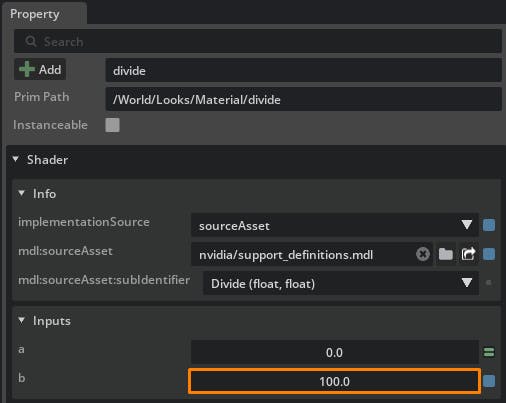
7Select the divide node and set the b value to 100.0. This will make our color sampling map from 0 to 100 m of height. Buildings taller than 100 m will remain the same color. You can adjust this value based on your styling needs.
8Drag a Saturate float node into the graph and connect the output of divide. This will clamp the output of divide to a range of 0.0 to 1.0, preventing any unwanted visual artifacts due to values outside of this range.

9Drag a Lerp color node onto the graph and connect the output of saturate to its l input. Make sure to choose the Lerp color node that uses a float as the l input type. It can be identified by a yellow dot next to l and is usually the second Lerp color node in the list.

10Select the lerp node and set the following colors:
- a: 0.0, 1.0, 0.0 (green)
- b: 1.0, 0.0, 0.0 (red)
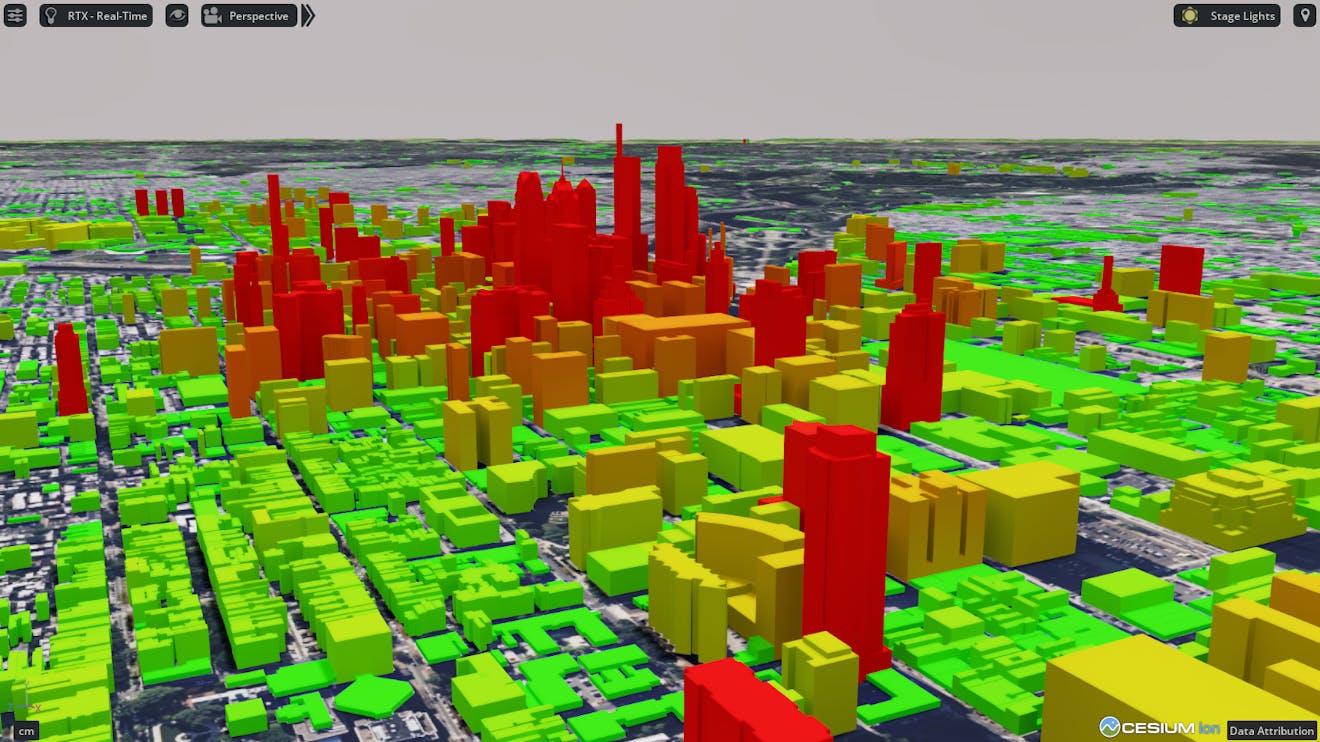
These settings will shade the smallest buildings as green and buildings of 100 m or more in height as red. Buildings in between those ranges will be smoothly blended between the two colors.
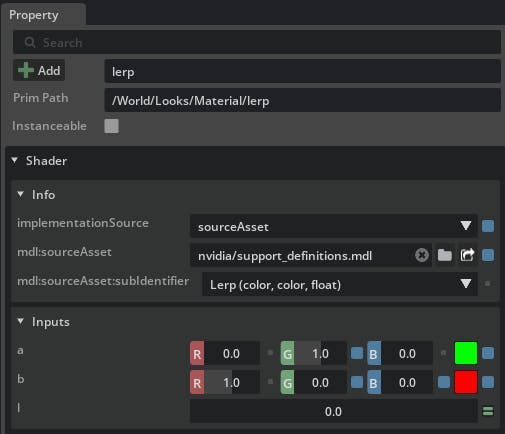
11Lastly, connect the output of the lerp into the Base Color Factor input of cesium_material.

Cesium for Omniverse will automatically fill in the default Cesium PBR material properties with the correct data from the tileset, so you don’t need to connect nodes to every input. Connect nodes only to the properties you want to customize.
Now that the material is created, it can be assigned to the Cesium OSM Buildings tileset.
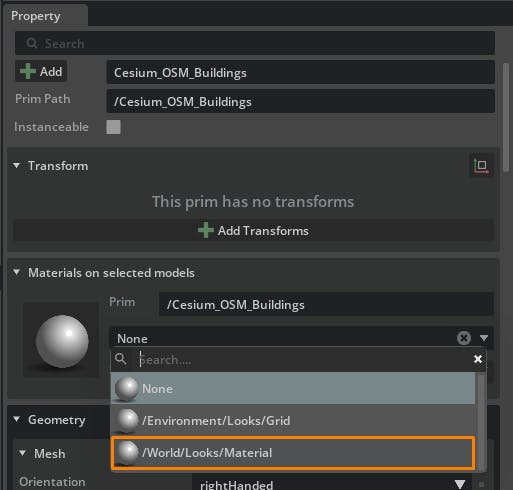
1Select the Cesium_OSM_Buildings prim, and under the Materials on selected models section of the property window, assign the new material.
2Your tileset should reload with the custom material. Cesium OSM Buildings should now be shaded based on their heights.
There is a known issue with USD Composer 2023.2.2 where custom materials do not load correctly when reloading the stage. As a workaround, you can assign the custom material to a regular prim, such as a cube, and hide it somewhere in the stage. The material should then display correctly on subsequent stage reloads.
Below are the property types that are not currently supported in material graphs. Support may be added in future versions.
Property attributes
- Matrix properties
- Enum properties
Property tables
- Matrix properties
- Enum properties
- Array properties
- Boolean properties
- String properties
- UINT32, UINT64, and INT64 properties
Property textures
- Matrix properties
- Enum properties
- Properties with components that are 16-bit or larger
- Properties with components that are packed across multiple texture channels
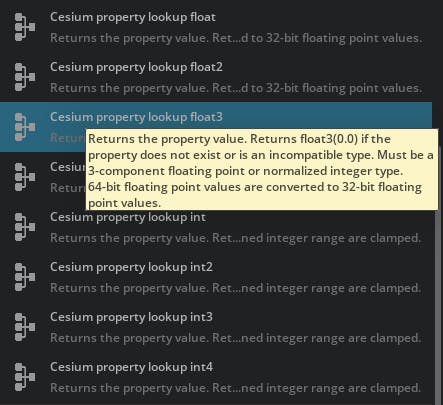
Hover over the corresponding nodes in the material graph to view more information about the data types each one supports.
