Lighting the Stage
This tutorial shows you how to use Cesium for Omniverse to light your scene in preparation for the creation of images and video. You’ll continue to use the San Francisco project created in previous tutorials.
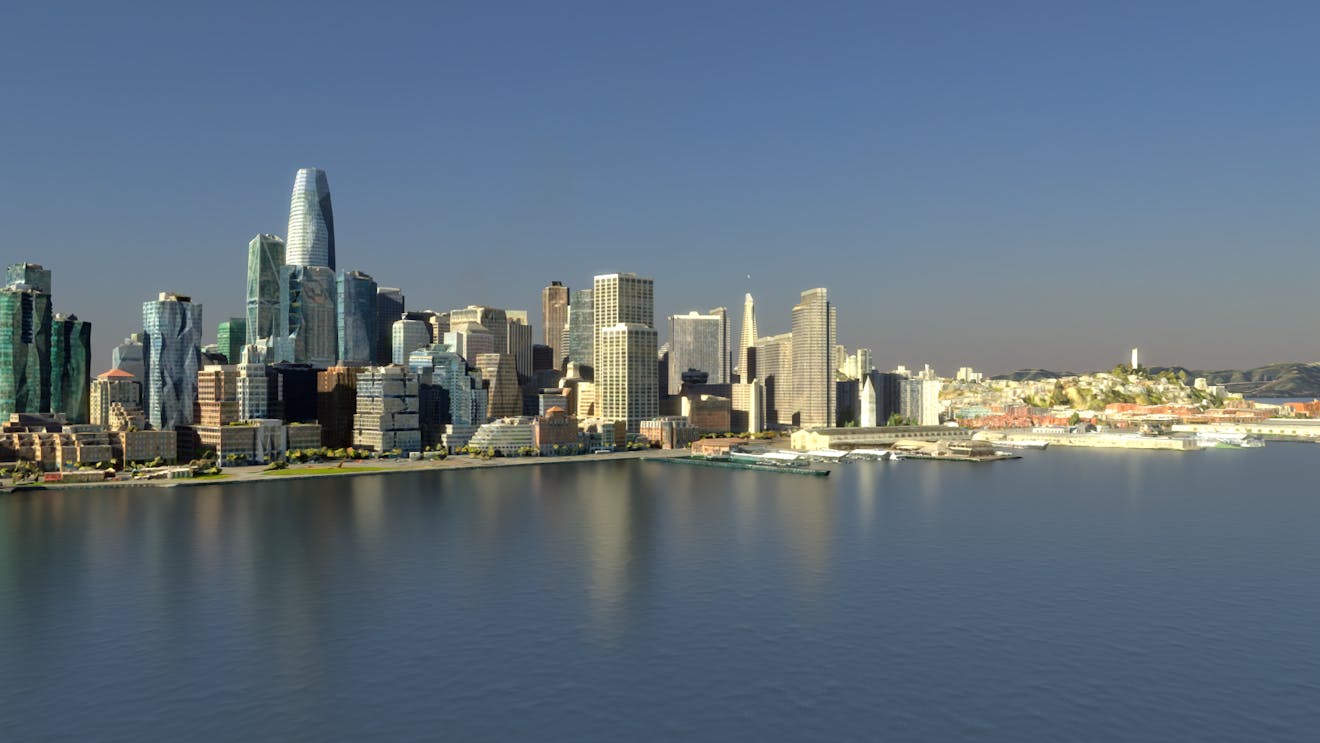
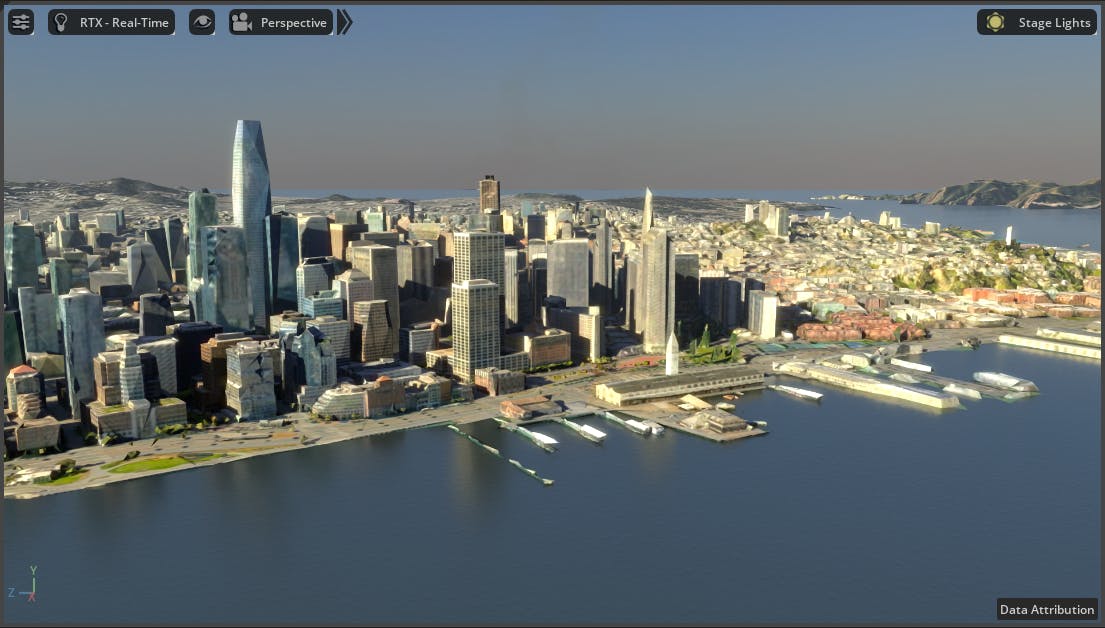
San Francisco in Cesium for Omniverse.
You’ll learn how to:
- Light outdoor scenes in NVIDIA Omniverse USD Composer (formerly Create) with Dome Lights and High Dynamic Range (HDR) images.
- Prepare your project with rendering settings in preparation for capture of images and video.
Prerequisites
- Know how to set up a basic Cesium for Omniverse stage in NVIDIA Omniverse USD Composer (formerly Create). Check out our Cesium for Omniverse Quickstart guide for instructions on starting with the Cesium for Omniverse extension.
- The Cesium for Omniverse samples downloaded.
- A copy of the USD created during the Adding Datasets tutorial. A completed USD can be found within the Cesium for Omniverse samples.
This tutorial assumes that you have already installed the Cesium for Omniverse extension and opened NVIDIA Omniverse USD Composer (formerly Create) with the Fabric Scene Delegate settings enabled. If you have not yet done this, see the Quickstart for detailed instructions.
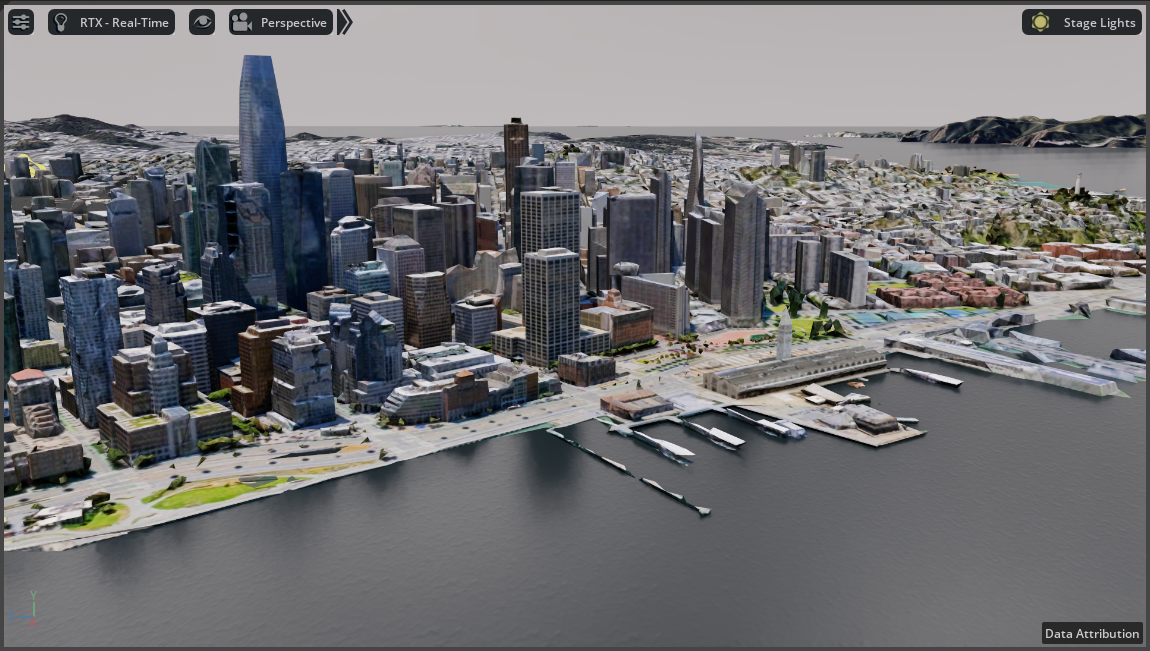
1. Open your USD from the Adding Datasets tutorial, or open /tutorials/01_adding_datasets/01_adding_datasets.usda from the Cesium for Omniverse samples. You should see Cesium World Terrain along with Aerometrex San Francisco Photogrammetry.
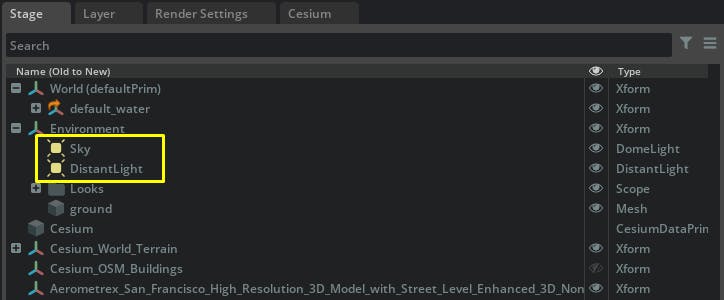
2. Remove the existing lights by opening the Stage window, selecting Sky and DistanceLights, and deleting them.
3. Save your USD and go to File > Reopen. The viewport should now appear dark as there is no lighting configured within the stage. We’re now prepared to introduce our own lighting.
Using HDR images to light outdoor scenes can provide highly realistic outdoor lighting with minimal effort. The skies used in these tutorials are sourced from Poly Haven under a creative commons license.
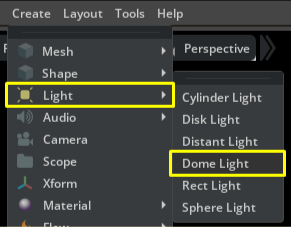
1. Add a Dome Light to the stage by clicking on Create > Light > Dome Light.
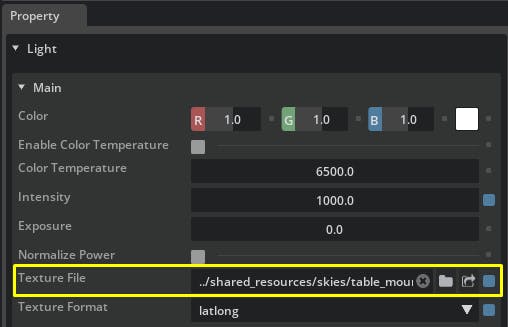
2. Select the Dome Light from the stage, and find the Texture File field in its properties. Add the HDRI found in the Cesium for Omniverse samples at this location /shared_resources/skies/table_mountain_2_puresky_4k.exr. You should see lighting appear in the viewport and clouds appear in the sky. If the lighting or sky does not change, try saving your USD with these changes and reopen it.
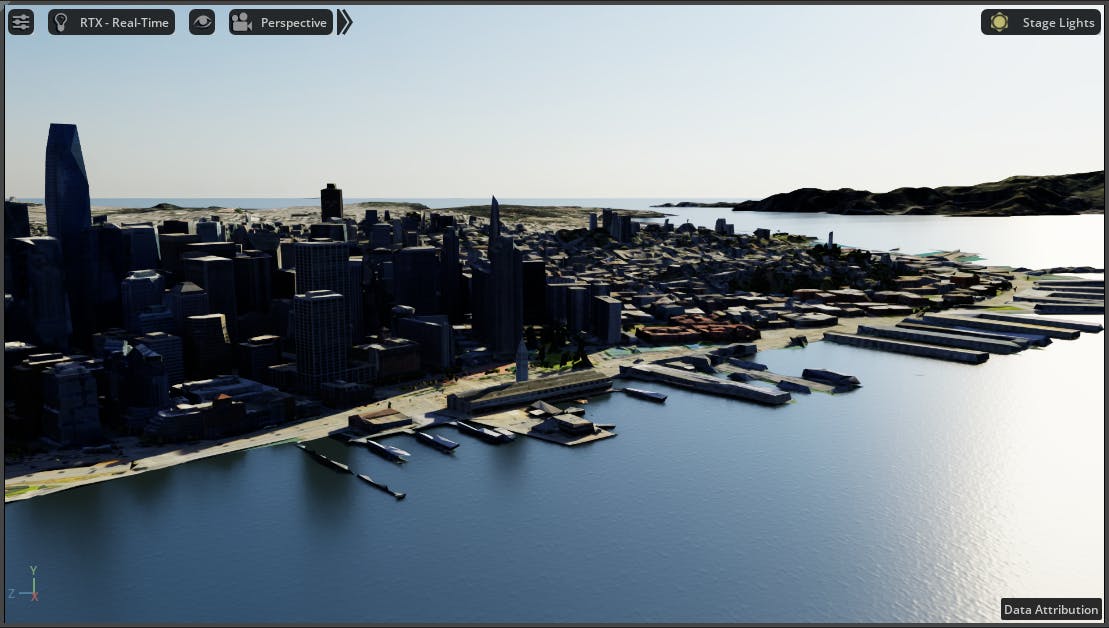
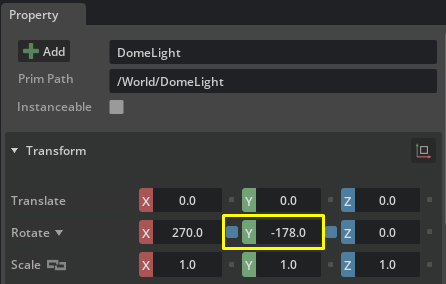
3. Rotate the Dome Light so that the sun is coming from the east to approximate a mid-morning sun. Select the Dome Light and enter -178.0 in the Y value of its Rotate field.
Omniverse USD Composer does have an Environment Sun Study extension that can be used to accurately position a sun light in your stage based on a geographic location. For more information on using this extension, follow our Dynamic Skies and Sun Study tutorial once you have finished this one.
Now we’ll explore rendering settings that can help add visual flair to our stage.
Omniverse features numerous rendering modes, each with their own method of rendering the stage. For this tutorial, we will continue to use the RTX - Real-Time renderer, which provides a high visual quality while still focusing on usable real-time performance.
1. Open the Render Settings window at the top right of the user interface.
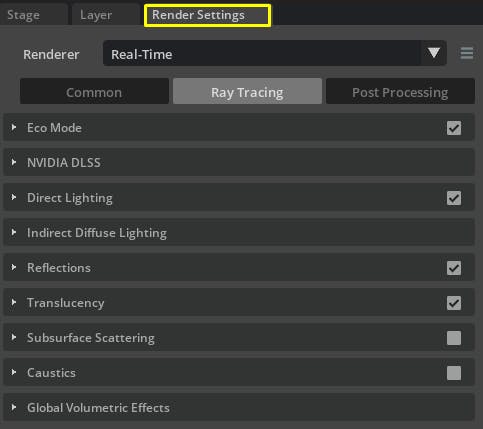
2. Reset the rendering settings to default by clicking the menu button and choosing Reset Settings. This will ensure you are working with the standard settings through the remainder of this tutorial. Once the settings are reset, ensure Real-Time is the selected renderer in the drop-down at the top of the window.

Number fields in the Omniverse user interface can be edited by clicking and dragging, along with typing in values manually. To bypass the click-and-drag functionality and directly enter values, hold CTRL and click on the number field.
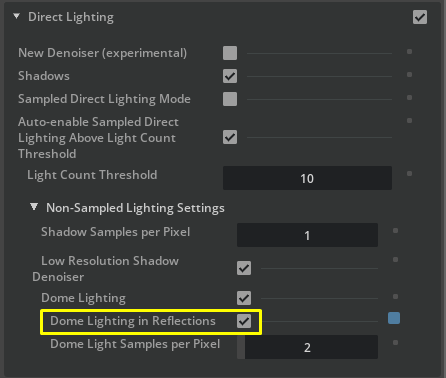
3. The reflections on the water will appear quite dark. Ensure Dome Lighting is present in reflections by going to Ray Tracing > Direct Lighting > Non-Sampled Lighting Settings and confirming Dome Lighting in Reflections is enabled.
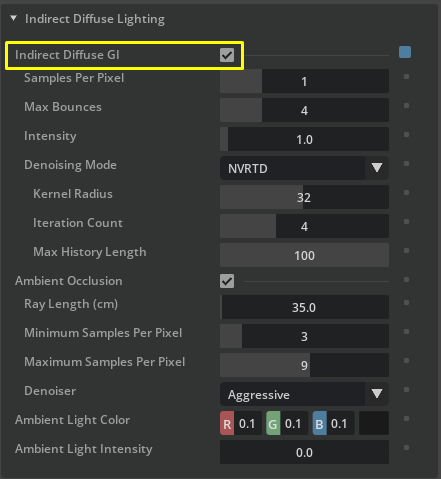
4. Turn on Global Illumination by going to Ray Tracing > Indirect Diffuse Lighting and ensuring Indirect Diffuse GI is enabled.
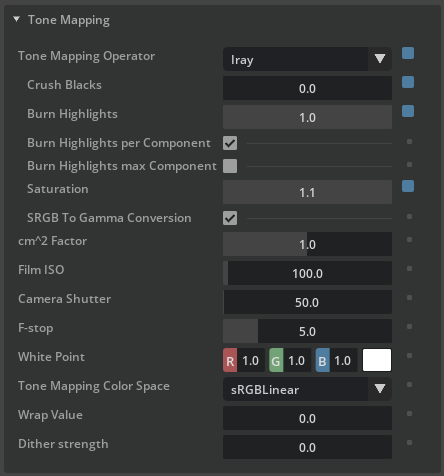
5. Improve the colors in the viewport by adjusting the Tone Mapper. Go to Post Processing > Tone Mapping and choose the following settings:
- Tone Mapping Operator: Iray
- Crush Blacks: 0.0
- Burn Highlights: 0.0
- Saturation: 1.1
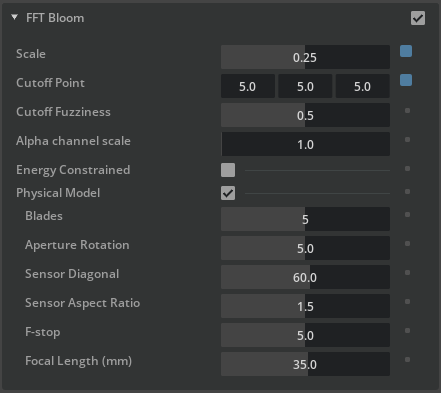
6. Add some subtle bloom effects to make the scene glow. Go to Post Processing > FFT Bloom and click the checkbox to enable bloom. Then set the following settings:
- Scale: 0.25
- Cutoff Point: 5.0, 5.0, 5.0
7. Add some subtle fog to enhance depth at long distances. Go to Common > Simple Fog and click the checkbox to enable fog. Then set the following settings:
- Color: 0.60392, 0.75294, 0.9098
- Intensity: 0.25
- Height-based Fog - Plane Height: 6000.0
- Height Density: 0.2
- Height Falloff: 0.0
- Start Distance to Camera: 100000.0
- End Distance to Camera: 500000.0
- Distance Density: 0.0005
8. Your viewport should now be sparkling with morning light. You can begin capturing screenshots of your viewport by clicking on Edit > Capture Screenshot or pressing F10 on your keyboard.
Try experimenting with different settings to achieve different visual styles. More information can be found in the Omniverse Render Settings documentation.
Read on to the next tutorial, Capturing Images and Video, to learn more about producing amazing visuals from the great looking scene you’ve just created.